|
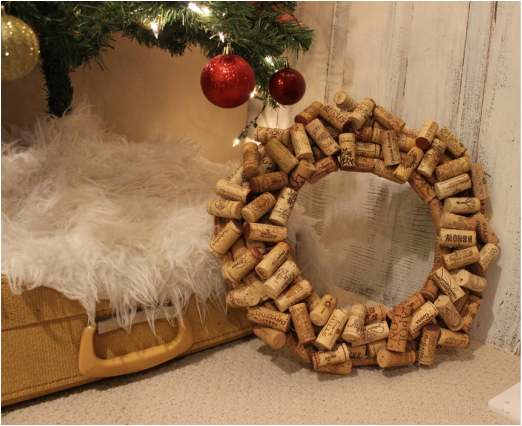
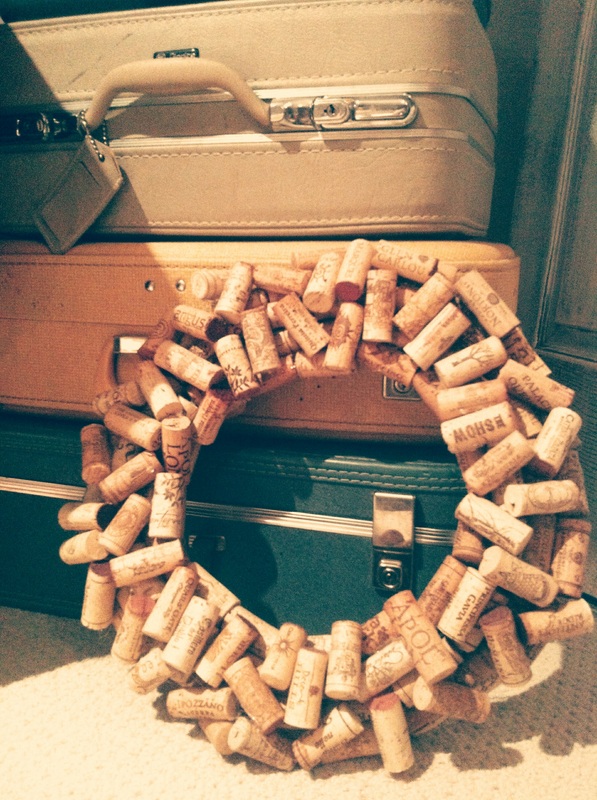
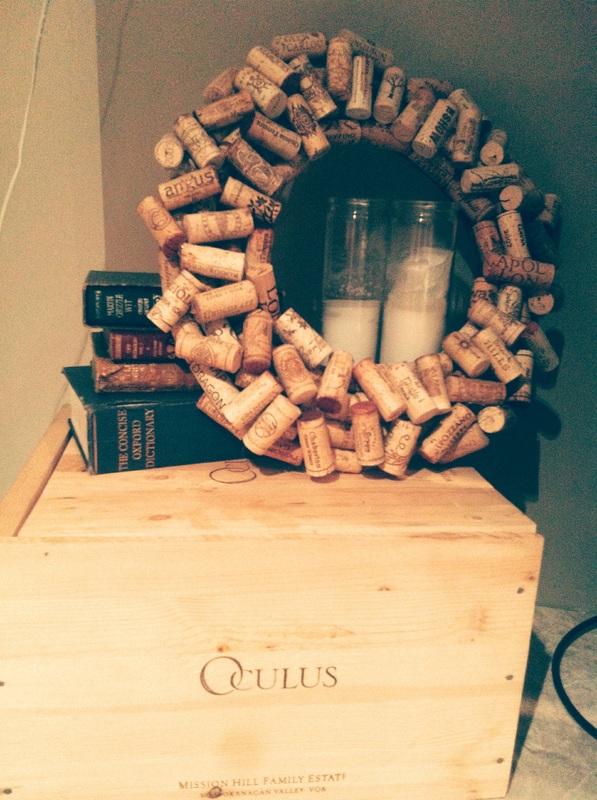
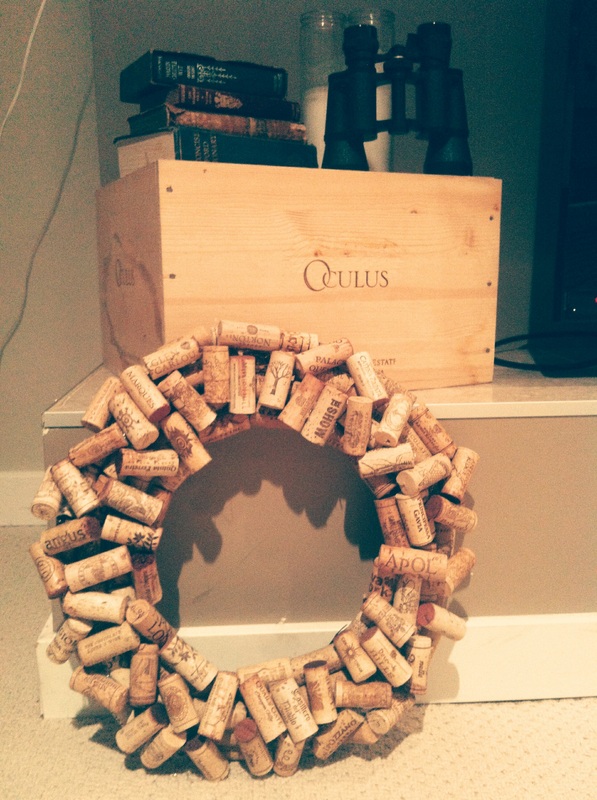
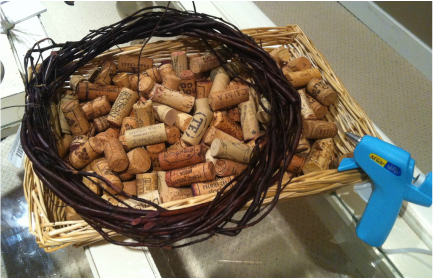
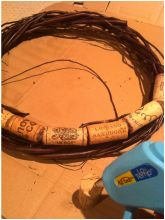
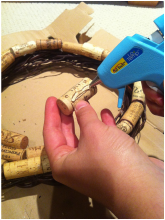
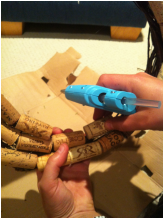
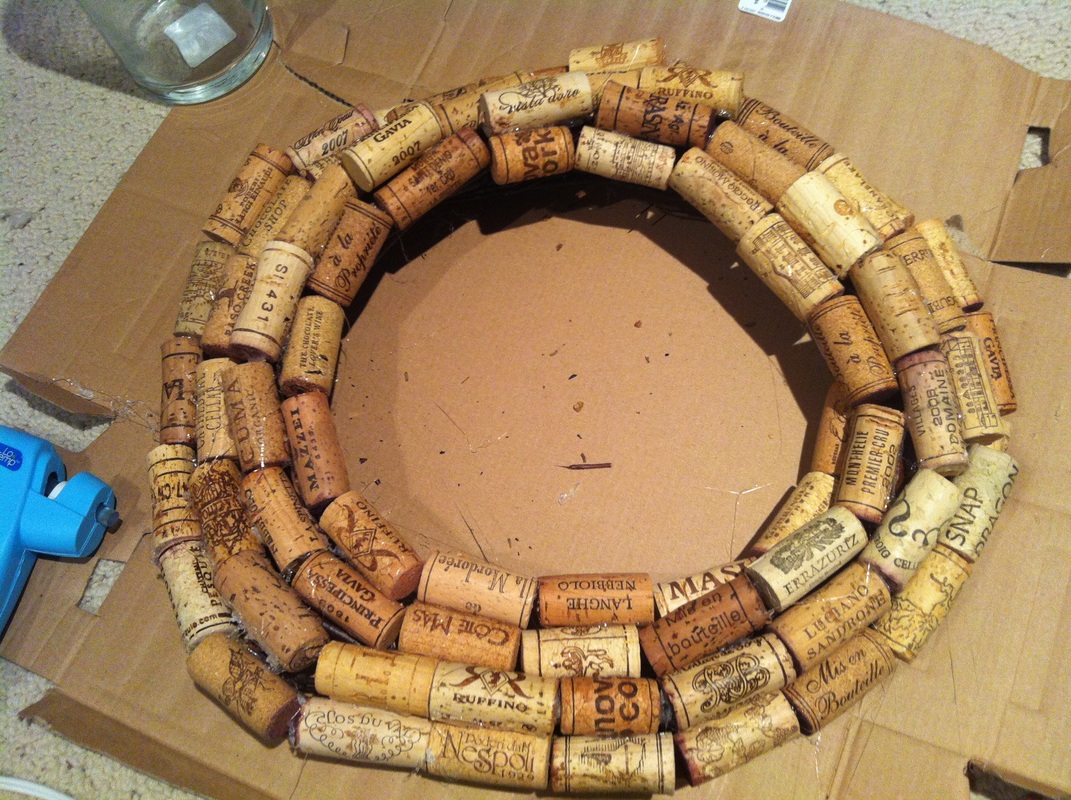
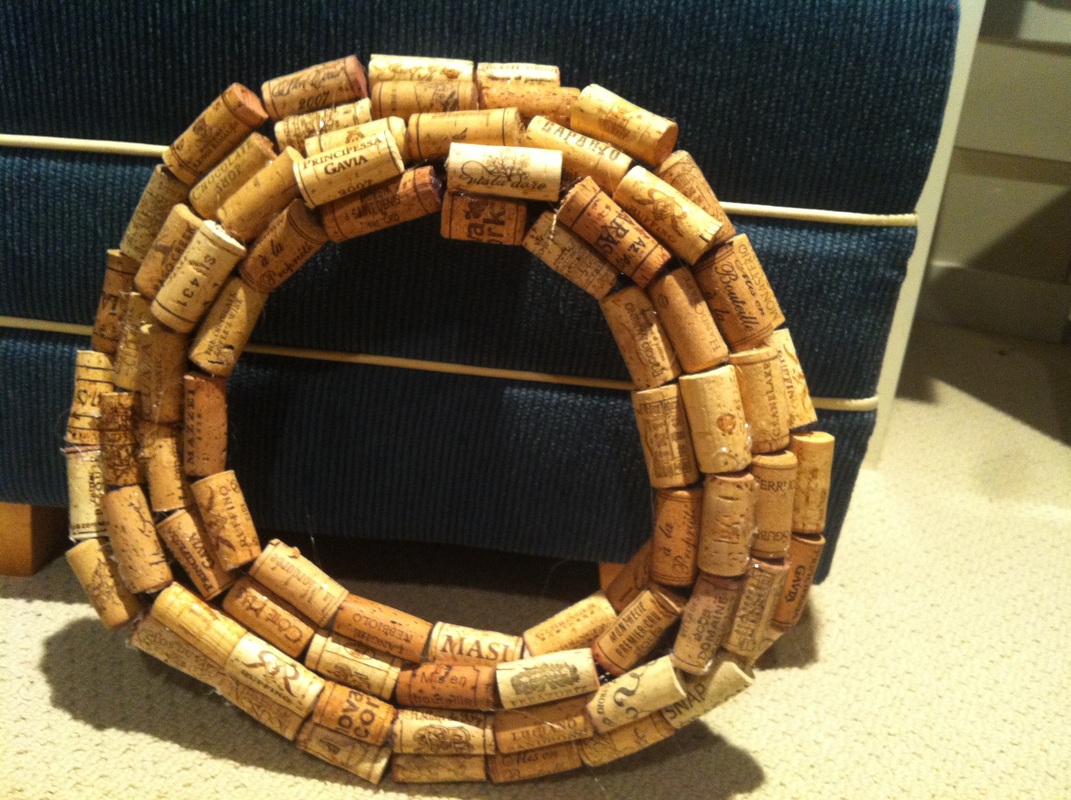
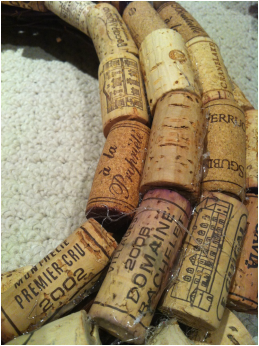
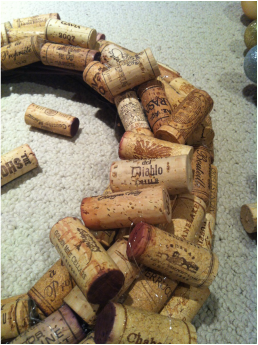
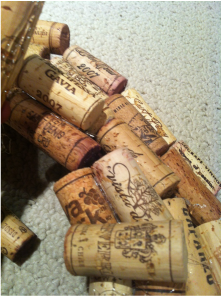
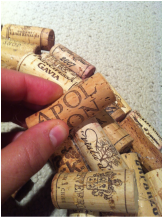
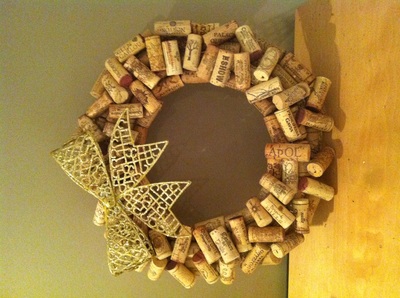
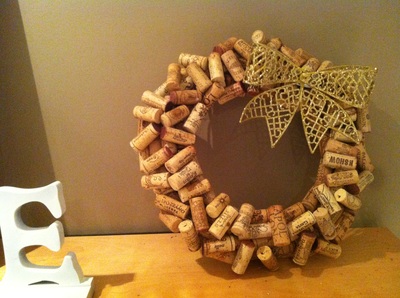
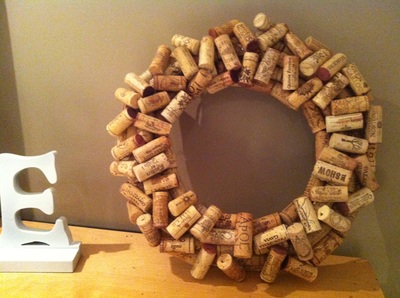
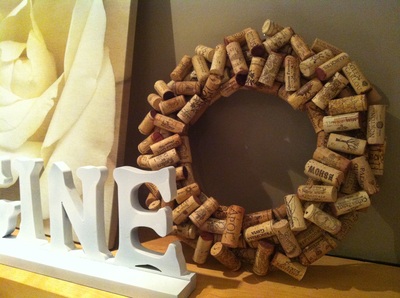
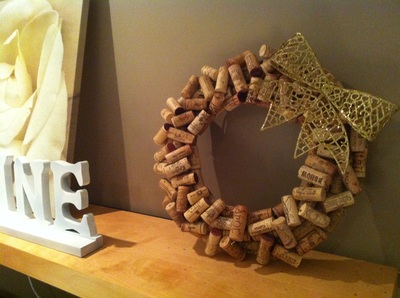
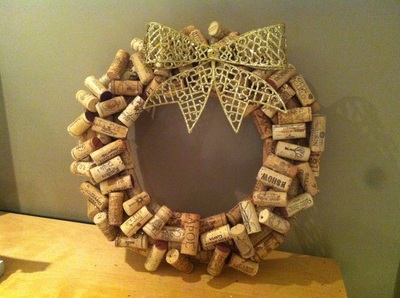
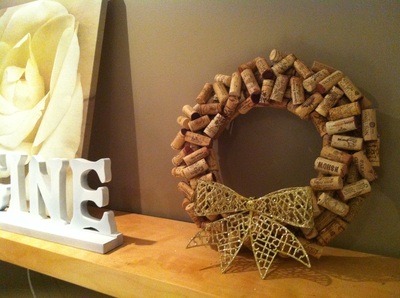
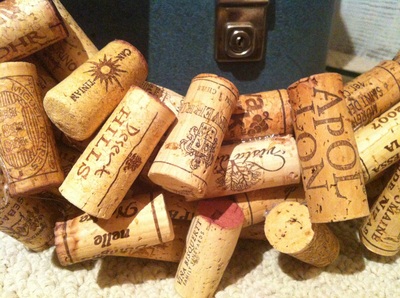
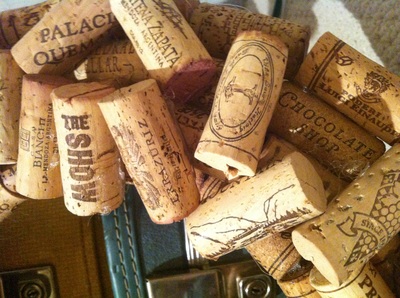
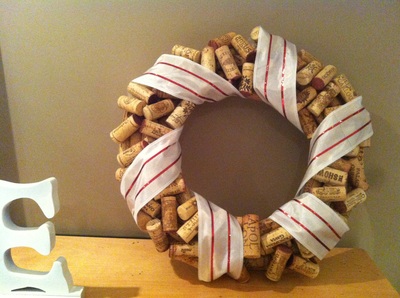
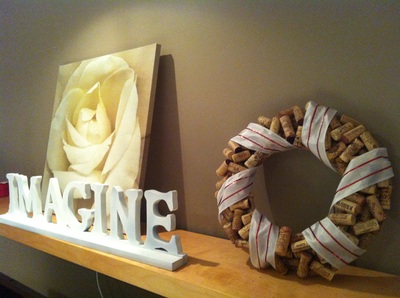
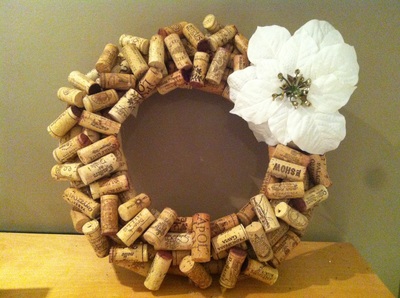
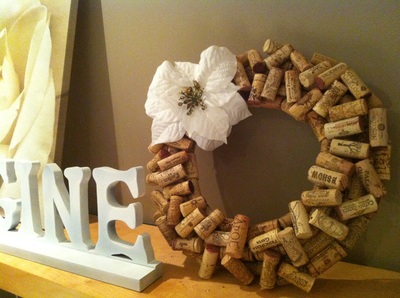
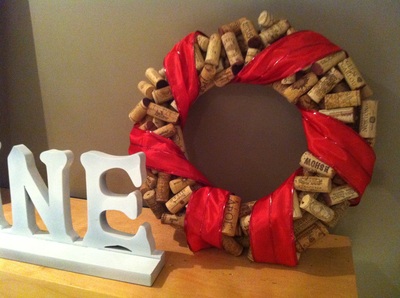
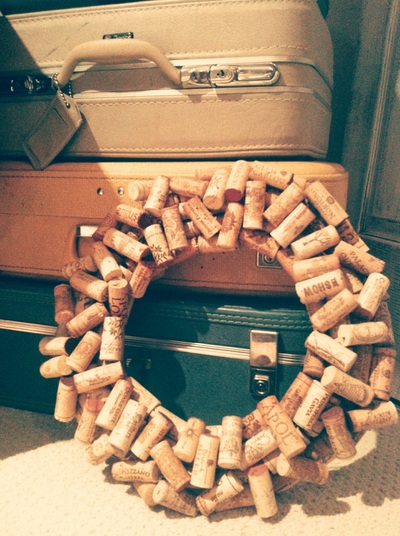
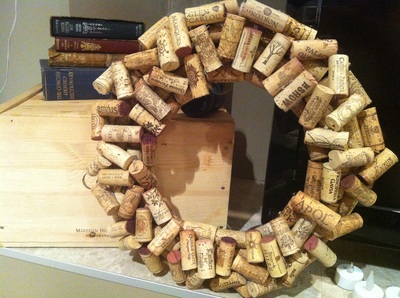
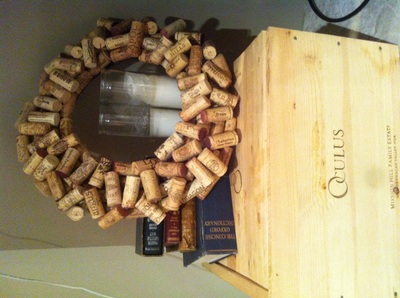
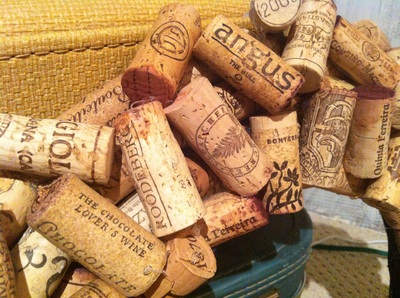
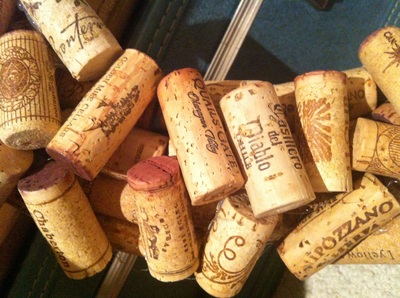
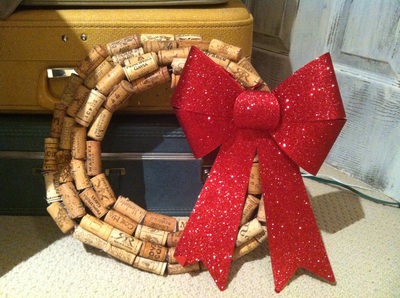
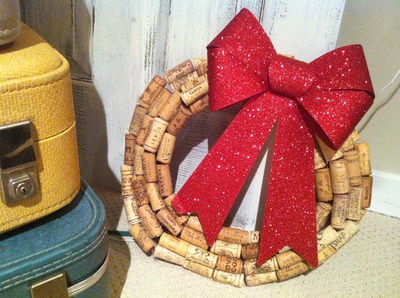
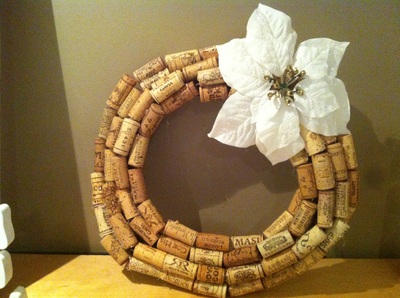
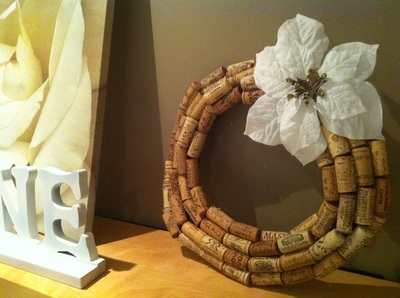
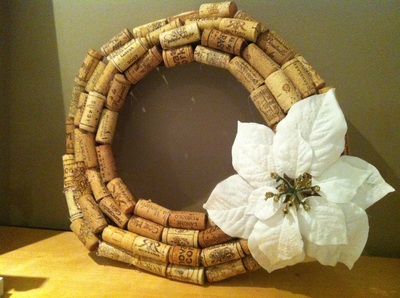
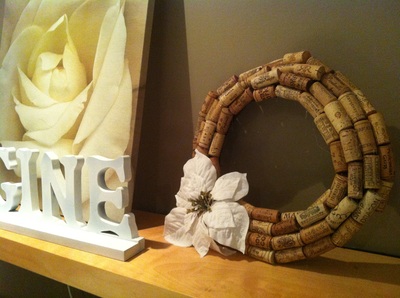
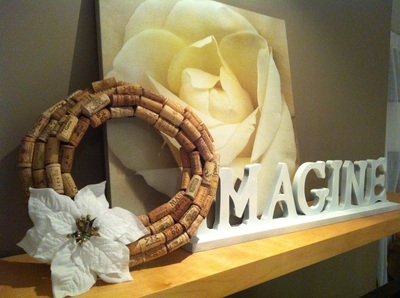
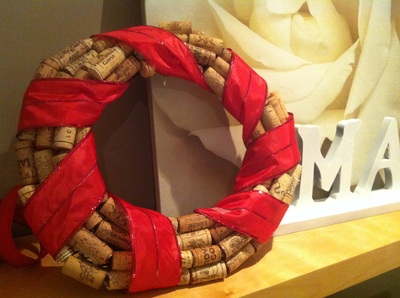
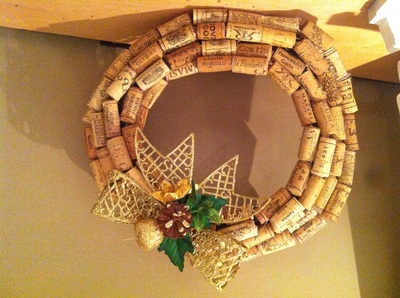
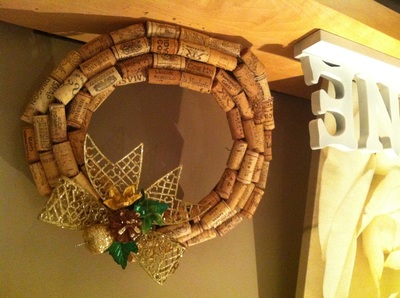
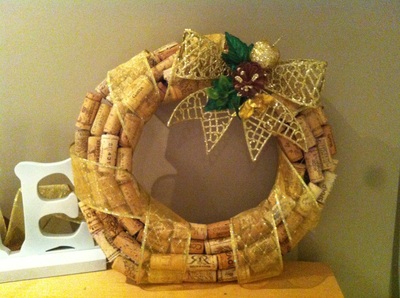
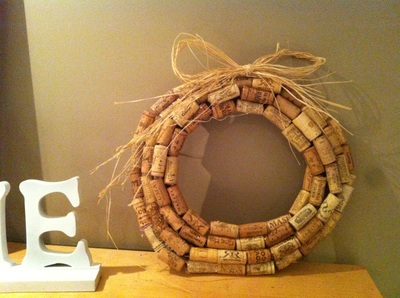
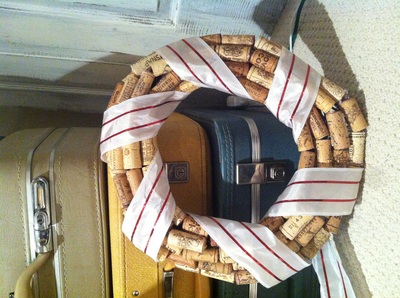
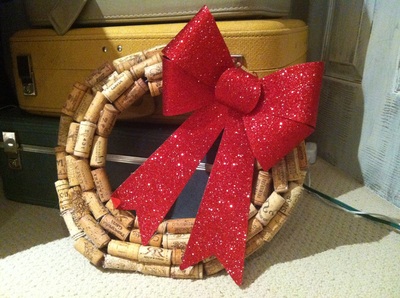
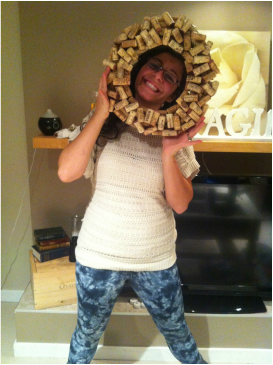
I saw a wine cork wreath in an Italian restaurant last year and just HAD to make one for myself! This is perfect for the wine-os in your life...yourself included! It is something that looks great year round, not just at Christmas time. There are two looks of wreath you can choose from, a rustic one and a more traditional one. Time needed: 1 hour (not including the amount of time it takes to consume all those bottles of wine) Cost: Under $3 (if you don't include the cost of all those bottles of wine) Kid Friendly: Yes (if you don't include them in the consuming of all those bottles of wine.. Also, best for the older ones as it involves a lot of hot glue) You Will Need: - foam, wicker or straw wreath..or anything in the shape of a wreath that you can attach corks to (I got my willow wreath at Dollar Tree for $1.25 but you can find other options at Michael's or other craft stores) - wine corks *(about 130-180 depending on size of wreath. I used 135 for my 12" wreath..see my note at the bottom about how to find wine corks if you can't seem to gather enough) - glue gun and glue sticks - ribbons, bows or anything you may want to decorate the wreath with (optional) The How To: 1. Start by covering the outline of the wreath in wine corks. I did this by gluing one row in the shape of the wreath followed by three more to cover it completely. I applied the glue to the long side of the cork as well as the flat round edge for extra security. Keep in mind you might want certain parts of the cork visible, such as the name of the winery, so glue accordingly. I would position the cork on the wreath before actually gluing it so you can see where you need to glue as to not obstruct any unique detailing on the cork. If you are going to make the more traditional looking wreath rather than the rustic looking one, then the corks on the bottom that outline the wreath do not matter so much as they won't be visible. If continuing to steps 3 and 4, save your favorite corks for then. 2. When the outline of the wreath is covered, it may not look like a perfect circle, especially if you chose a wreath base like mine that is sort of rustic. It will start to look more like a circle once you continue adding corks (steps 3 and 4). I actually also like the look of the wreath like this. I think it looks more rustic and some of you may choose to keep it this way which is why I suggested this look. See photos at end of tutorial for further ideas with this rustic look of wreath. You can see the imperfections but as one of my old bosses used to say: "perfect is boring!" 3. For the more traditional look, start adding corks in all directions to cover the outline. At first, I was trying to get all my corks to face the same direction (as in the names of the wineries etc) but then I thought it is more appropriate and suitable if they are all facing opposite directions. It brings out the wine-o in you (as if having a wreath made out of wine corks doesn't bring out the wine-o in you already). Place corks to fill any gaps that are visible (see photos below for example) and be sure to place any of your favorite corks on the top. I actually did a "draft" by placing corks on top of the entire wreath before actually gluing them down to get an idea of where I wanted which corks. It may be hard to balance the corks when doing the "draft" due to the base not being flat but it does help to give you an idea of where to place the corks. 4. When the placing of the corks and all the gluing has been done, finish off the wreath by adding a bow or ribbon (optional). See photos below for ideas of ways you can decorate the wreath. Ideas for the traditional/fuller looking wreath (click on an image to view gallery with ease): apologies that some images may be upside down...I am working on fixing this problem Ideas for the rustic looking wreath (click on an image to view gallery with ease): apologies that some images may be upside down...I am working on fixing this problem And that's it! I absolutely LOVE LOVE LOVE the look of this and am so happy it turned out the way I had envisioned! Which look do you like best? If you attempt this project, please share photos of your finished wreaths with me (contact details and social media info on the top right hand corner). Hope you enjoyed this tutorial. Keep checking back for more. Happy crafting everyone! *Where to Find Wine Corks:
I began collecting wine corks about a year ago and no matter how much wine we consumed, I just could not gather enough for this project. Even with a trip to Napa Valley in the summer, I couldn't collect enough! I guess this is because I was wanting to use the non synthetic corks and a lot of the wine we drink has screw caps rather than corks. The neighborhood that I live in has an online mailing list where people in the community can post about events, things for sale or things they are looking for etc so I decided to post on there to see if anybody had wine corks they were looking to get rid of. To my surprise, two ladies replied with nearly 200 corks each to give me! So one suggestion is to ask around in the neighborhood or even ask your family and friends to start saving them for you. You can also post an ad on Craigslist! Another idea - ask your local restaurants to save them for you! You can thank them by baking them cookies or giving them a box of chocolates! If you know anyone that owns a restaurant, ask them as well! And finally, you can ask at local U-brews/winemaking facilities, although these corks will be generic ones and most likely all the same (which will make for a nice wreath as well). Any other ideas of where you can find wine corks?! |
Decor and DIY Categories
All
|
Oh, Poppycock! - Life. Adventures. Merriment







 RSS Feed
