|
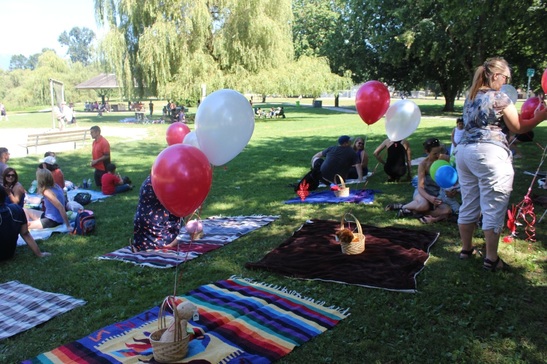
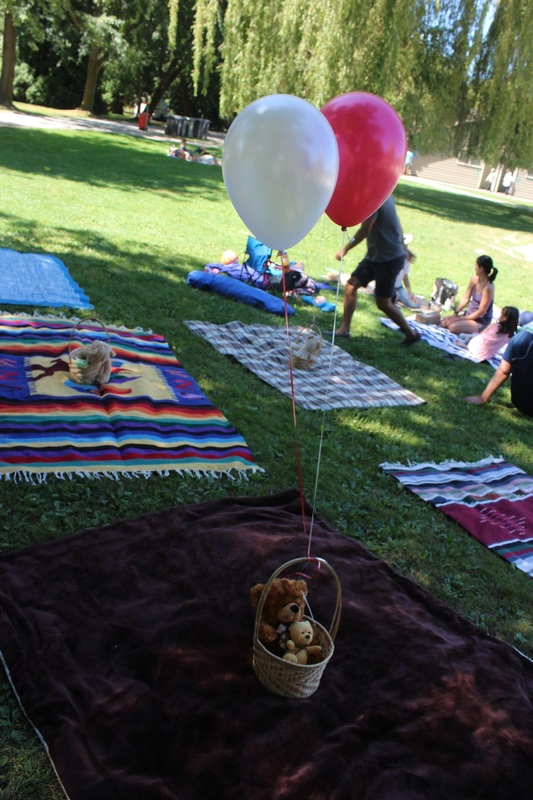
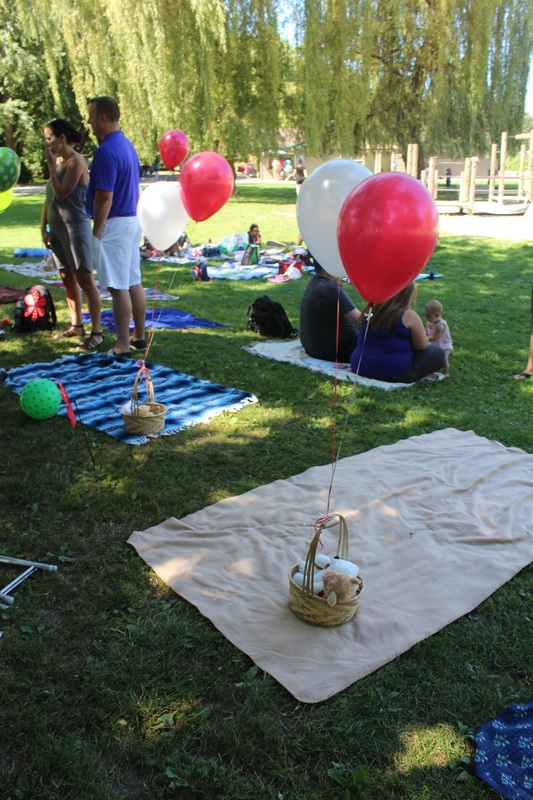
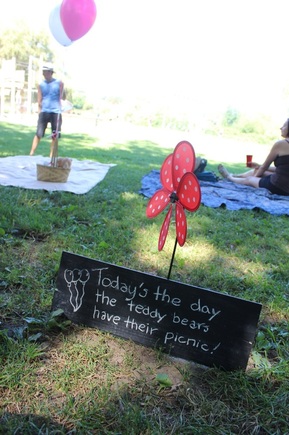
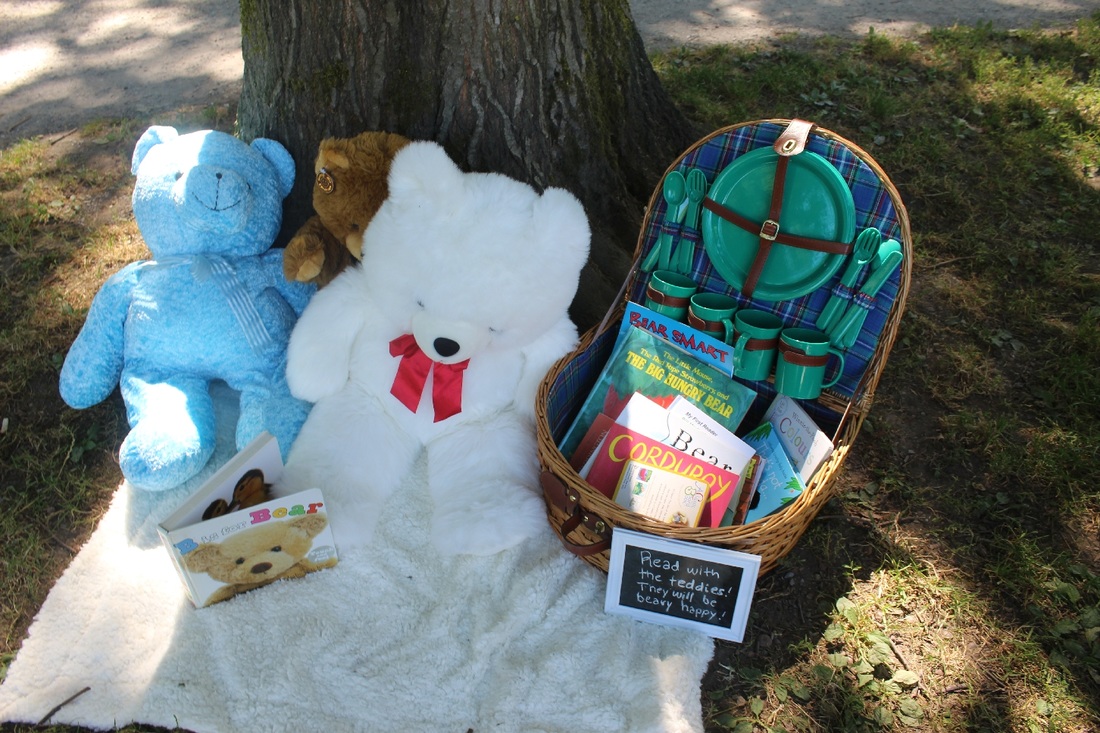
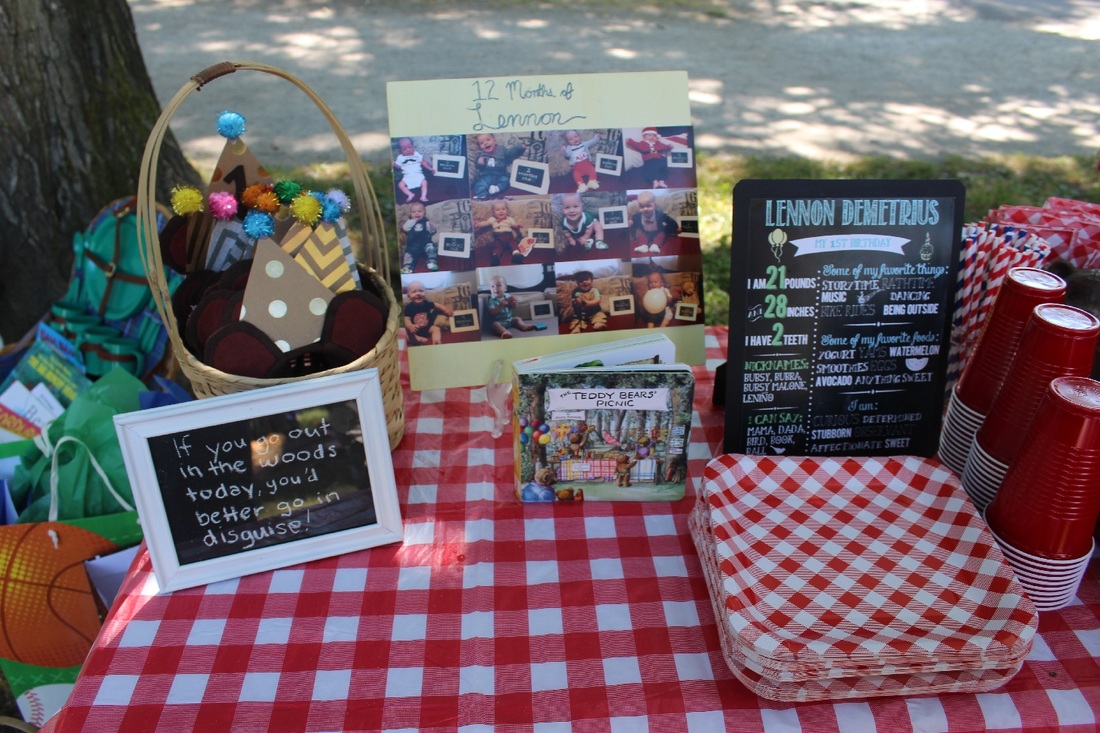
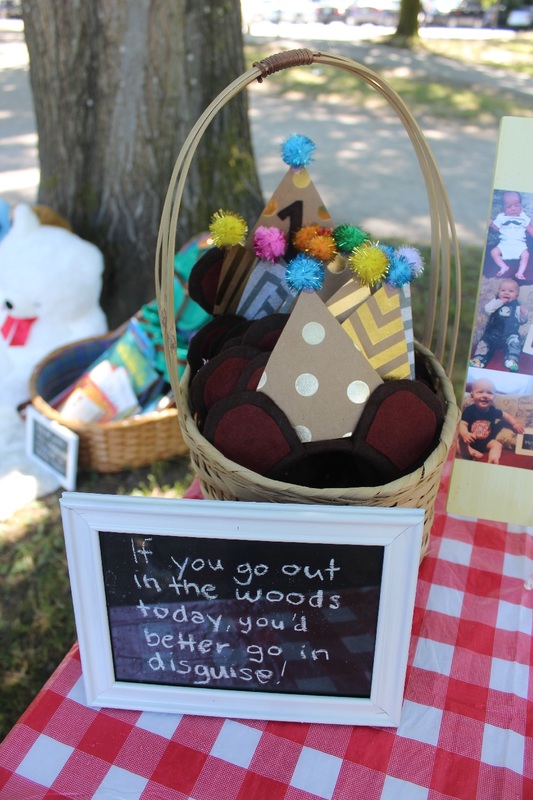
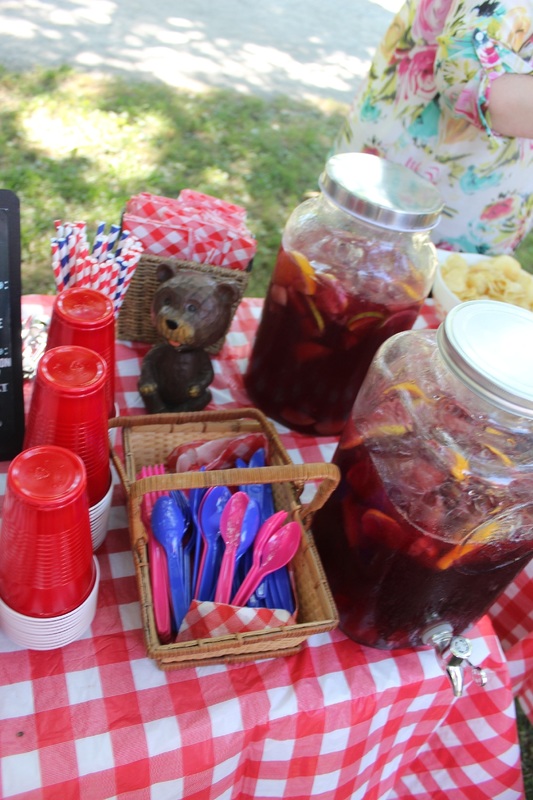
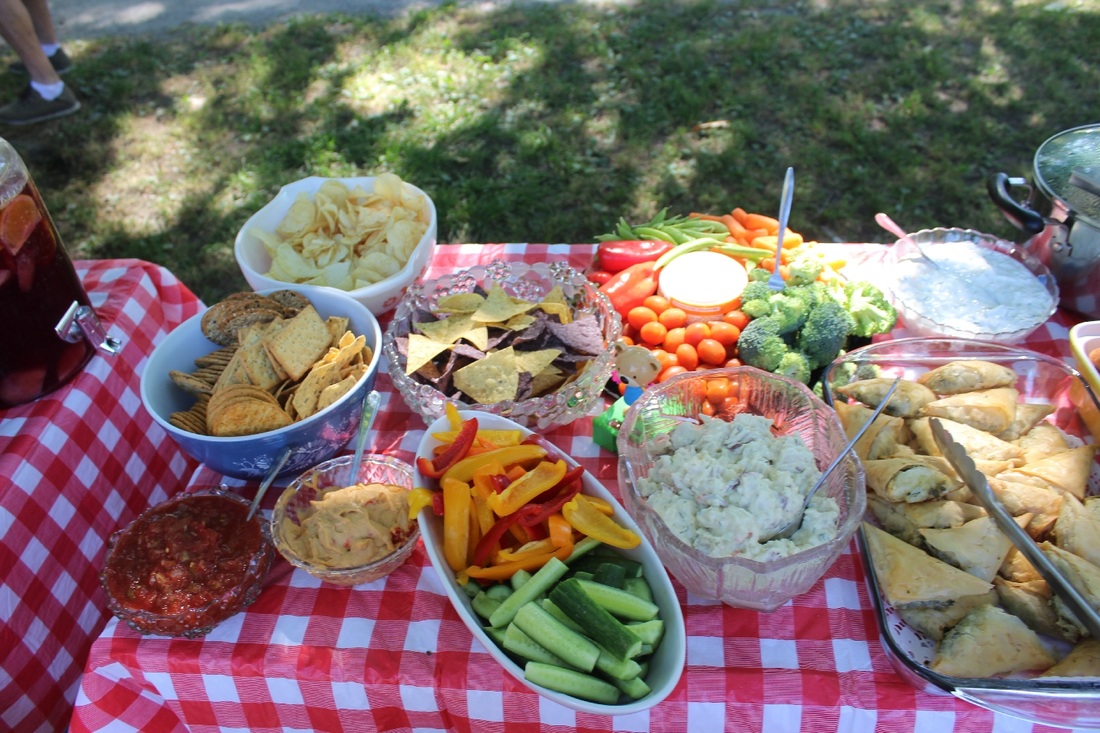
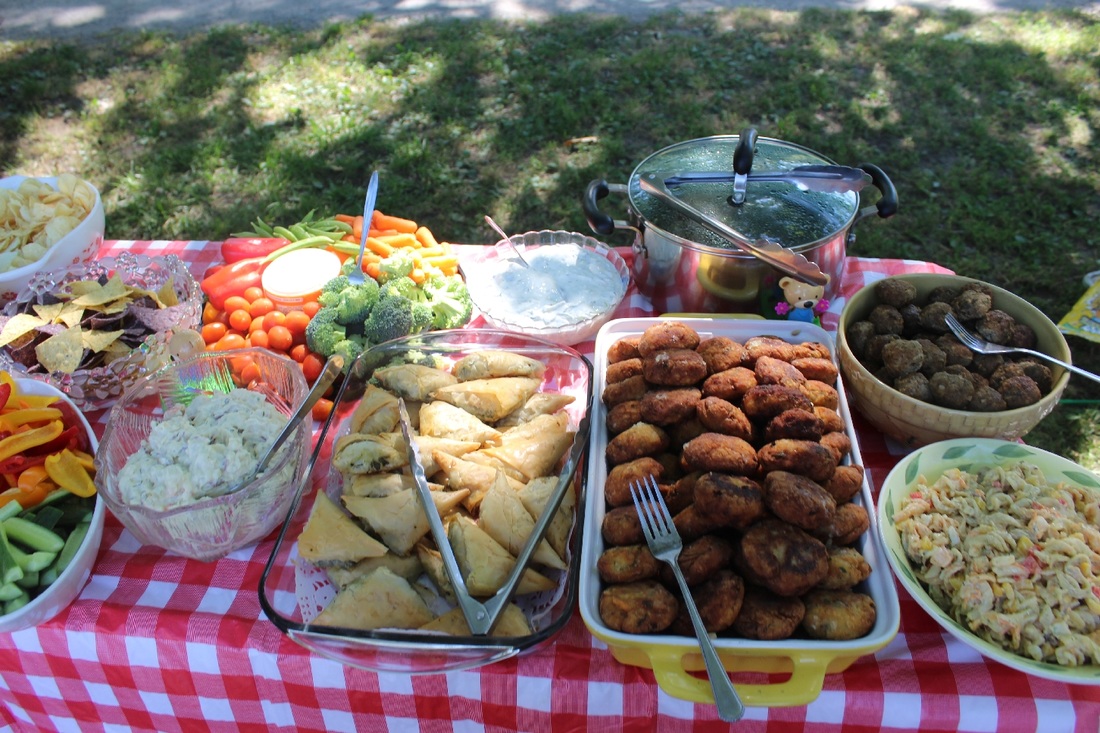
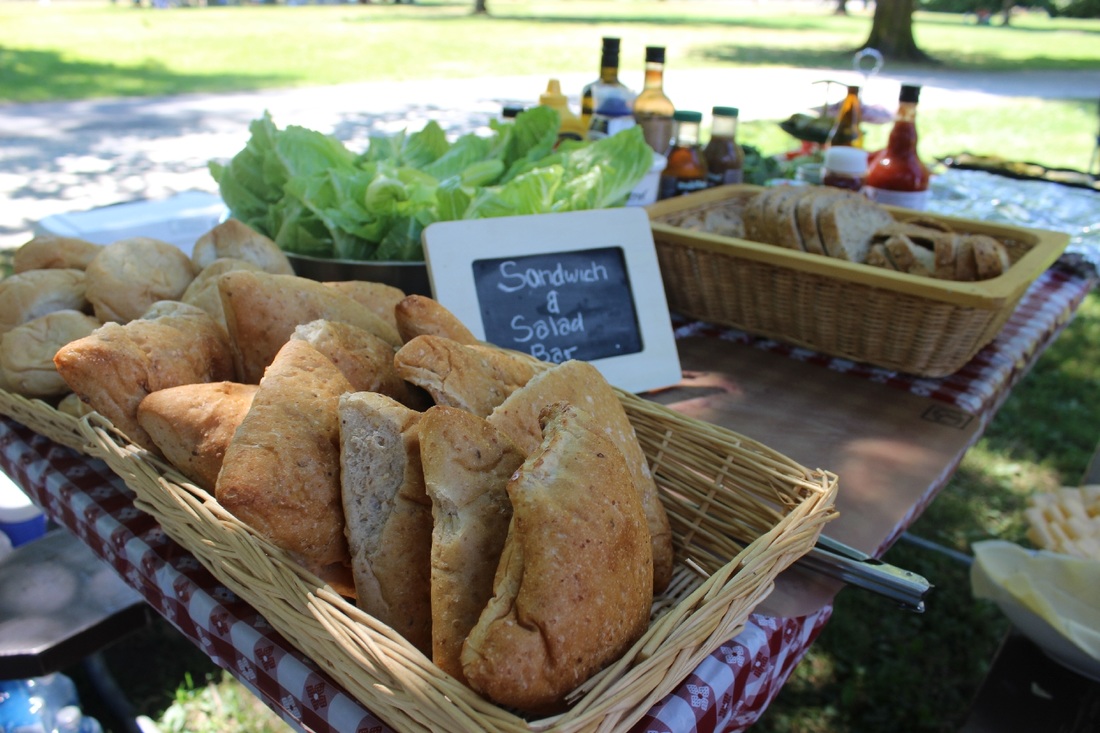
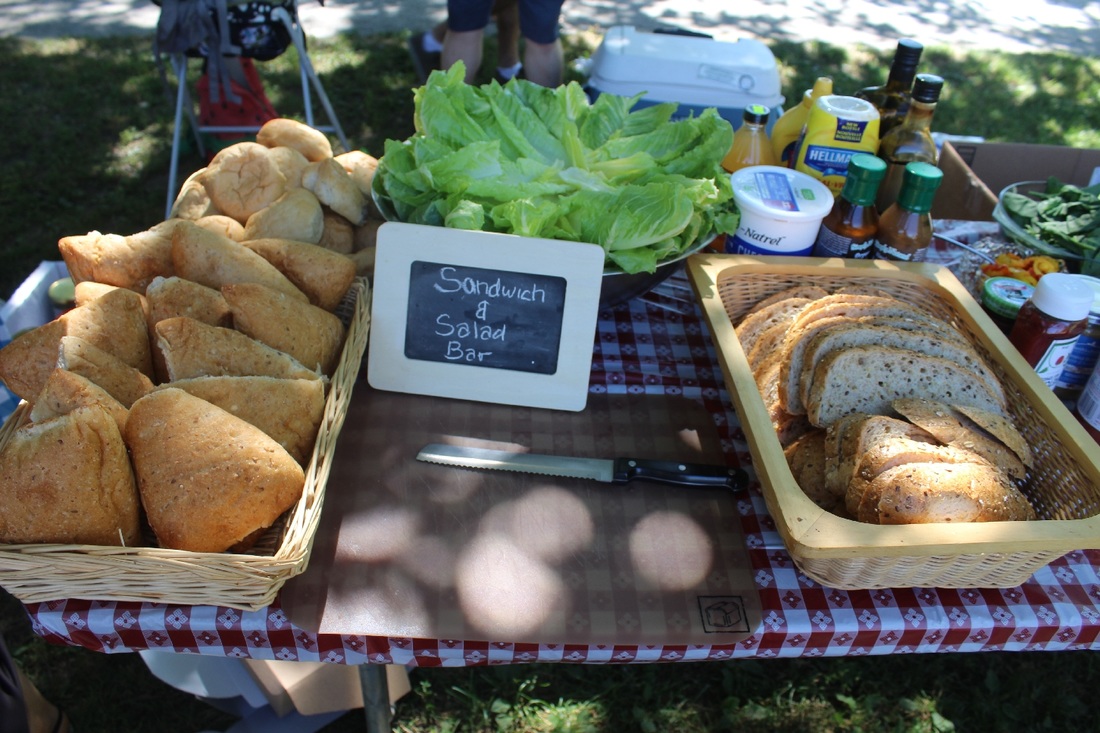
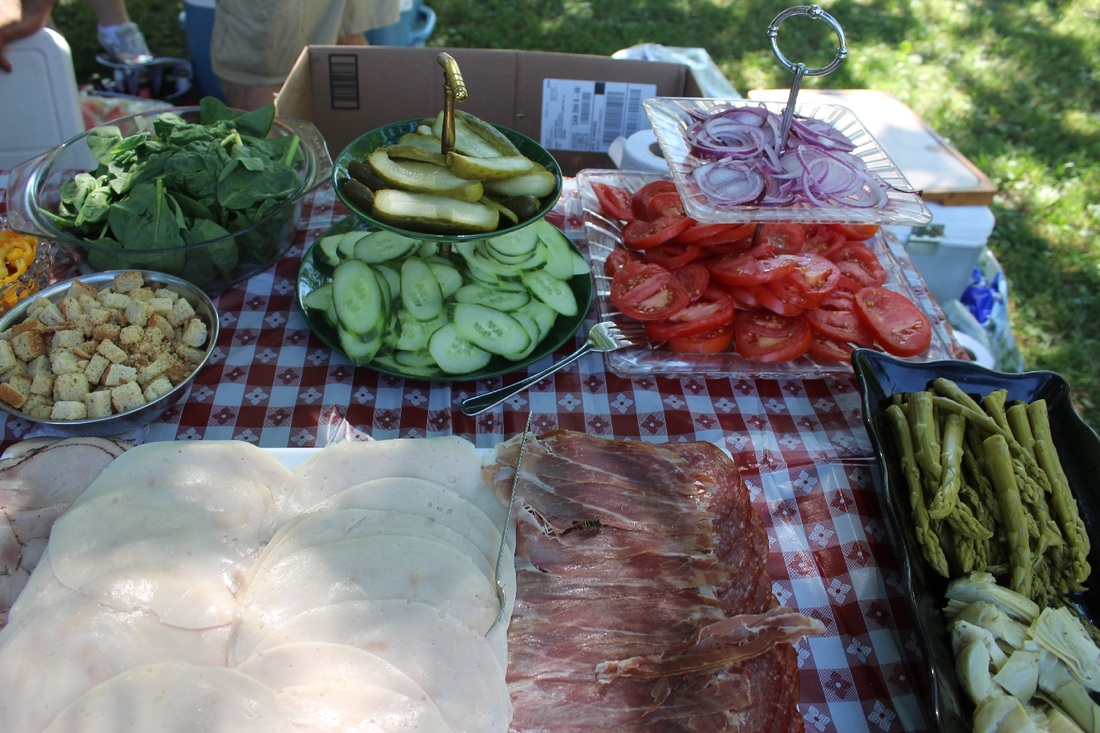
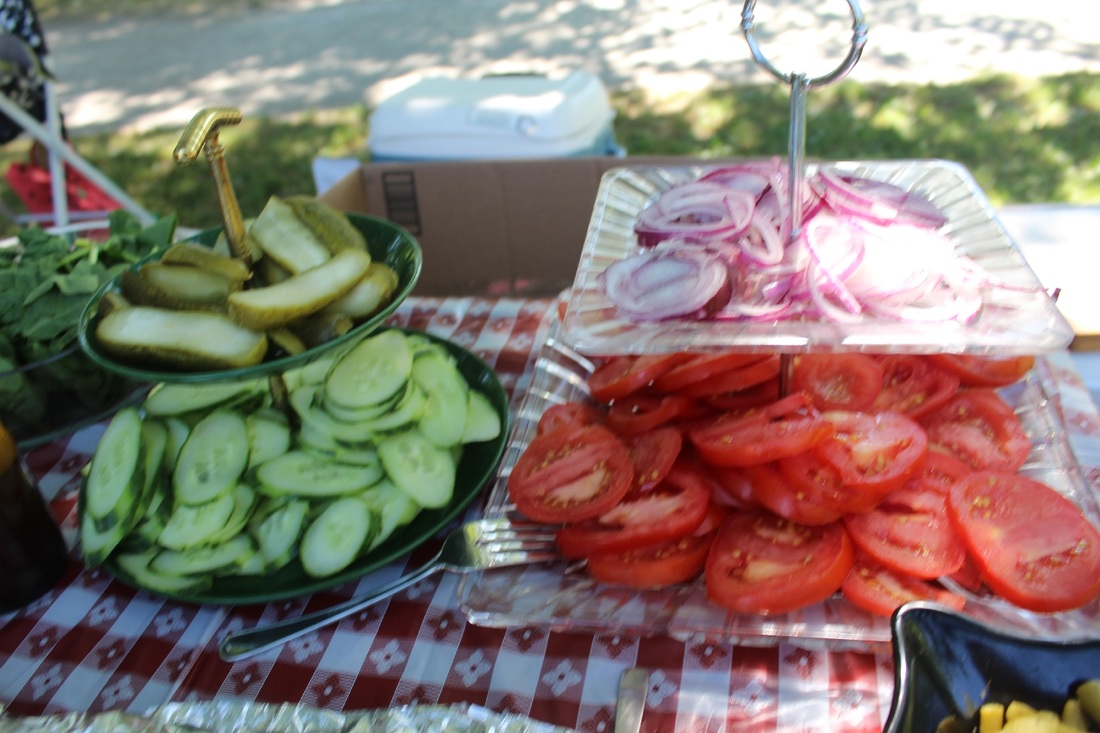
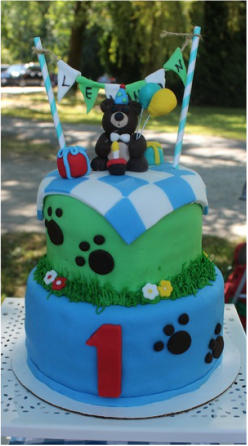
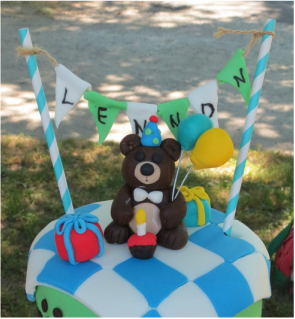
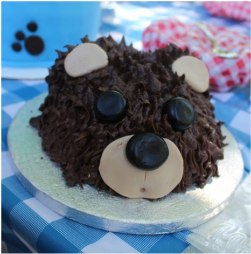
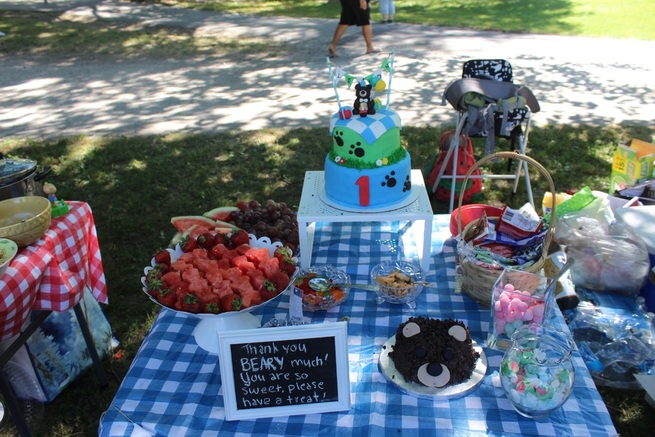
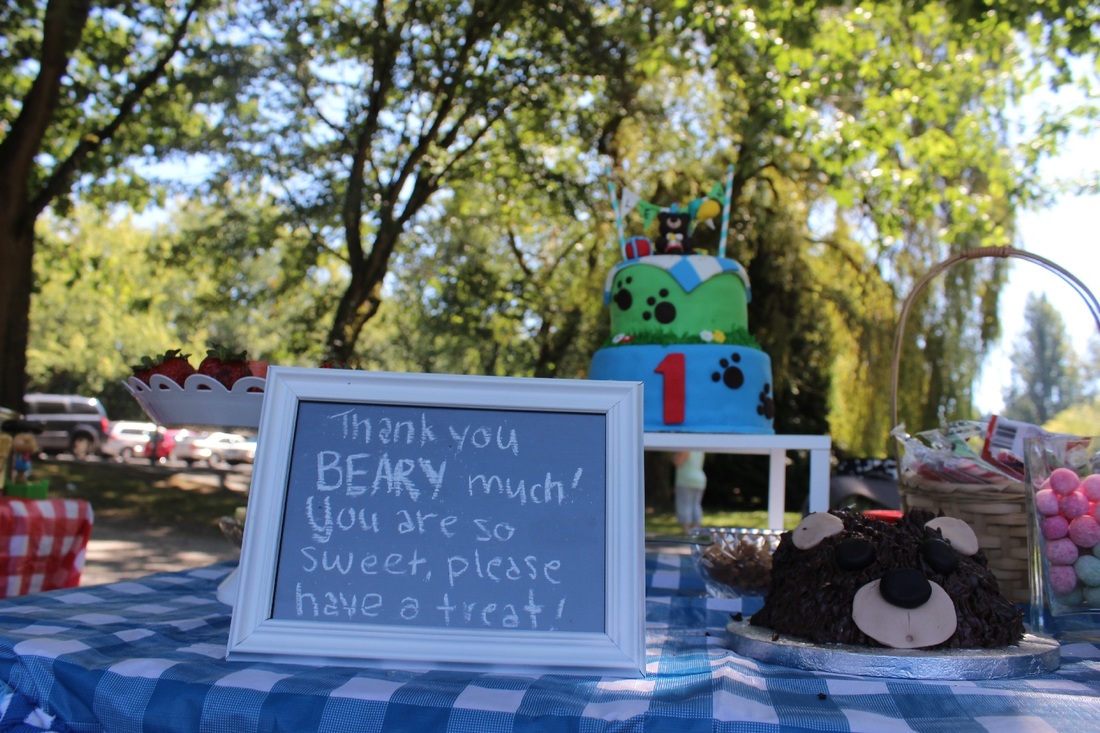
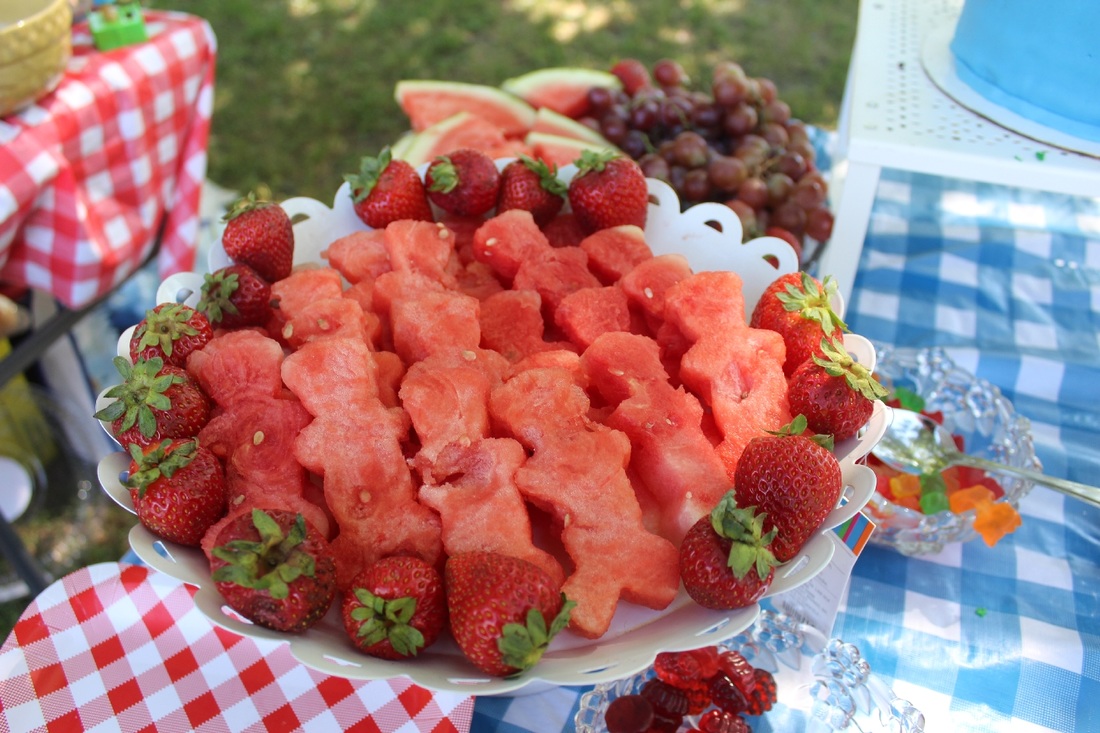
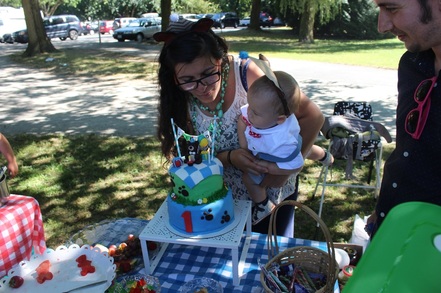
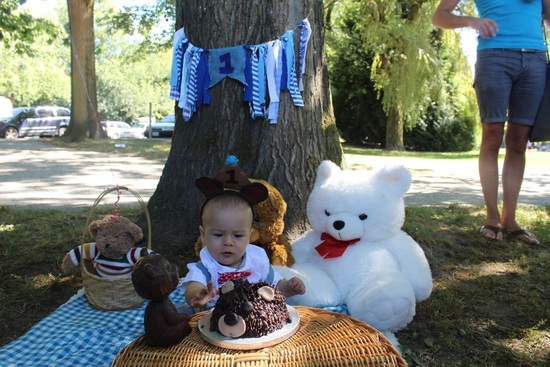
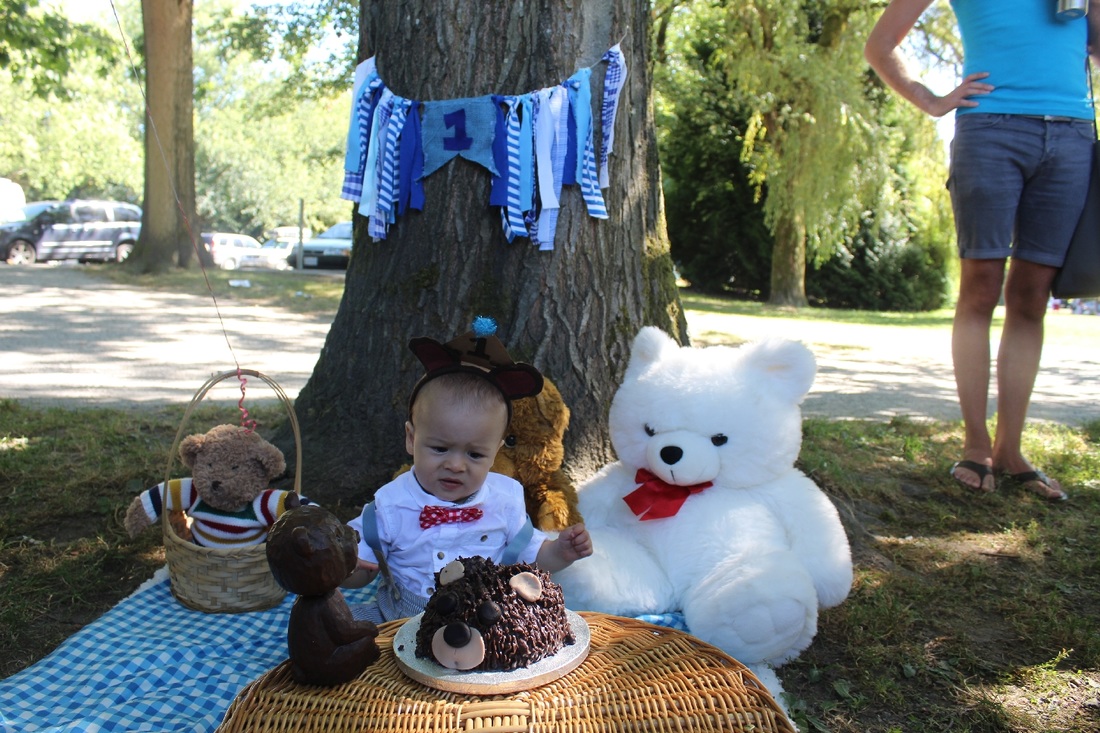
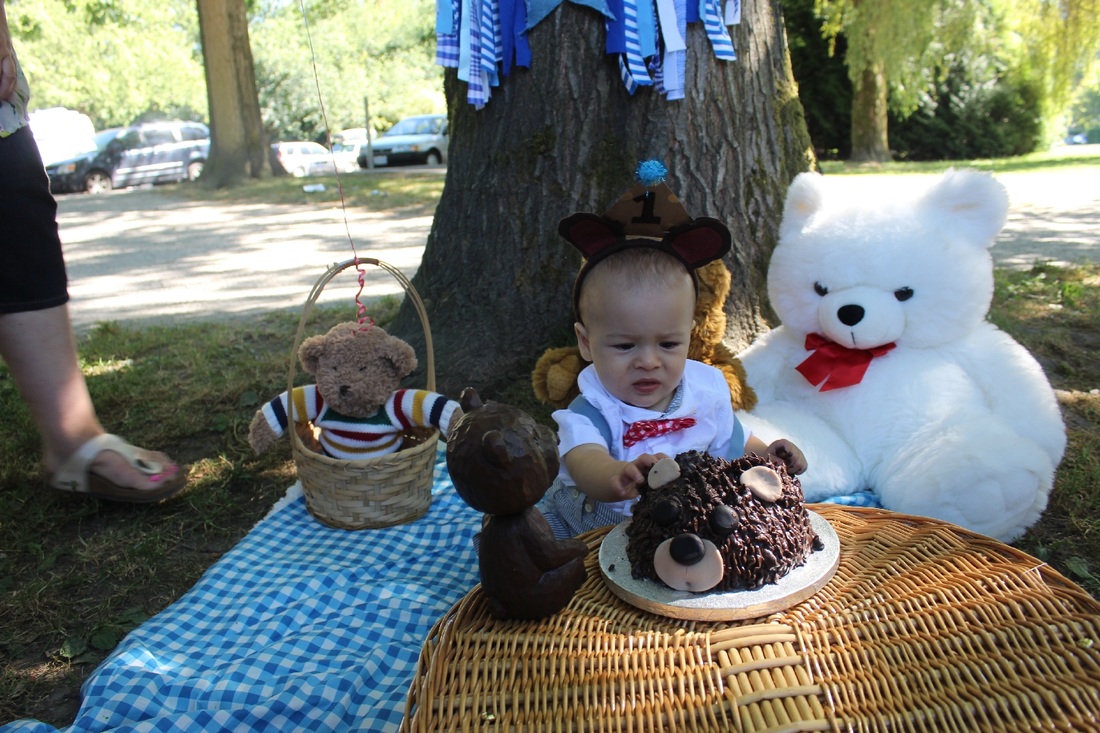
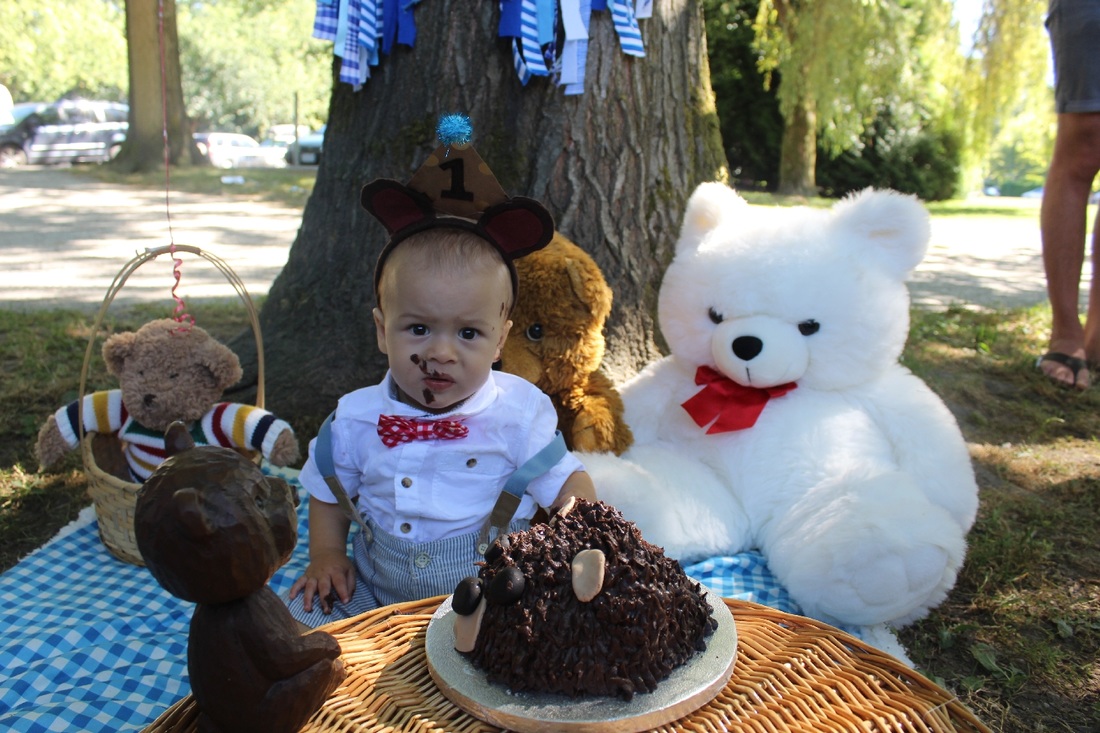
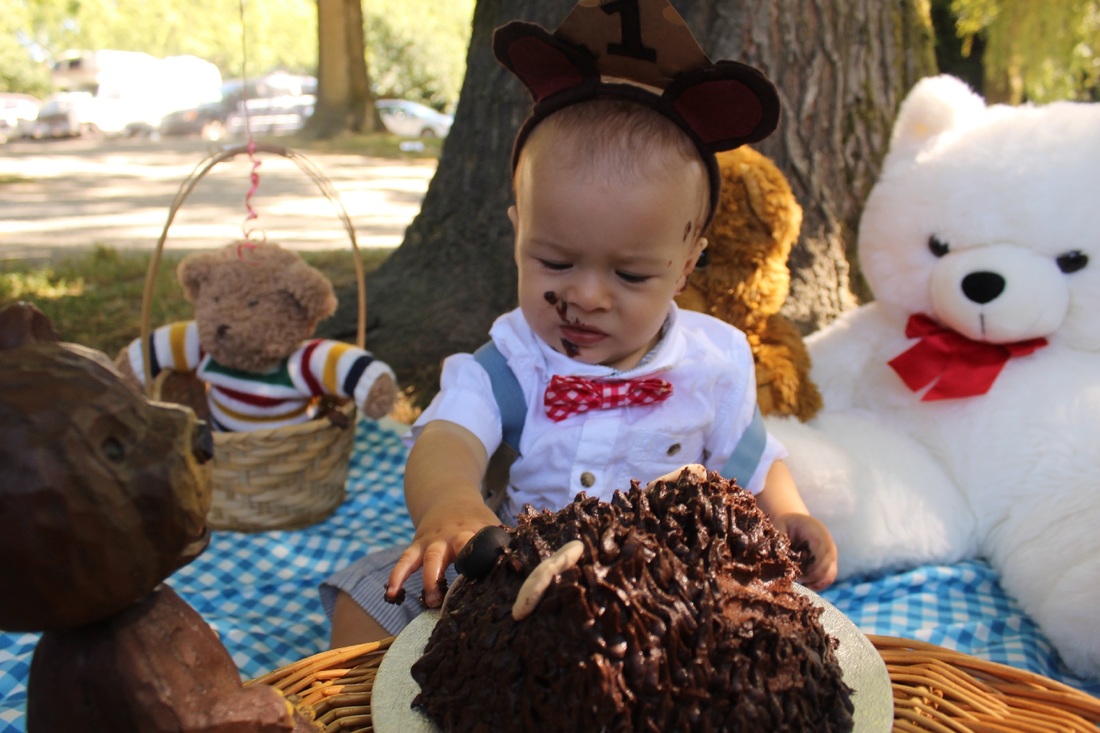
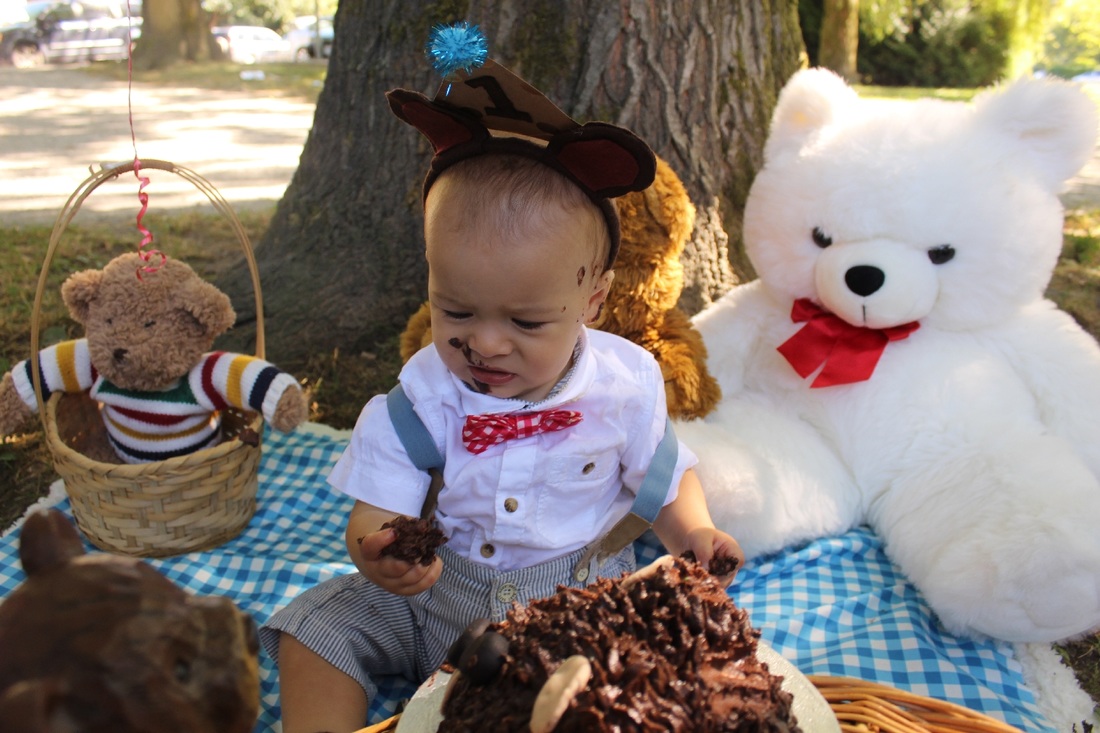
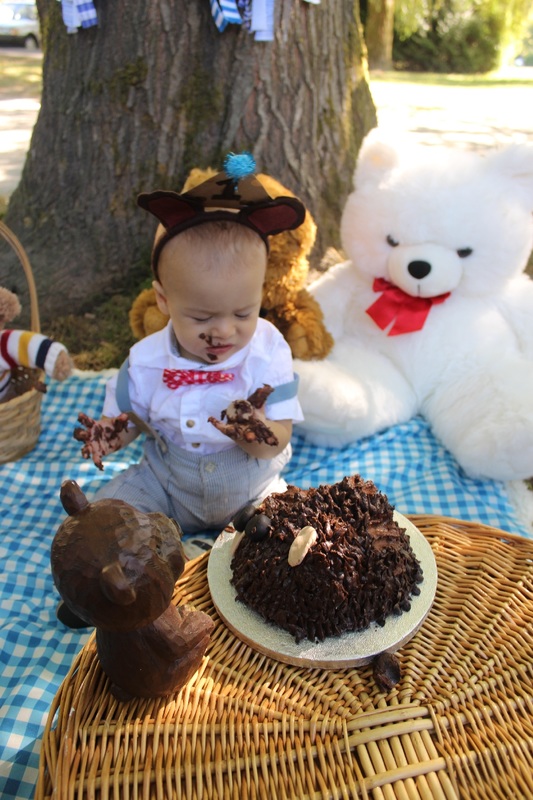
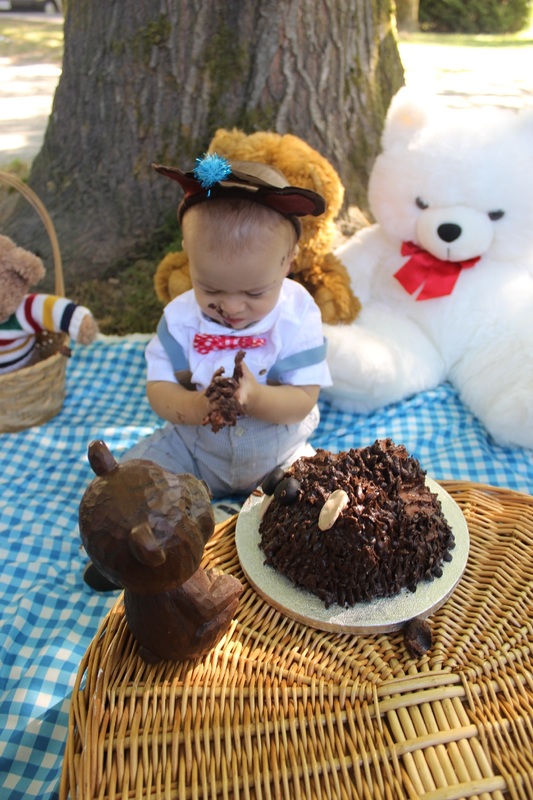
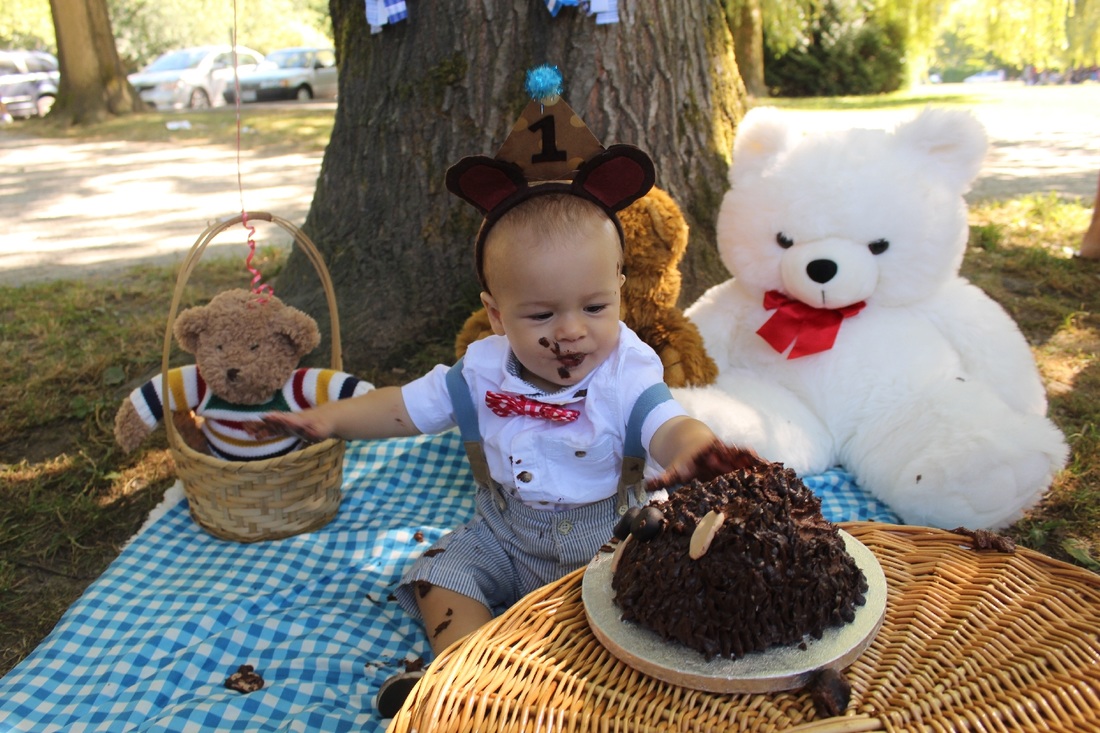
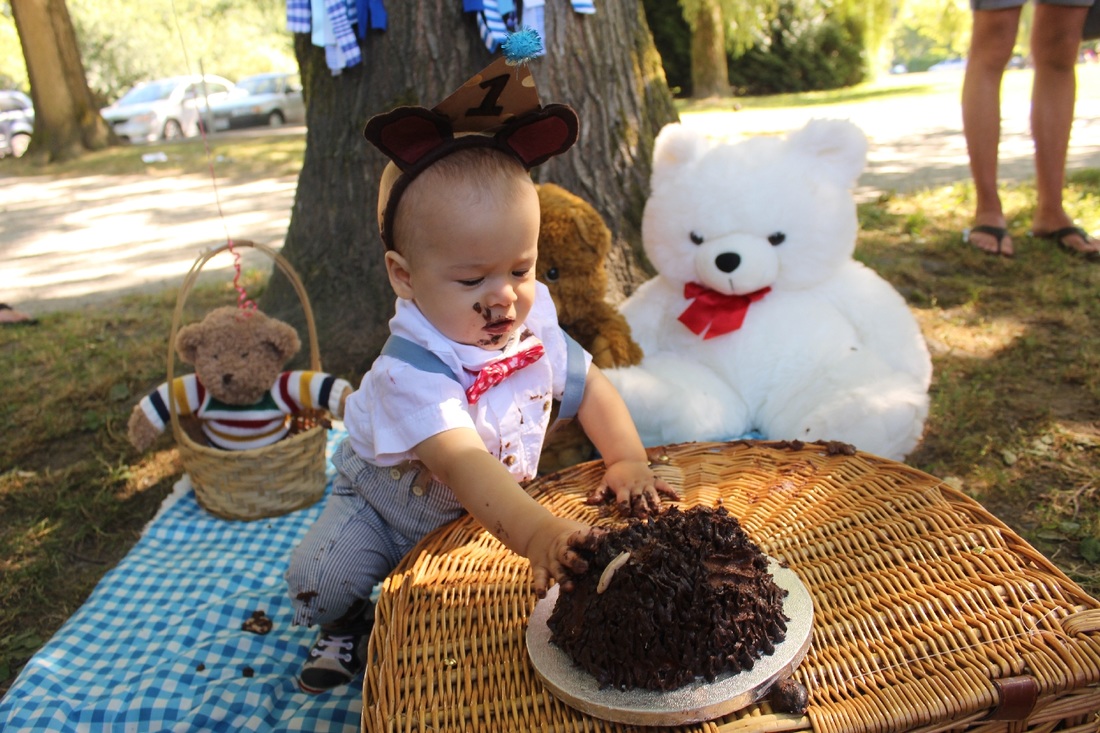
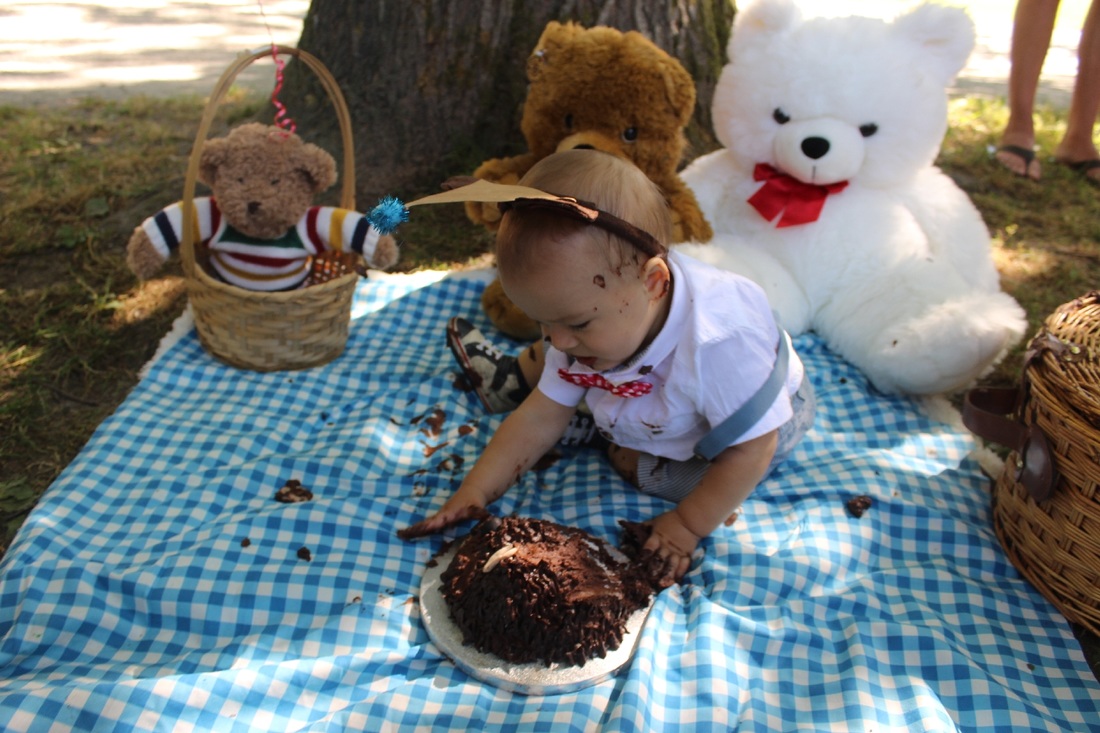
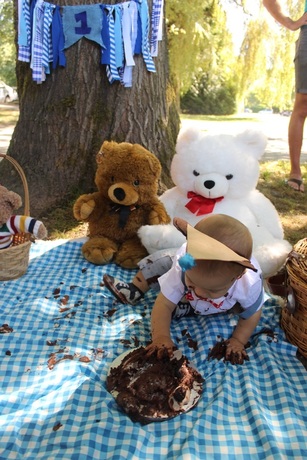
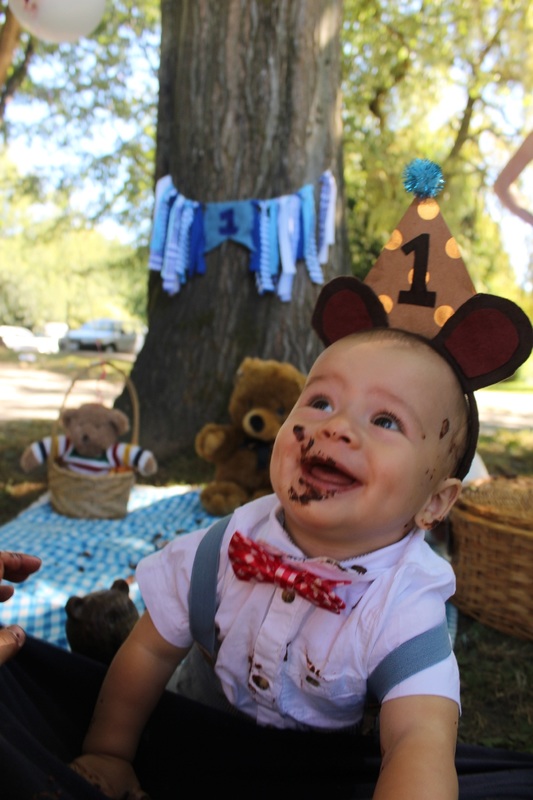
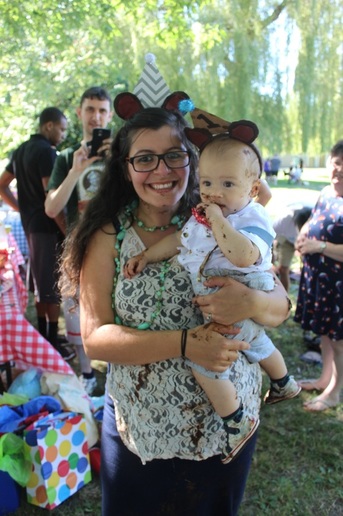
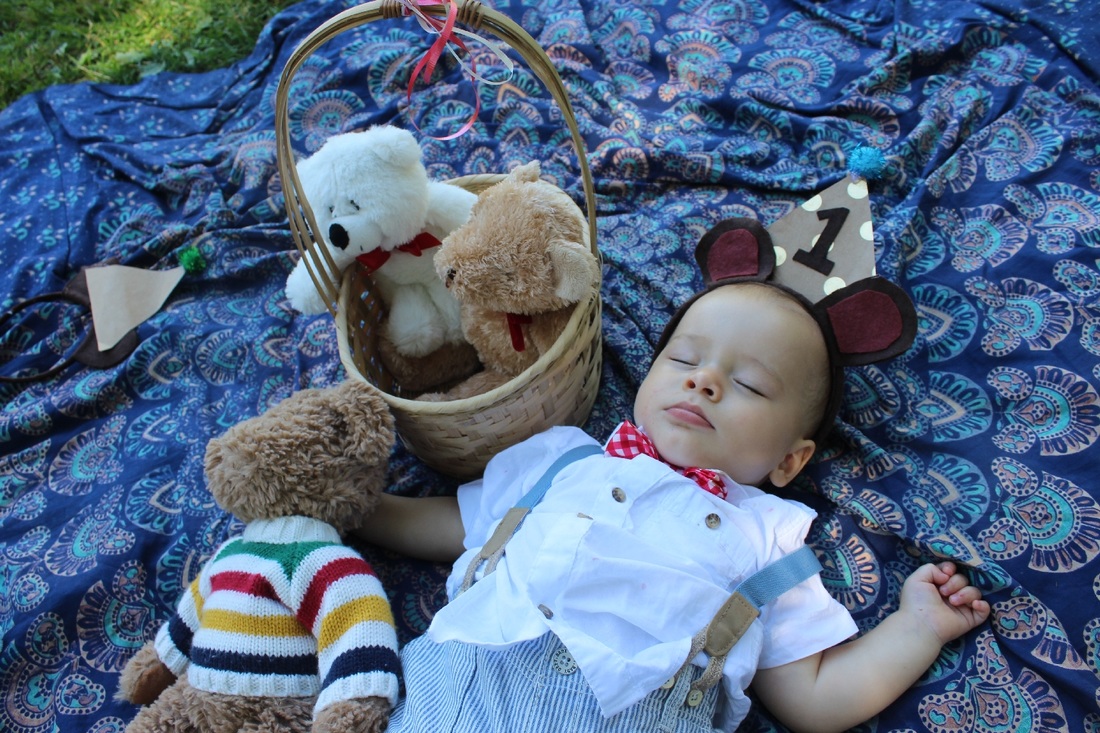
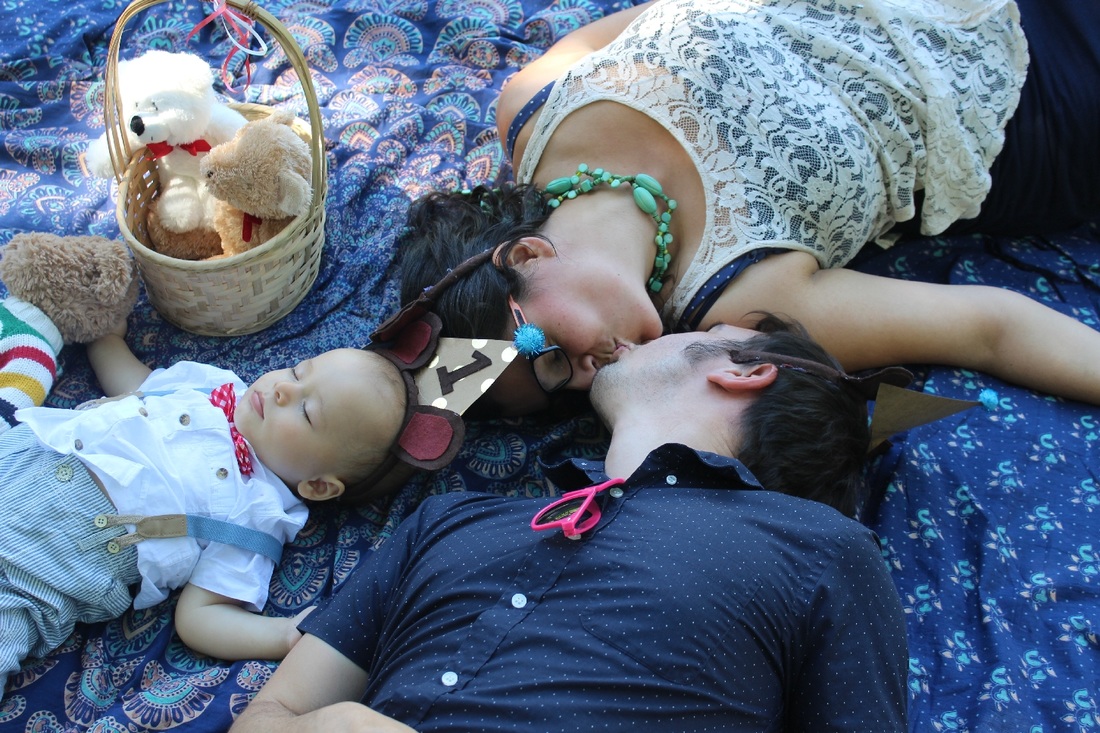
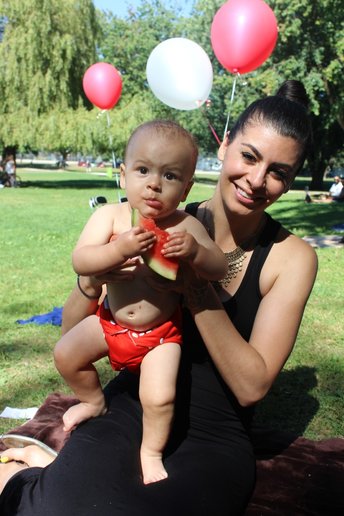
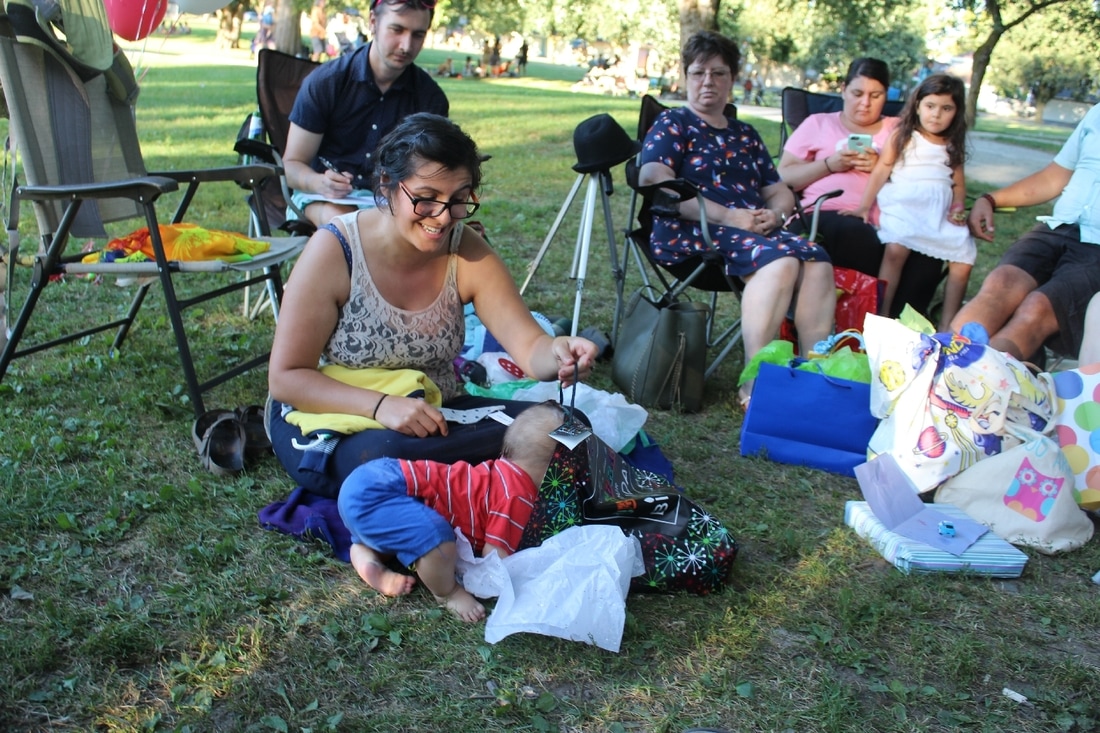
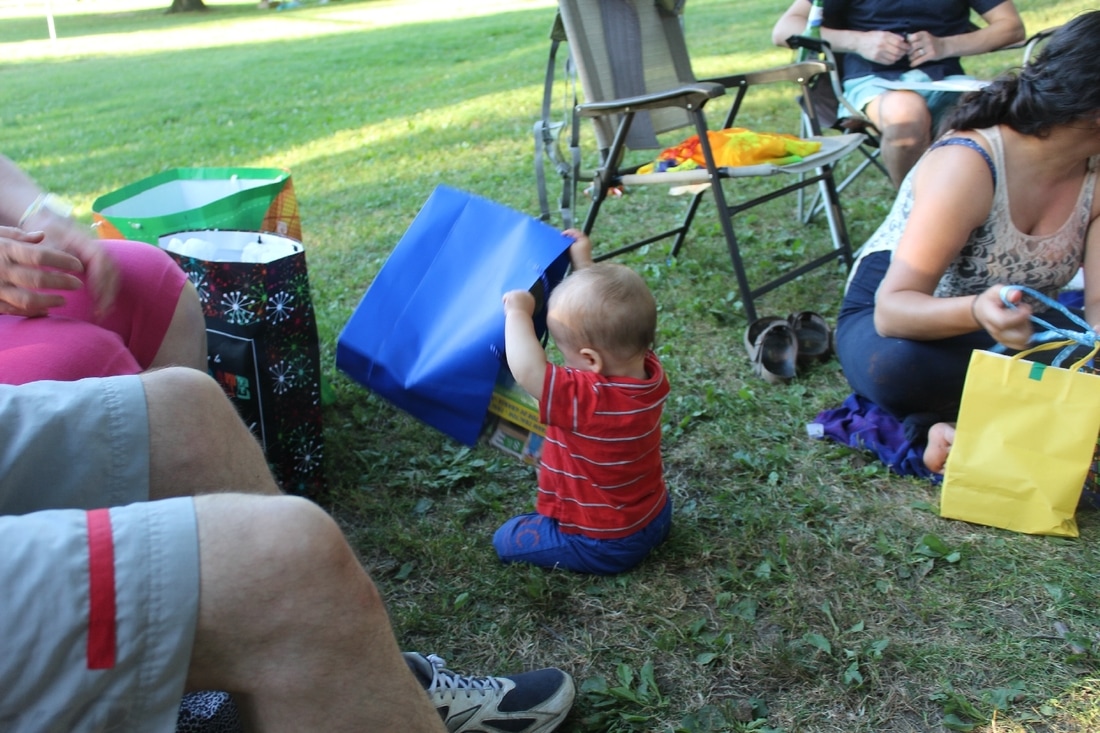
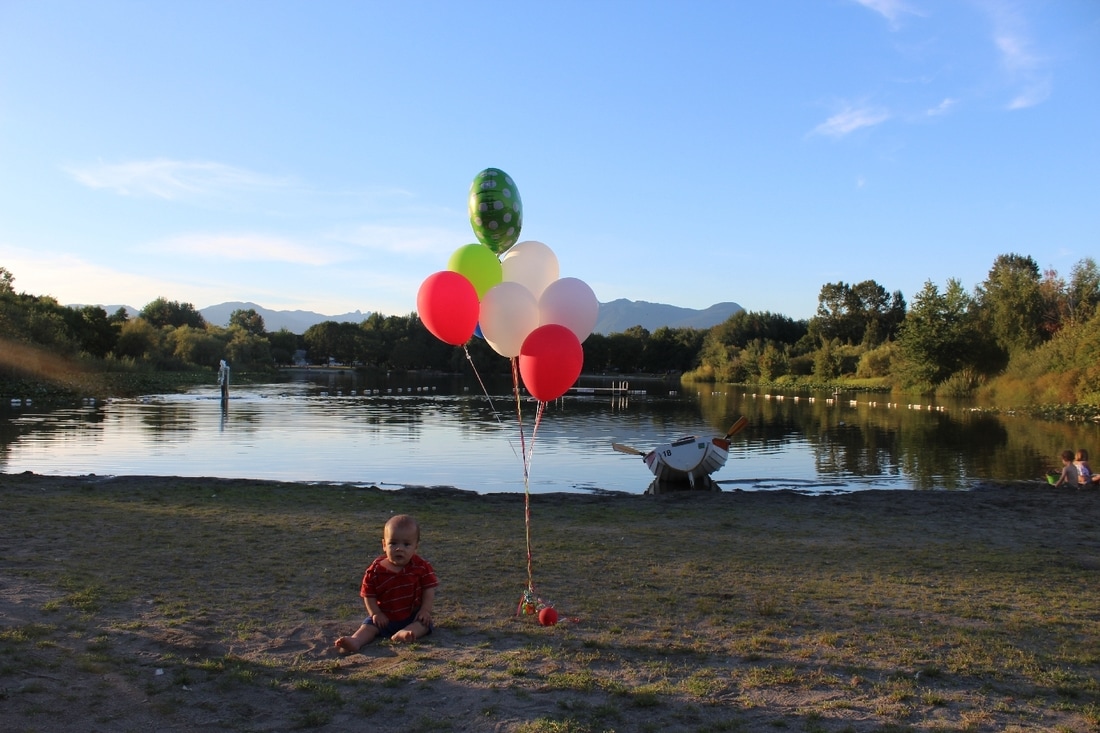
Five months ago, a very exciting thing happened: Lennon turned one! I always thought I would have a simple birthday bash for his first birthday cause he is obviously not going to remember it, but, of course, I couldn't stay away from Pinterest! I got way too much inspiration and too excited about hosting a party (it had been way too long)! Although I had been yearning to be creative, the first twelve months of Lennon's life did not allow for many DIY projects (or should I say as many as I would have liked) for obvious reasons so I felt that this was my chance to get creative and do lots of DIY projects. I felt that this was also a celebration for the hubby and I getting through the roller coaster that is the first year of parenthood and perhaps that excitement got me hyped up to complete the task of a Pinterest inspired Teddy Bear's Picnic. Here's how it turned out: The picnic was held at a large nearby park called John Hendry Park/Trout Lake. We set up near one of the playgrounds to give kids the option to play at the park and we also made sure to be near a bathroom. The cake smash was hilarious! Lennon hadn't had any artificial sugar before his first birthday....he wasn't really sure what to make of this! Party pooper! We took advantage of this moment to take some cute photos..and totally placed a beer bottle in his hand for one of them too! It only took me 5 months to go through the photos and share them, but there's a glimpse into Lennon's Teddy Bear's Picnic 1st birthday bash. I can't say I would do it again, especially after burning my finger with the hot glue gun making the bear ears and ending up in emergency cause the skin opened up and it was nasty (luckily it wasn't that serious...it just looked really bad and was extremely painful) but I absolutely loved how it came together and it ended up being a great day. I now can't read the Teddy Bear's Picnic without getting emotional and holding back tears and looking back at these photos just makes me melt. I say that birthday 2 will involve pizza delivery and a playground but who knows what inspiration Pinterest might trigger. I really need to stay away from Pinterest! :-)
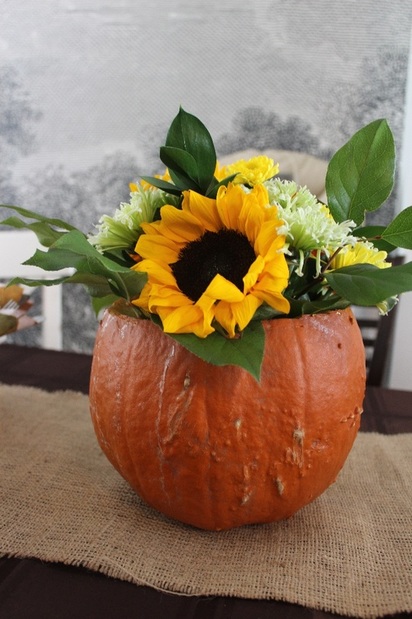
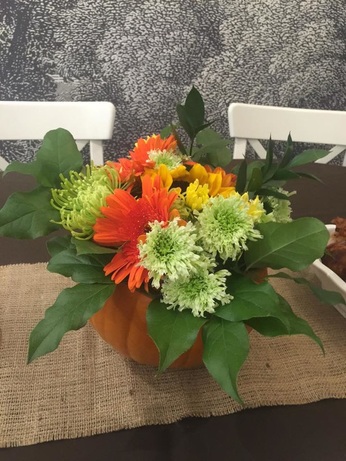
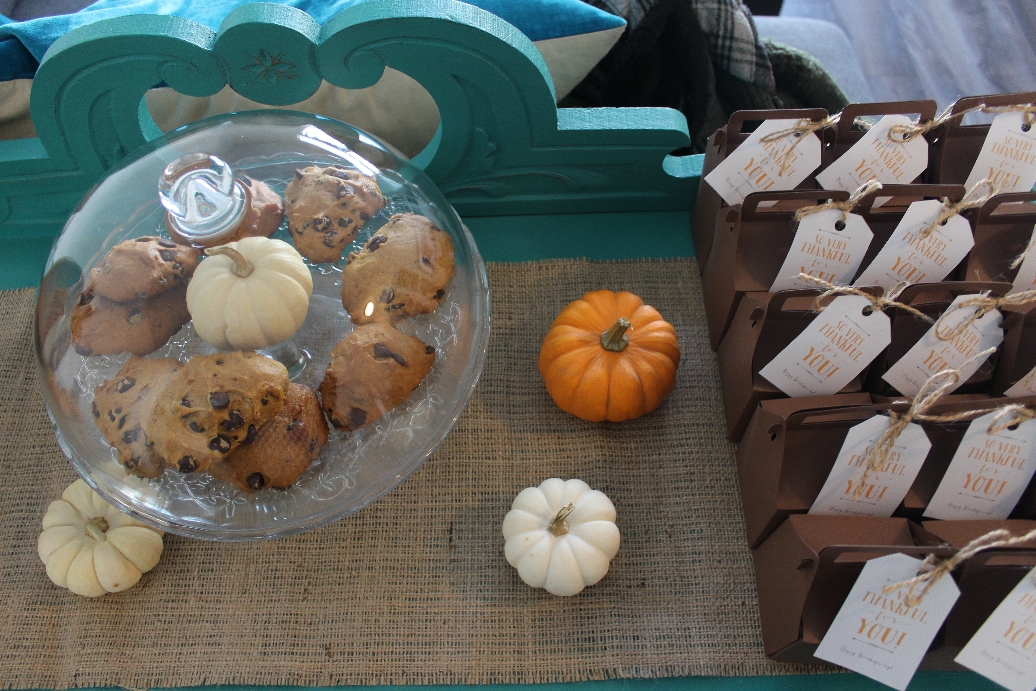
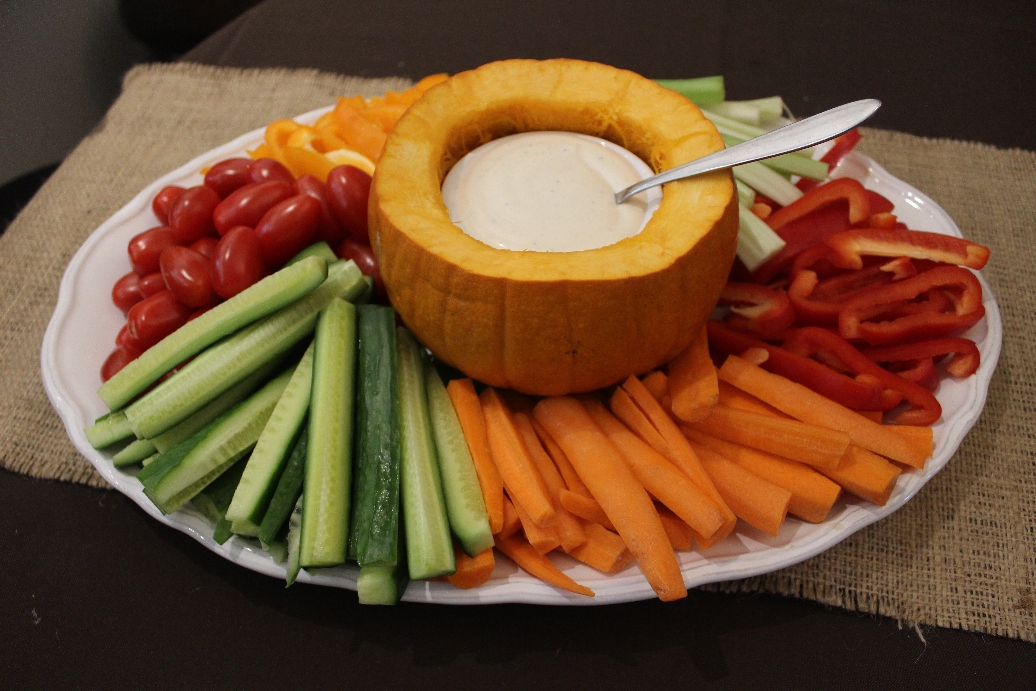
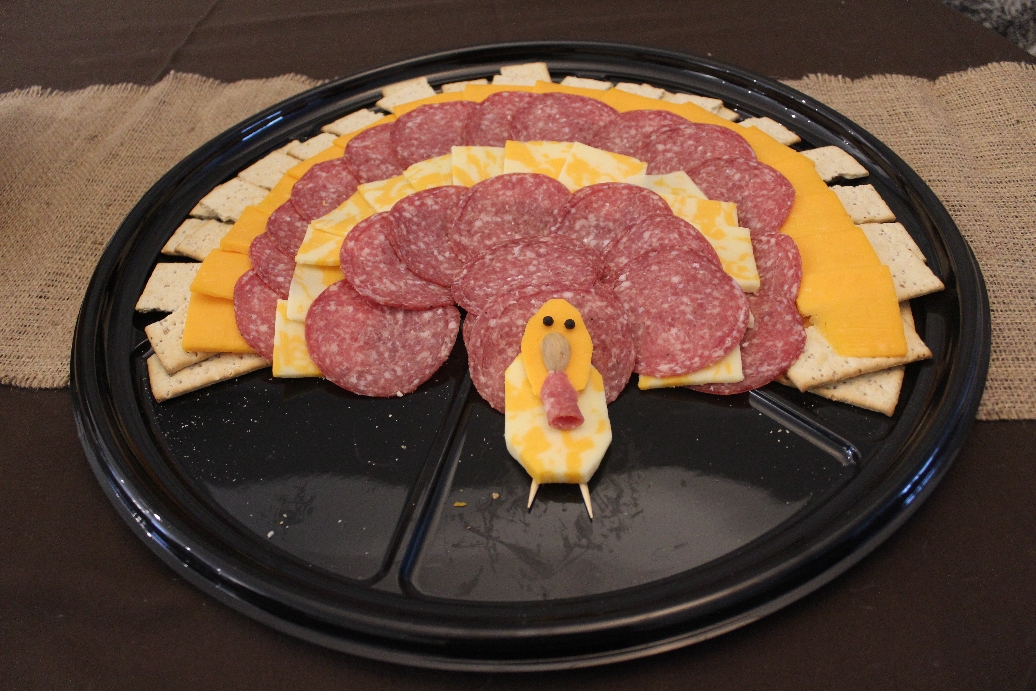
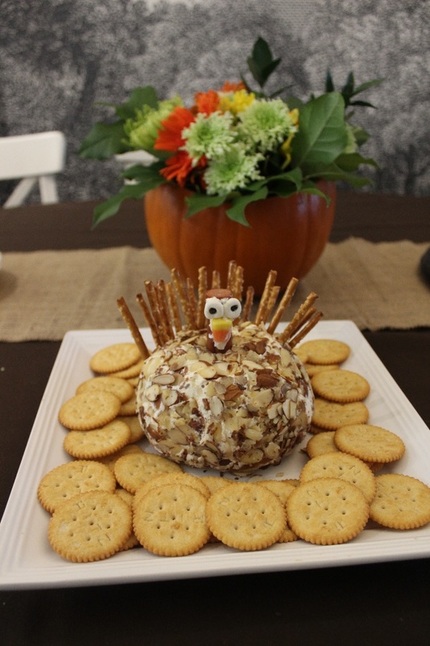
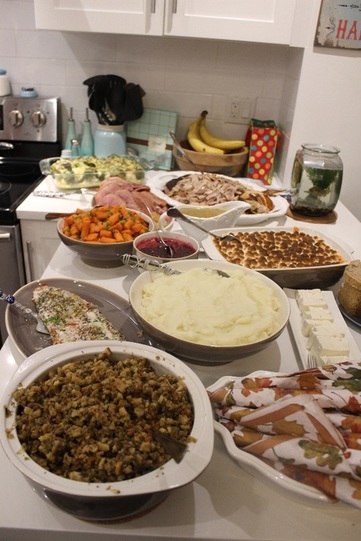
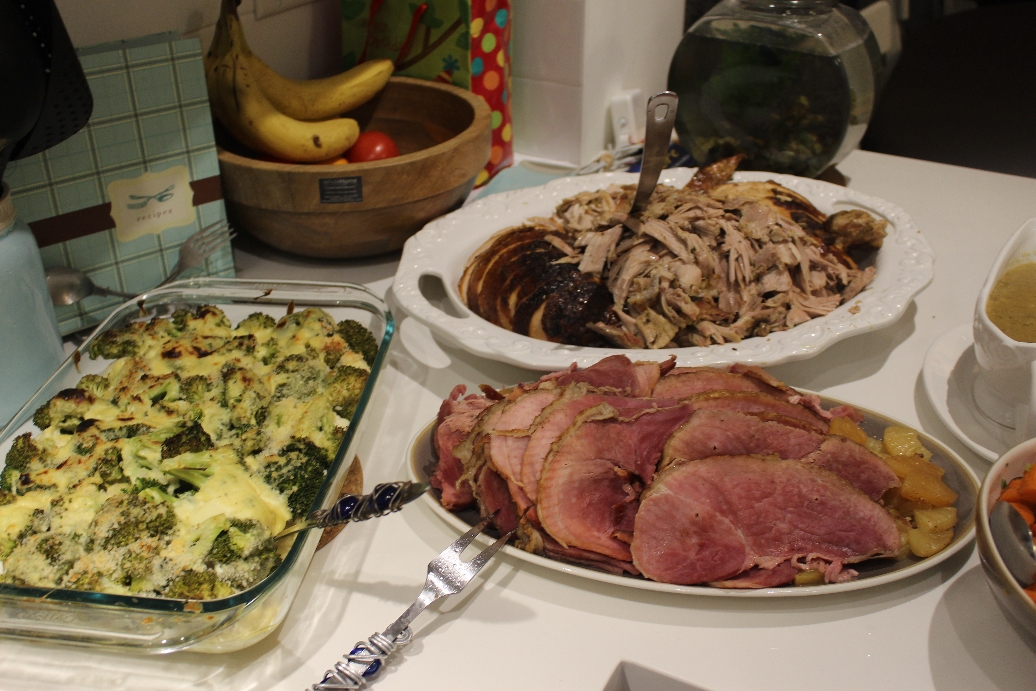
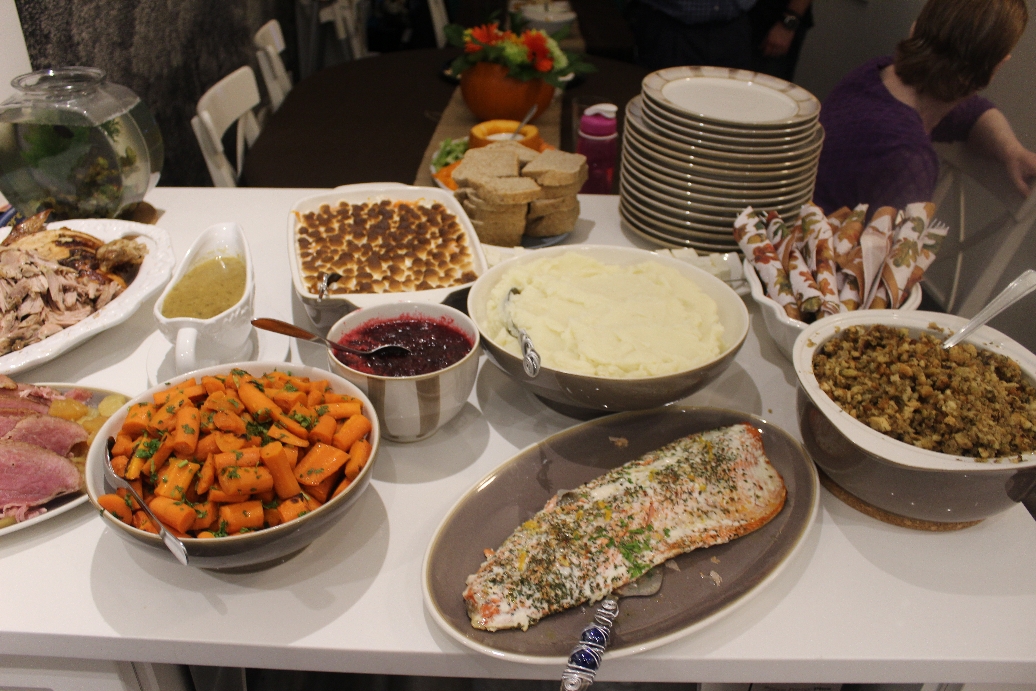
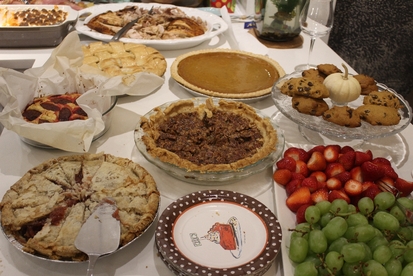
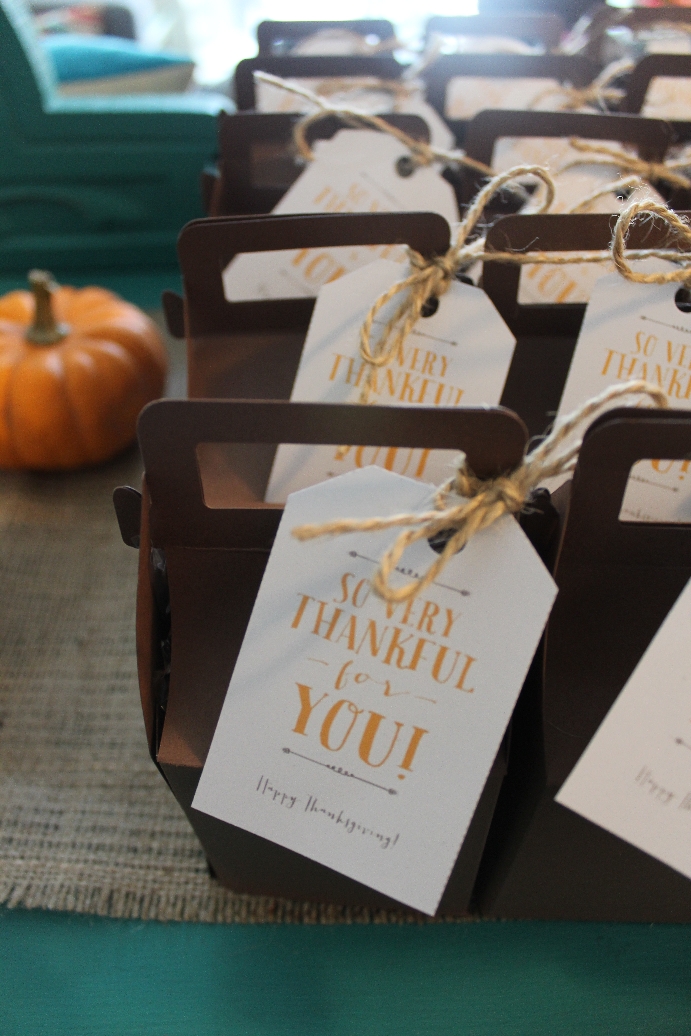
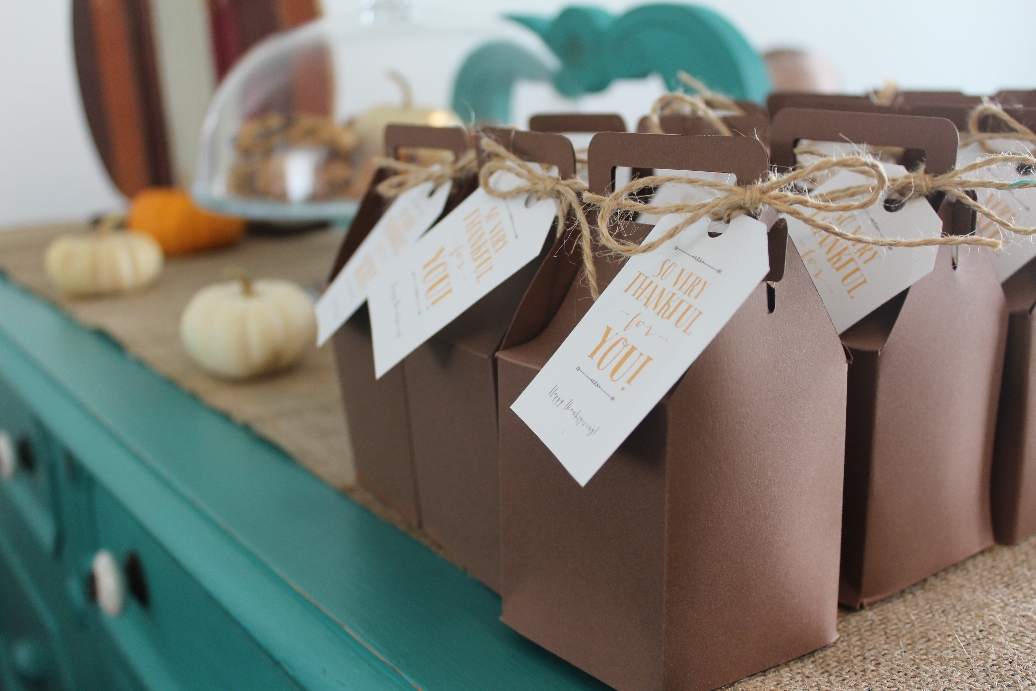
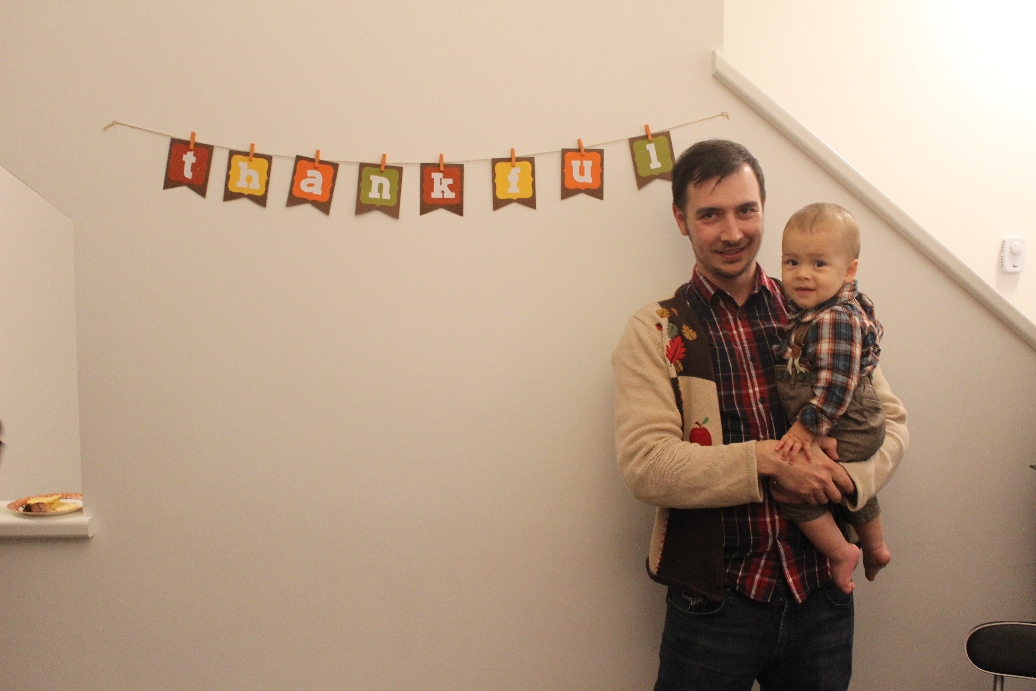
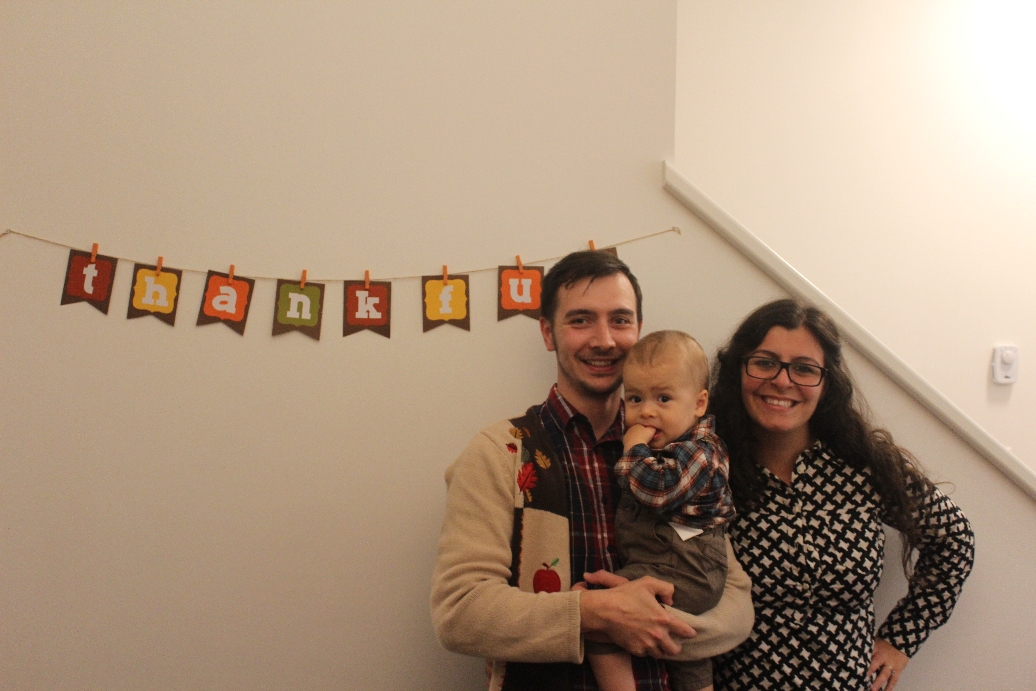
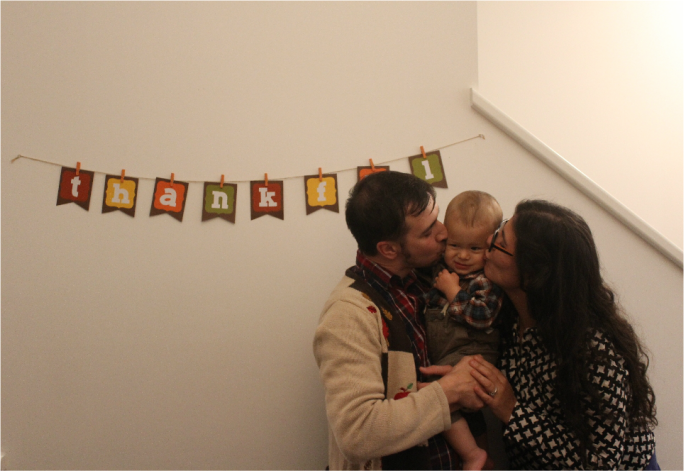
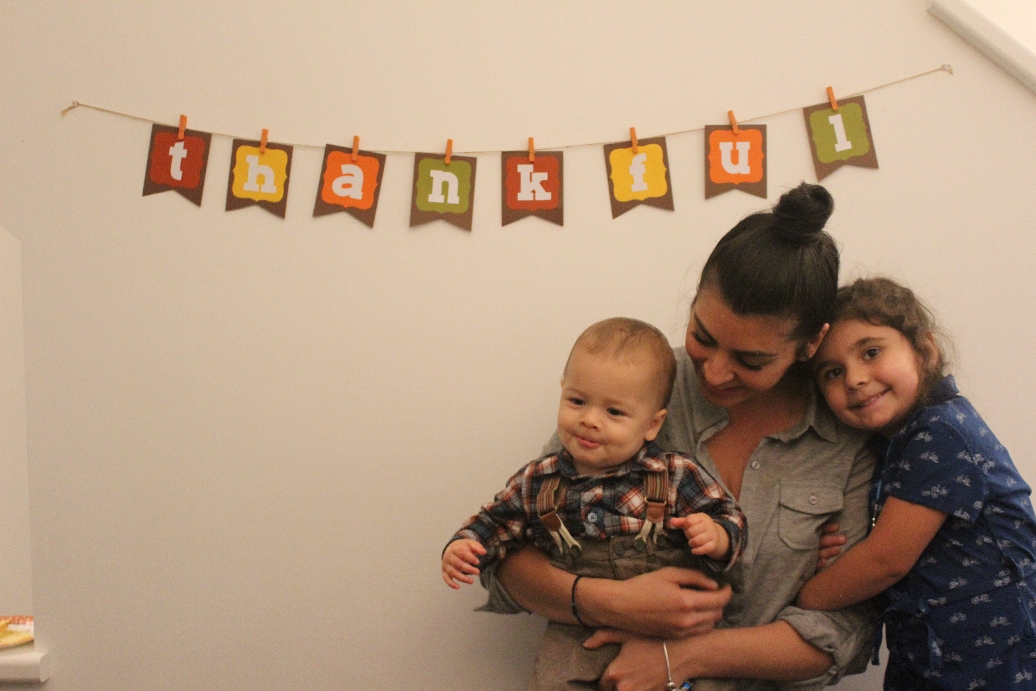
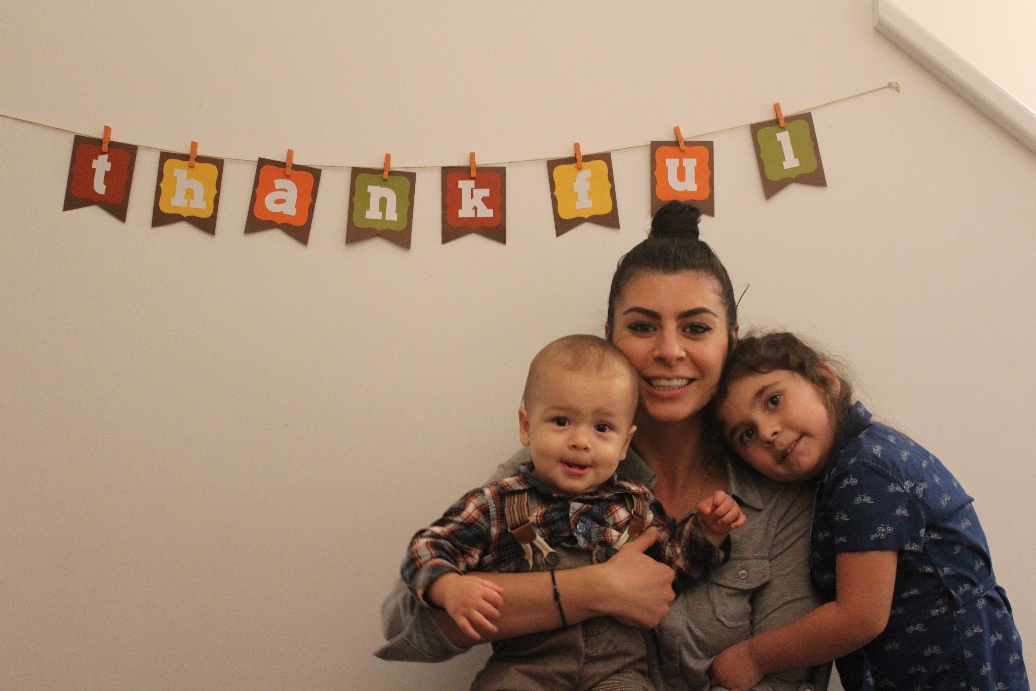
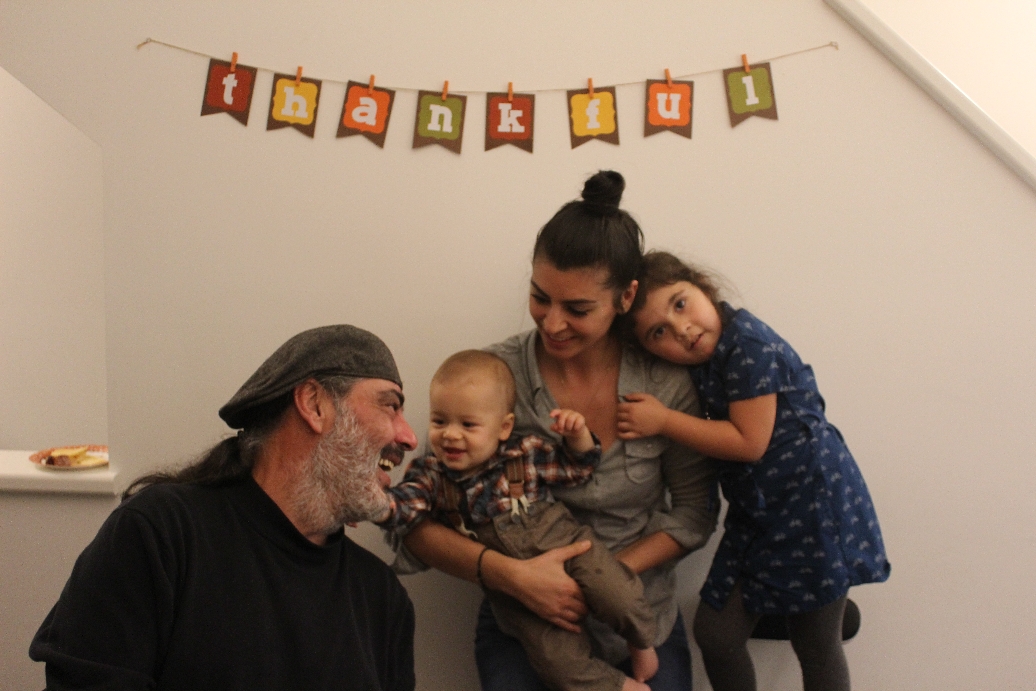
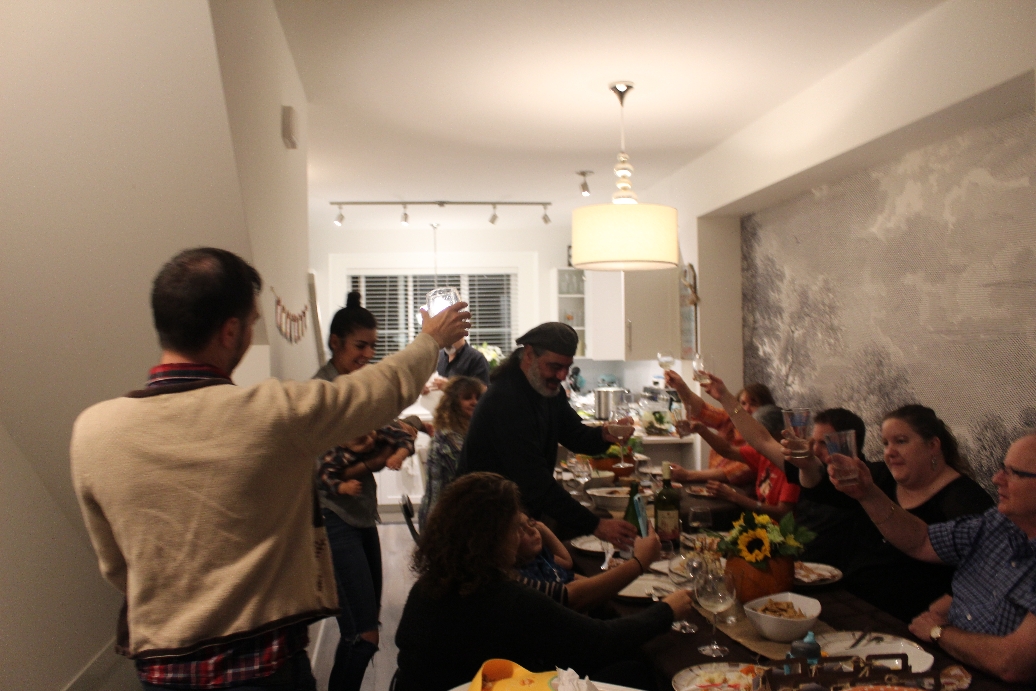
Check out my Teddy Bear Picnic Pinterest board should you need any more inspiration! Enjoy! A Pinterest Worthy Thanksgiving: Festive Food and Decor Ideas for your Thanksgiving Feasts11/24/2016 Thanksgiving came and went. Unfortunately, the food comas didn't pass as quickly, but, hey, it wouldn't be Thanksgiving without being as stuffed as a turkey! My sister hosted Thanksgiving dinner this year and here is how the Pinterest inspired shindig went down: Pumpkins are by far the best way to decorate and they look great too! Use for centerpieces, place flowers inside and use as a vase, scatter mini ones around the table....the possibilities are endless and with so many different shapes, sizes, colors, textures and varieties, you can have a lot of fun with these gourds! Here were the mini ones scattered on the welcome table...with yummy pumpkin chocolate chip cookies! Place a bowl of dip in a hollowed out pumpkin and check it how festive this veggie platter turned out! You can have a lot of fun with the food....here is a festive meat and cheese platter. Peppercorns were used for the eyes and a pistachio shell for the beak. I think the festive cheese ball was my favorite though! It was so whimsical! And was the cheese ever delicious! I don't think there was enough dessert! The DIY banner ended up doubling as a great backdrop for photos! Perry's festive thrift store find of a sweater was a great addition to his outfit! Cheers everyone! That was a little glimpse into our Thanksgiving and hopefully gives you some inspiration for future dinner parties to come. Hope you all enjoyed your Thanksgivings and those of you south of the border enjoy yours!
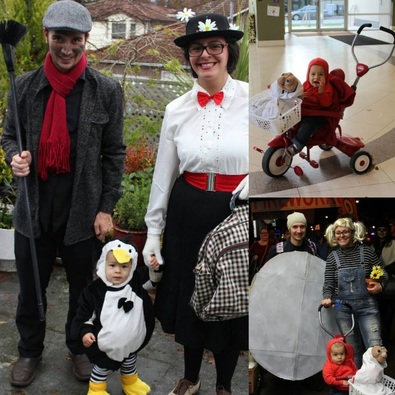
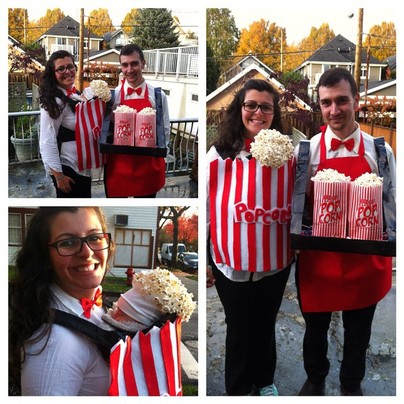
Head on over to the Parenthood section to see how these costumes came about and to get ideas for your next family/group costume!
Head on over to the Parenthood section to read about Lennon's first Halloween and see how this costume came about and how you can make your own!
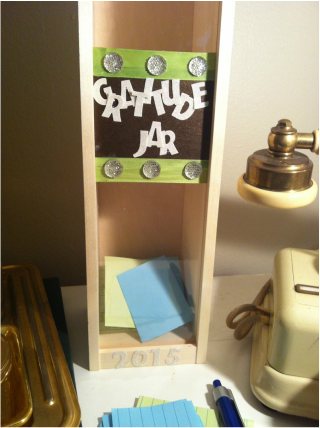
In keeping with my goal of being more positive in 2015 (and beyond), I am going to share some tools and projects that I use o help keep me positive. I will share these in the Miscellaneous section. Some of them are DIY projects so you may want to check out that section for ideas! Happy crafting everyone!
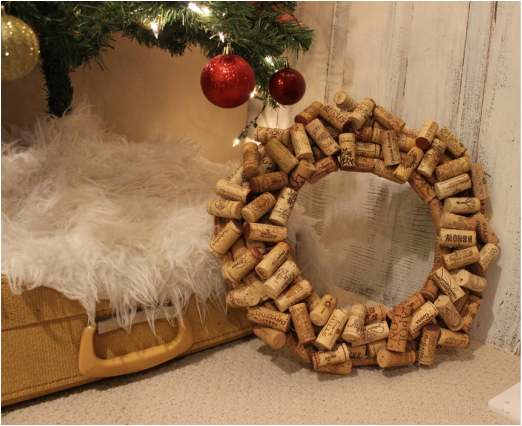
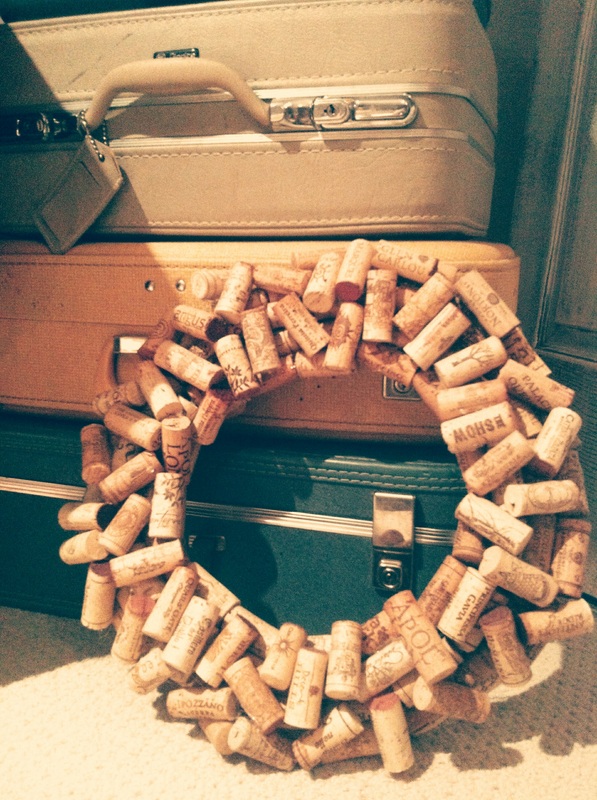
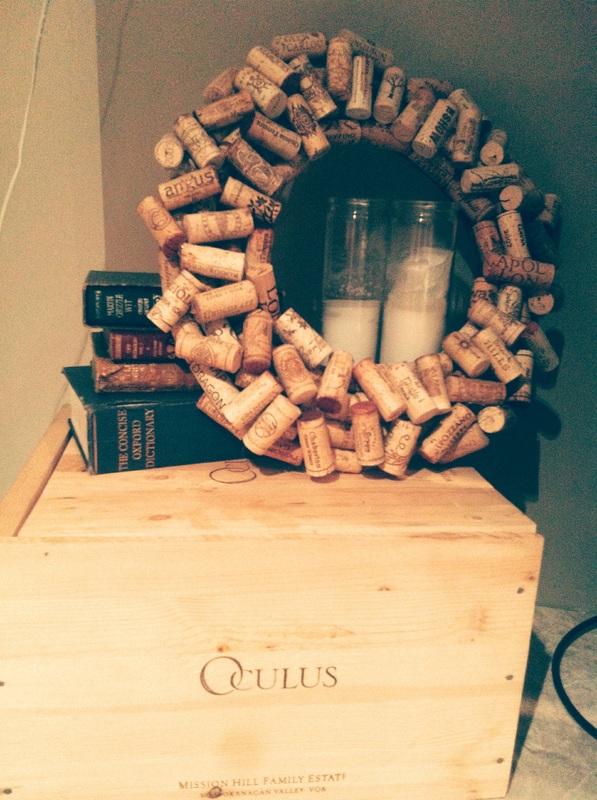
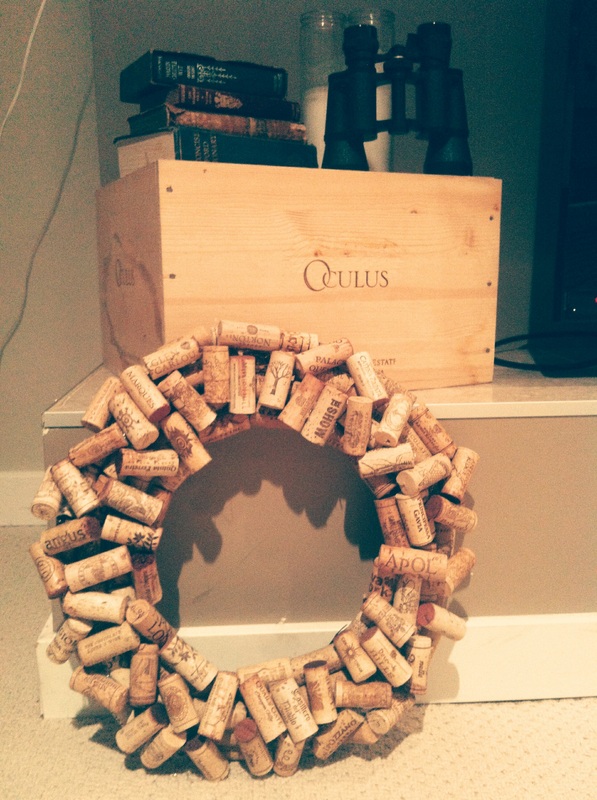
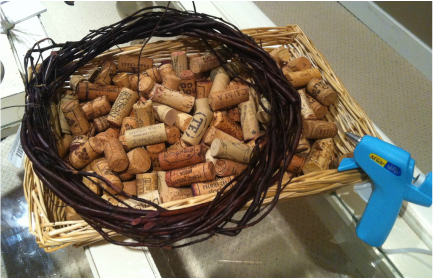
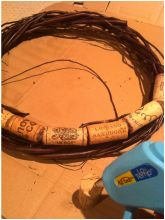
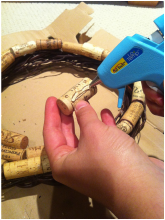
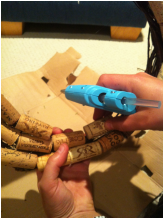
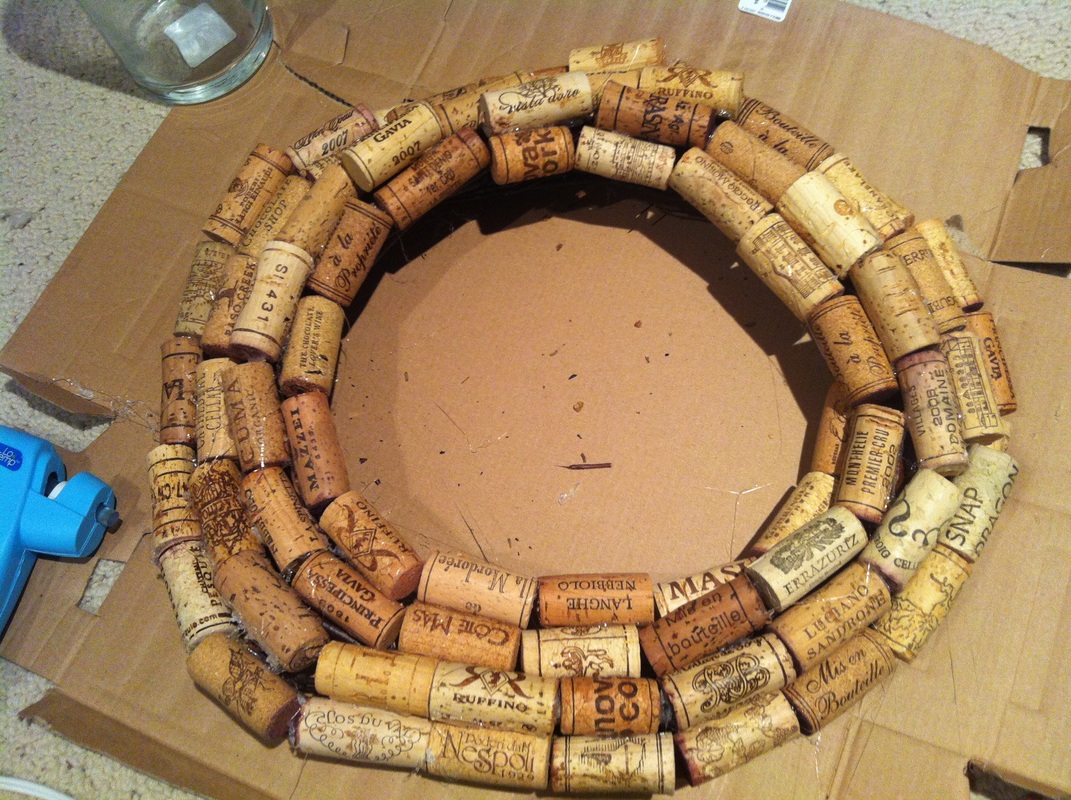
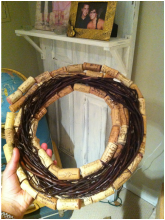
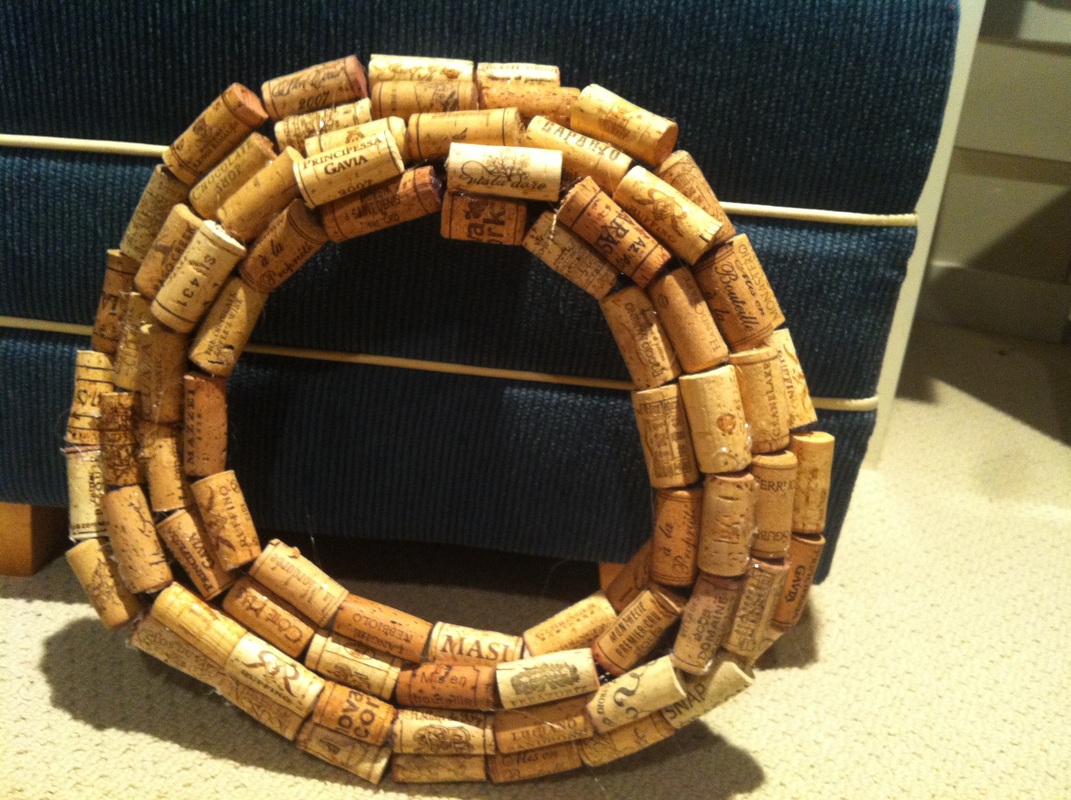
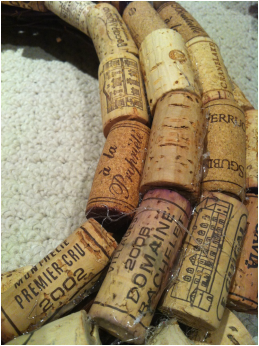
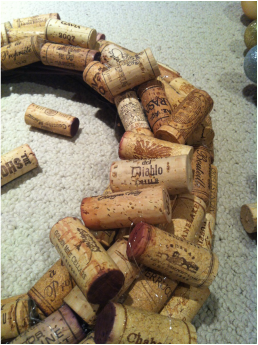
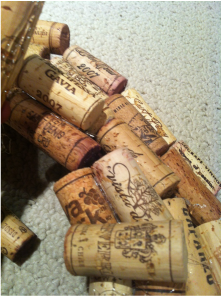
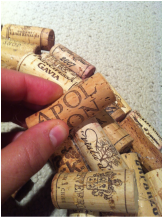
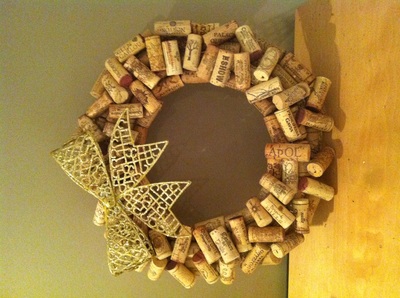
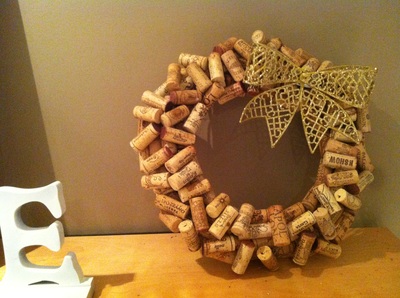
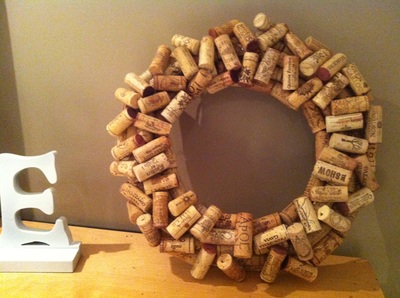
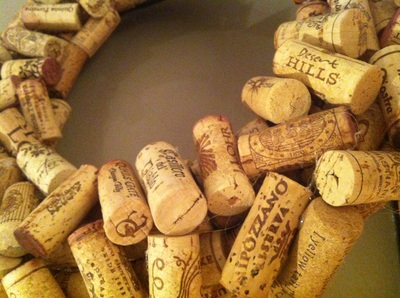
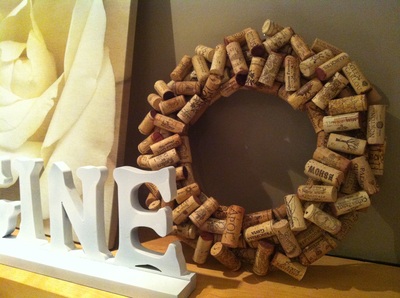
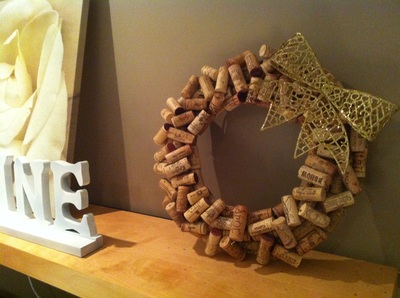
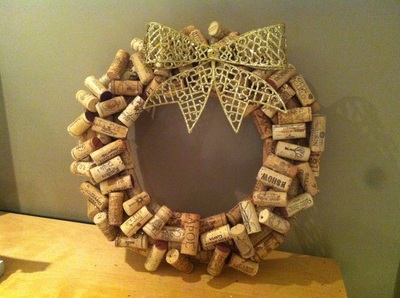
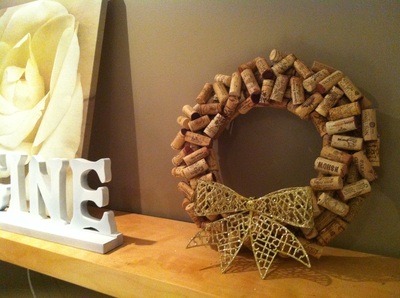
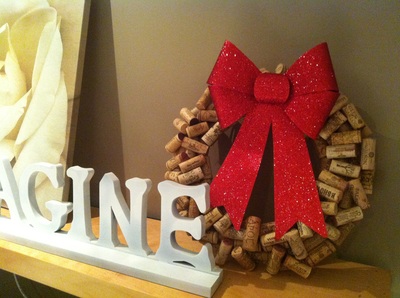
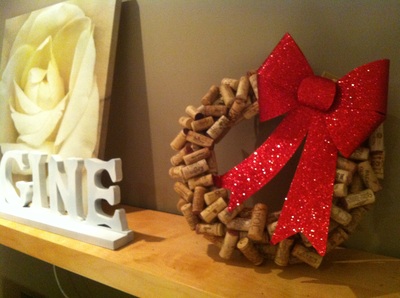
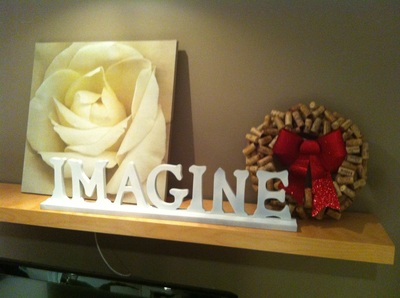
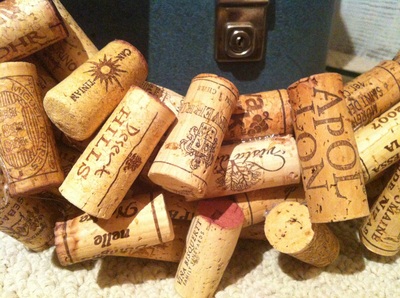
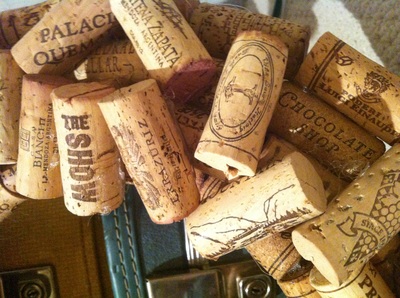
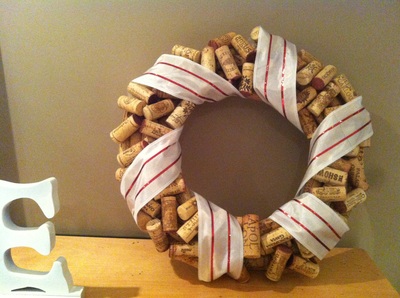
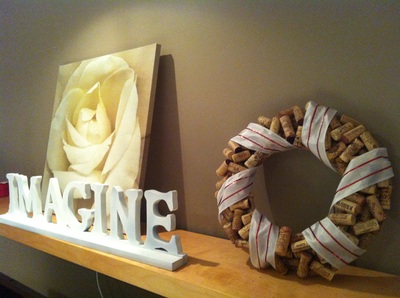
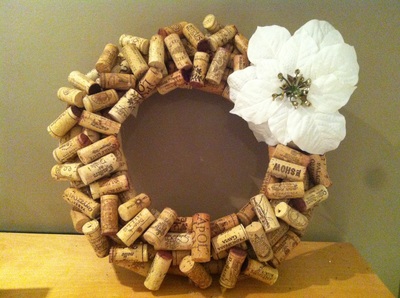
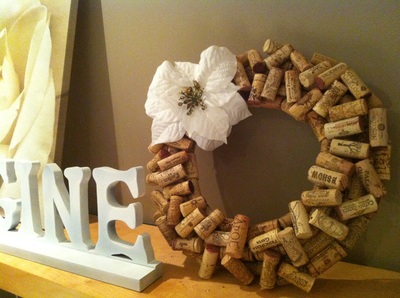
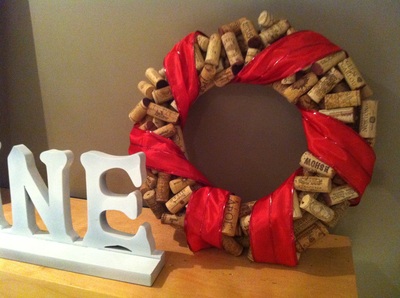
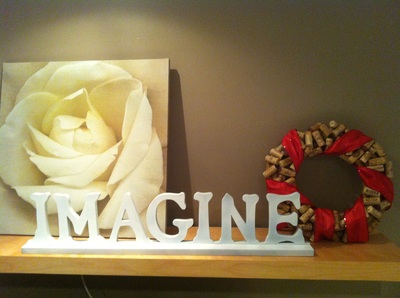
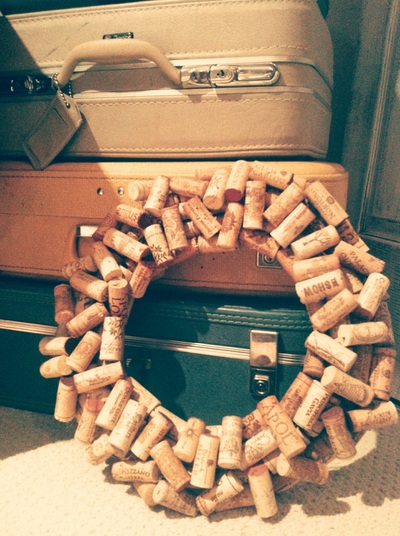
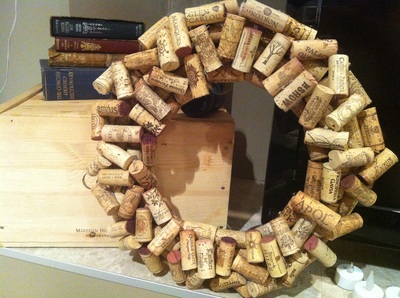
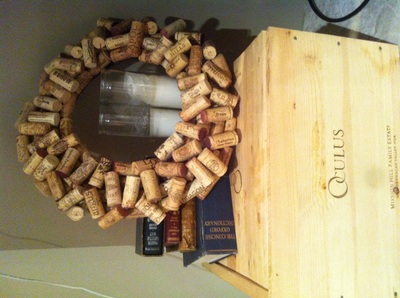
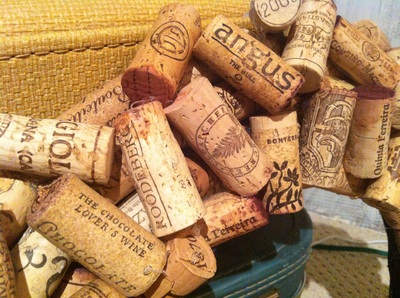
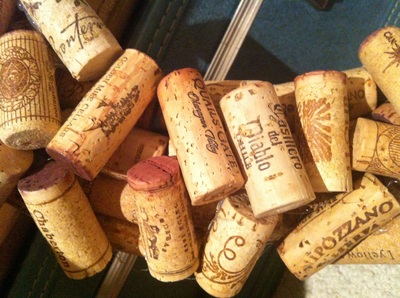
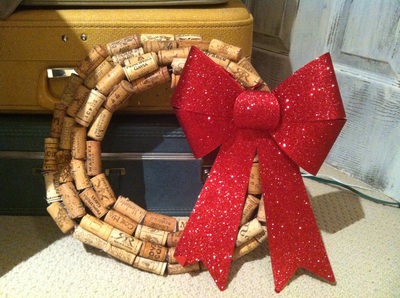
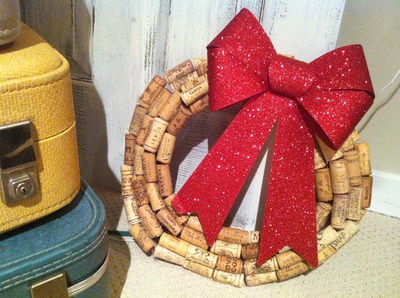
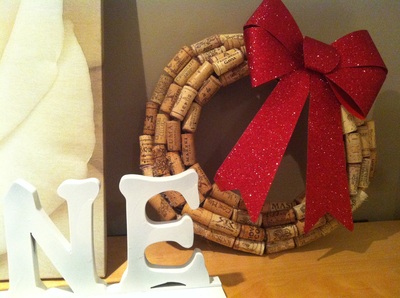
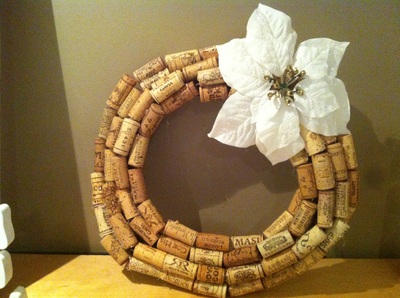
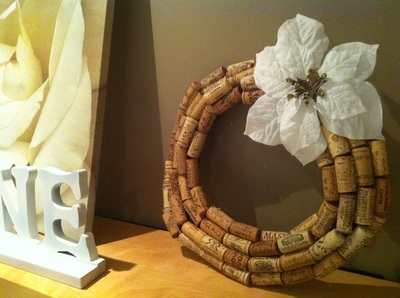
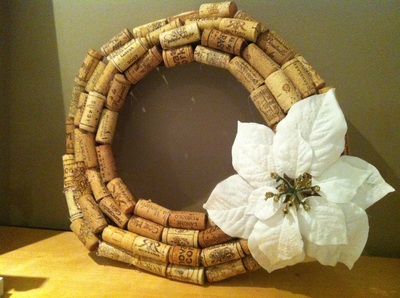
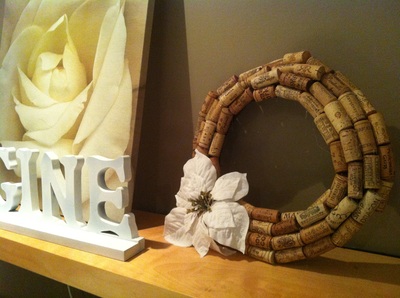
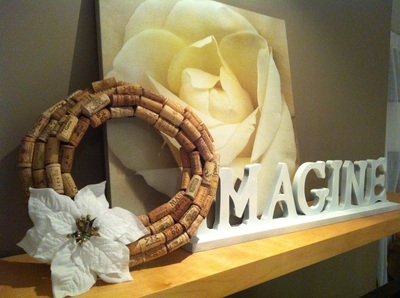
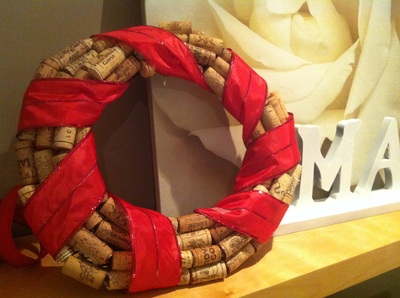
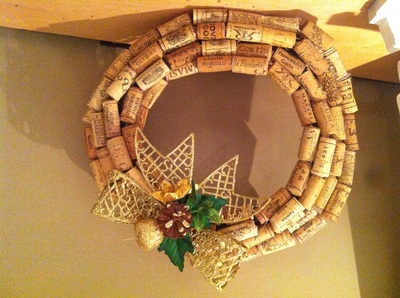
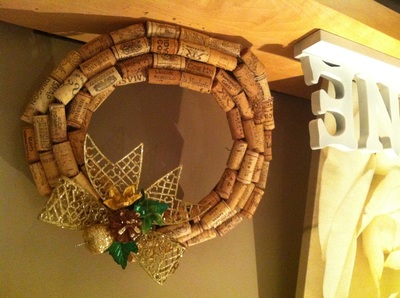
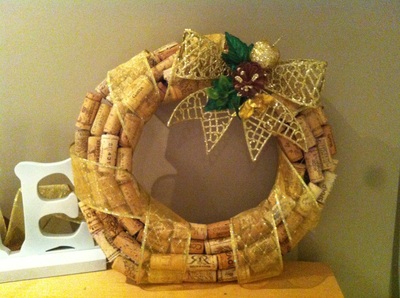
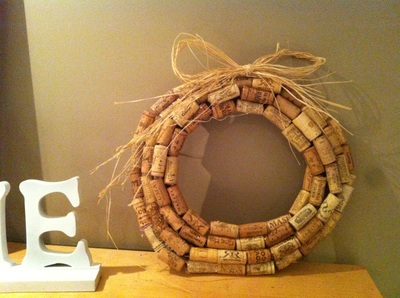
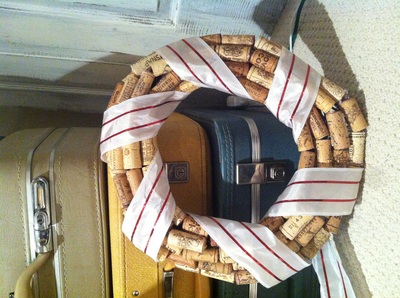
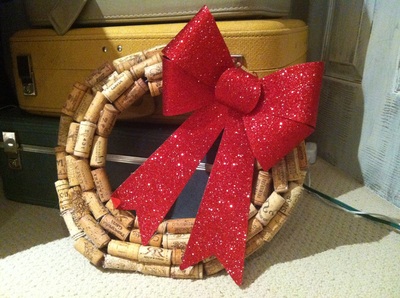
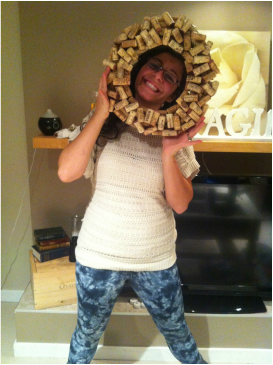
I saw a wine cork wreath in an Italian restaurant last year and just HAD to make one for myself! This is perfect for the wine-os in your life...yourself included! It is something that looks great year round, not just at Christmas time. There are two looks of wreath you can choose from, a rustic one and a more traditional one. Time needed: 1 hour (not including the amount of time it takes to consume all those bottles of wine) Cost: Under $3 (if you don't include the cost of all those bottles of wine) Kid Friendly: Yes (if you don't include them in the consuming of all those bottles of wine.. Also, best for the older ones as it involves a lot of hot glue) You Will Need: - foam, wicker or straw wreath..or anything in the shape of a wreath that you can attach corks to (I got my willow wreath at Dollar Tree for $1.25 but you can find other options at Michael's or other craft stores) - wine corks *(about 130-180 depending on size of wreath. I used 135 for my 12" wreath..see my note at the bottom about how to find wine corks if you can't seem to gather enough) - glue gun and glue sticks - ribbons, bows or anything you may want to decorate the wreath with (optional) The How To: 1. Start by covering the outline of the wreath in wine corks. I did this by gluing one row in the shape of the wreath followed by three more to cover it completely. I applied the glue to the long side of the cork as well as the flat round edge for extra security. Keep in mind you might want certain parts of the cork visible, such as the name of the winery, so glue accordingly. I would position the cork on the wreath before actually gluing it so you can see where you need to glue as to not obstruct any unique detailing on the cork. If you are going to make the more traditional looking wreath rather than the rustic looking one, then the corks on the bottom that outline the wreath do not matter so much as they won't be visible. If continuing to steps 3 and 4, save your favorite corks for then. 2. When the outline of the wreath is covered, it may not look like a perfect circle, especially if you chose a wreath base like mine that is sort of rustic. It will start to look more like a circle once you continue adding corks (steps 3 and 4). I actually also like the look of the wreath like this. I think it looks more rustic and some of you may choose to keep it this way which is why I suggested this look. See photos at end of tutorial for further ideas with this rustic look of wreath. You can see the imperfections but as one of my old bosses used to say: "perfect is boring!" 3. For the more traditional look, start adding corks in all directions to cover the outline. At first, I was trying to get all my corks to face the same direction (as in the names of the wineries etc) but then I thought it is more appropriate and suitable if they are all facing opposite directions. It brings out the wine-o in you (as if having a wreath made out of wine corks doesn't bring out the wine-o in you already). Place corks to fill any gaps that are visible (see photos below for example) and be sure to place any of your favorite corks on the top. I actually did a "draft" by placing corks on top of the entire wreath before actually gluing them down to get an idea of where I wanted which corks. It may be hard to balance the corks when doing the "draft" due to the base not being flat but it does help to give you an idea of where to place the corks. 4. When the placing of the corks and all the gluing has been done, finish off the wreath by adding a bow or ribbon (optional). See photos below for ideas of ways you can decorate the wreath. Ideas for the traditional/fuller looking wreath (click on an image to view gallery with ease): apologies that some images may be upside down...I am working on fixing this problem Ideas for the rustic looking wreath (click on an image to view gallery with ease): apologies that some images may be upside down...I am working on fixing this problem And that's it! I absolutely LOVE LOVE LOVE the look of this and am so happy it turned out the way I had envisioned! Which look do you like best? If you attempt this project, please share photos of your finished wreaths with me (contact details and social media info on the top right hand corner). Hope you enjoyed this tutorial. Keep checking back for more. Happy crafting everyone! *Where to Find Wine Corks:
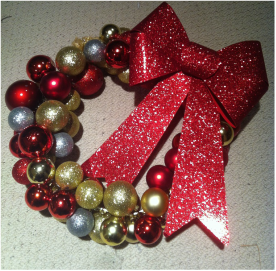
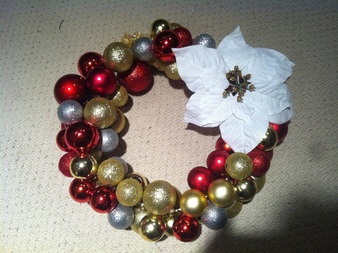
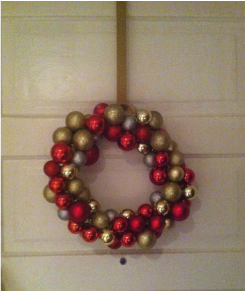
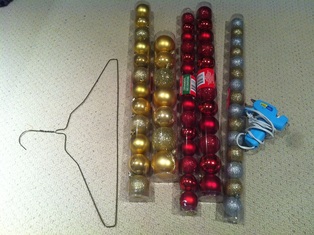
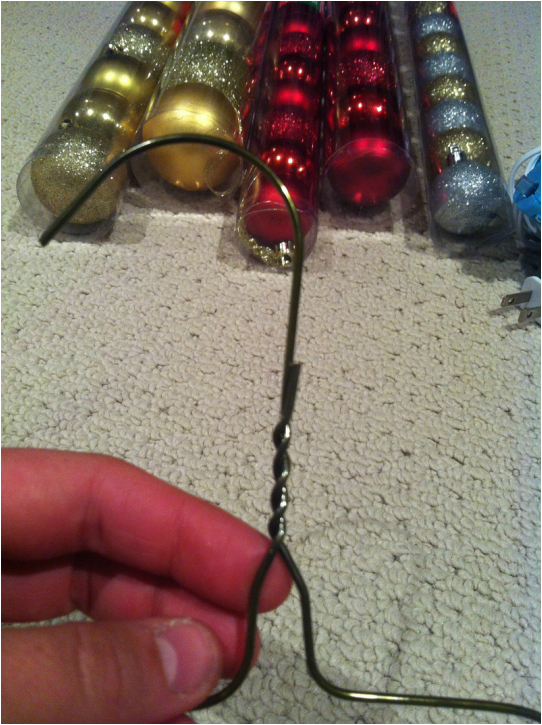
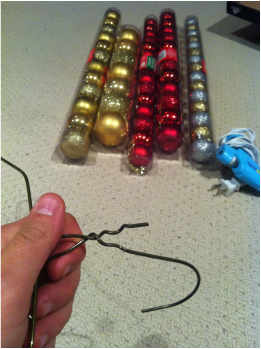
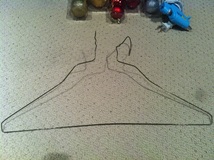
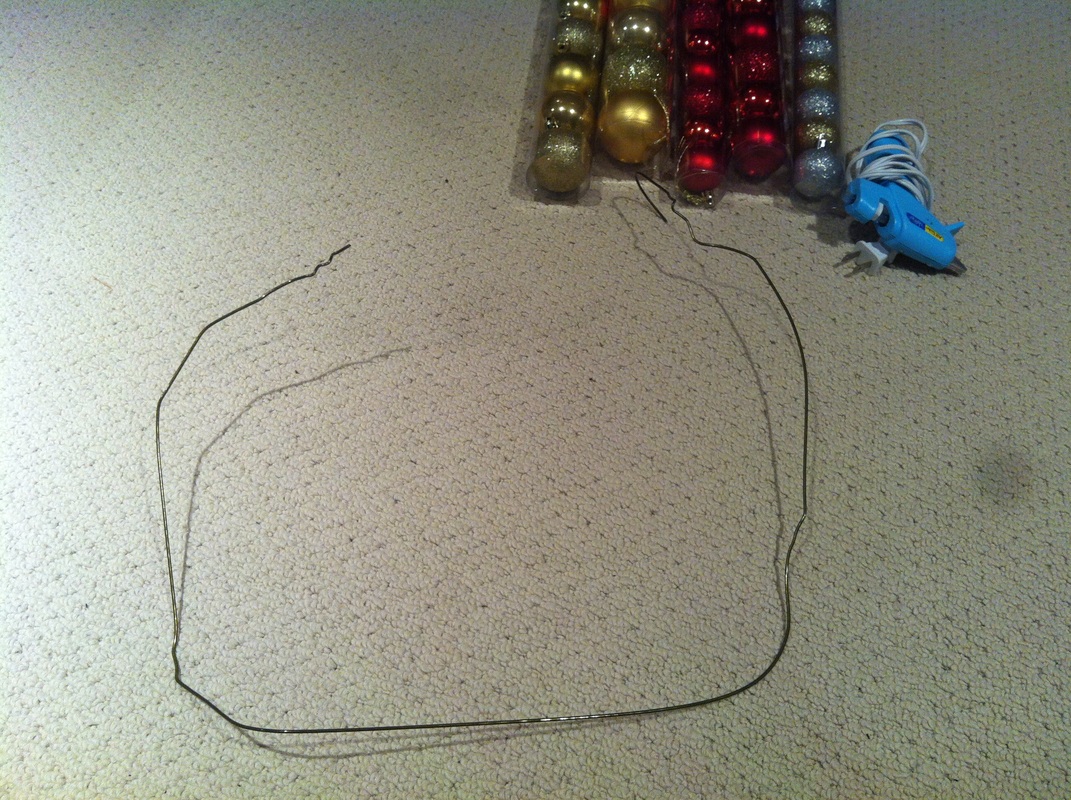
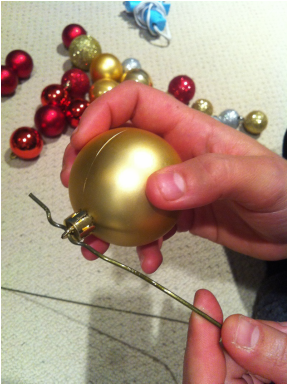
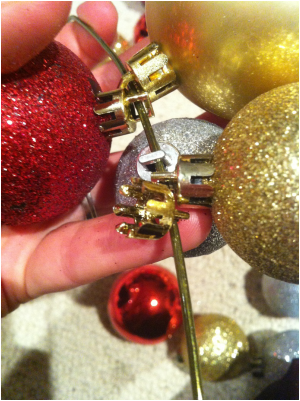
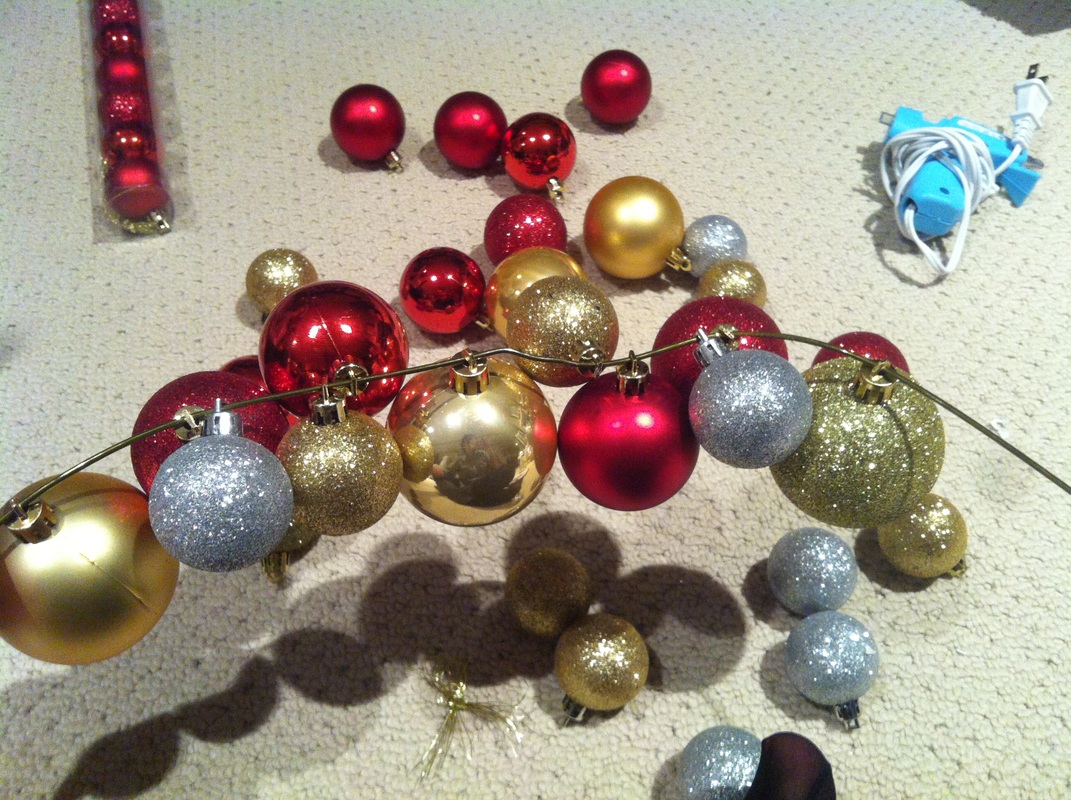
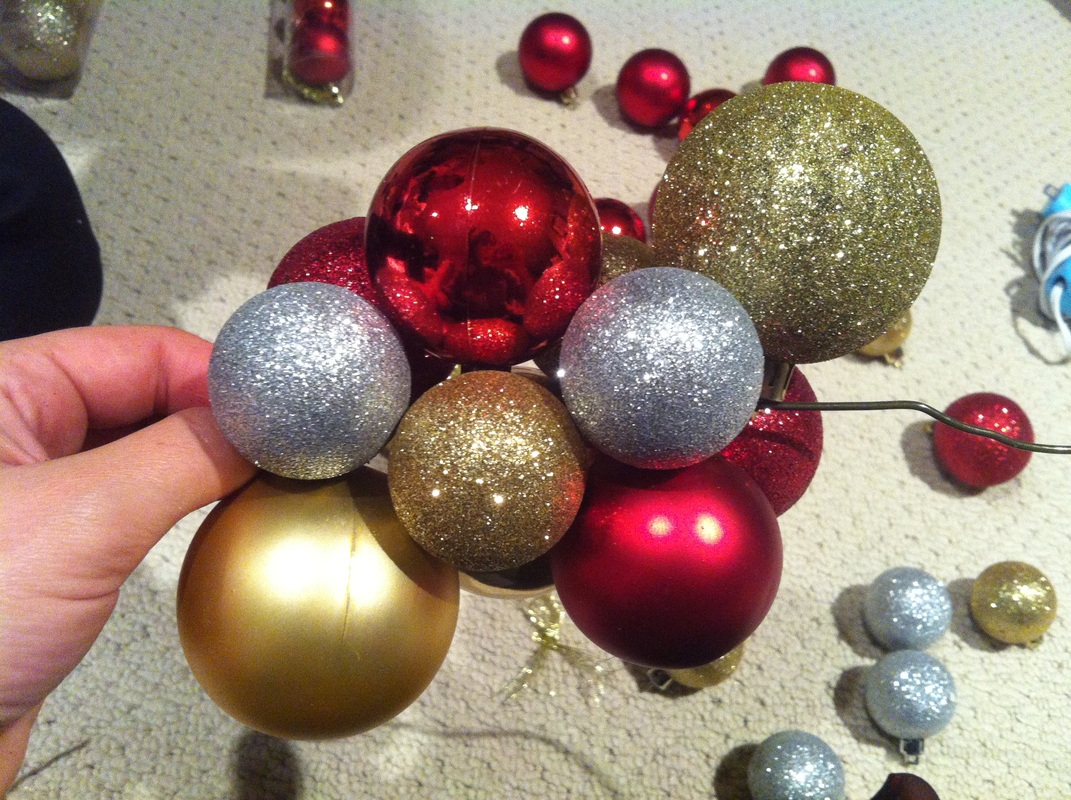
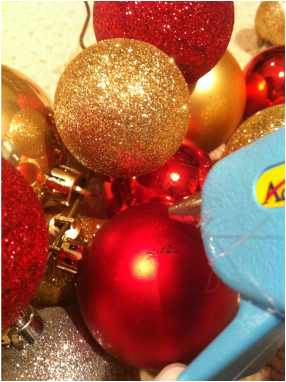
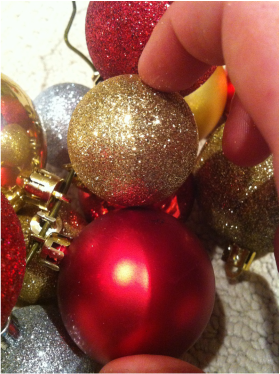
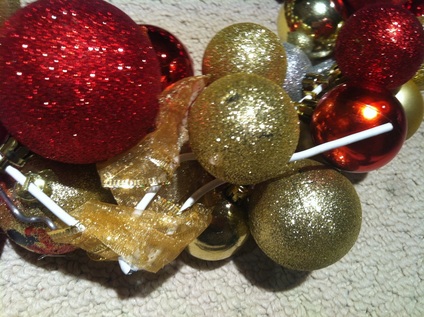
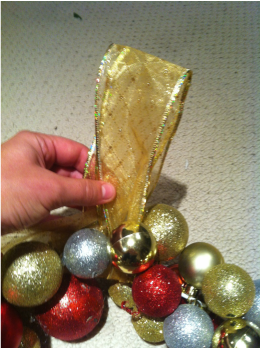
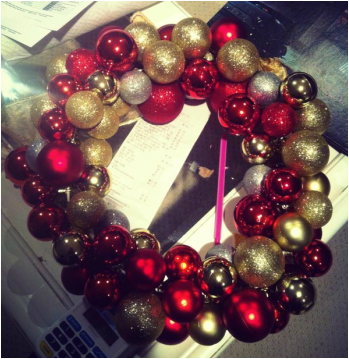
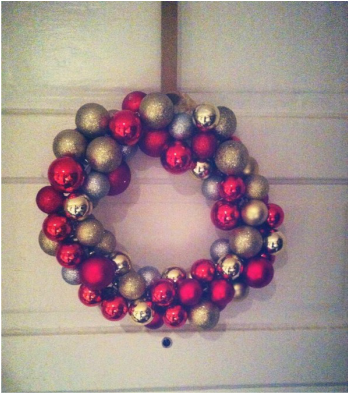
I began collecting wine corks about a year ago and no matter how much wine we consumed, I just could not gather enough for this project. Even with a trip to Napa Valley in the summer, I couldn't collect enough! I guess this is because I was wanting to use the non synthetic corks and a lot of the wine we drink has screw caps rather than corks. The neighborhood that I live in has an online mailing list where people in the community can post about events, things for sale or things they are looking for etc so I decided to post on there to see if anybody had wine corks they were looking to get rid of. To my surprise, two ladies replied with nearly 200 corks each to give me! So one suggestion is to ask around in the neighborhood or even ask your family and friends to start saving them for you. You can also post an ad on Craigslist! Another idea - ask your local restaurants to save them for you! You can thank them by baking them cookies or giving them a box of chocolates! If you know anyone that owns a restaurant, ask them as well! And finally, you can ask at local U-brews/winemaking facilities, although these corks will be generic ones and most likely all the same (which will make for a nice wreath as well). Any other ideas of where you can find wine corks?! I've always loved the look of these and I had no idea it was so easy and effortless to make them until I actually went ahead and made one! No concentration needed. Just turn on the Netflix, pour yourself a glass of wine (or rum and eggnog) and DIY away. Time needed: 1 hour Cost: Around $10 (*depending on price of baubles. See Notes on Supplies below) Kid Friendly? Yes but you may need to assist with glue gun depending on age You Will Need: (*see Notes on Supplies below) - a wire clothes hanger - Christmas baubles (around 70-90 depending on size) - glue gun - ribbon or something to hang the wreath and/or to decorate with (not pictured) Directions: 1. Untwist the hook part of the hanger and form into a circular shape to the best of your ability. It doesn't have to be absolutely perfect as the baubles will help to form it better and they will hide any imperfections in your circle. 2. Insert the metal tip of the baubles into the hook. Kind of like you are beading a bracelet. My Christmas baubles are from the dollar store and the metal top is not very secure on the bauble. The ball part kept coming away (see photo below) so I reinforced it by removing the metal tip and gluing it back on with a hot glue gun. This isn't necessary if you feel your baubles are secured to the metal tip. 3. As you place more baubles on the wire hanger, push them as tightly together as you can and you will notice your wreath coming together in a random but beautiful arrangement. There is no point in trying to make a sequence as the baubles do their own thing when you push them together. Just try to alternate colors and sizes so that you don't get blocks of the same color (unless this is the effect that you want). 4. Keep placing baubles onto the wire hanger until you reach the end. If you'd like, you can glue some baubles in place so they don't move around (see photo). 5. When you reach the end of the hanger, connect the two ends of the hanger by twisting them together as it was connected to begin with. You can either leave the hook of the hanger as is (exposed) and cover with a ribbon or you can bend it back behind the wreath and place a little bit of ribbon that will hide it and allow you to hang it. If you find there are some gaps in the wreath, you can fill them in by gluing a bauble into place. 6. If you'd like to jazz it up some more, add a decorative ribbon or something festive (as pictured in photos at the beginning of post). And that's all there is to it! Hope you enjoyed this tutorial. If you end up attempting this project, share your photos and feedback with me! I'd love to see how they all turn out. You can find me on Instagram (@katthegrecian) and Twitter (@katthegreek). Other contact details are on the top right hand corner of my blog. Happy crafting everyone! Notes on Supplies:
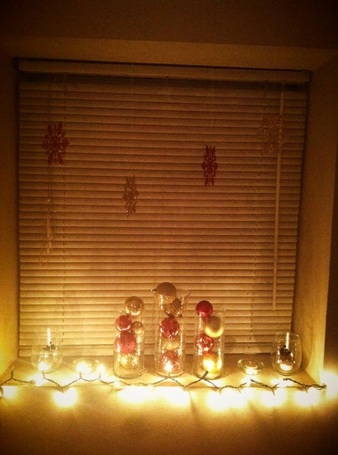
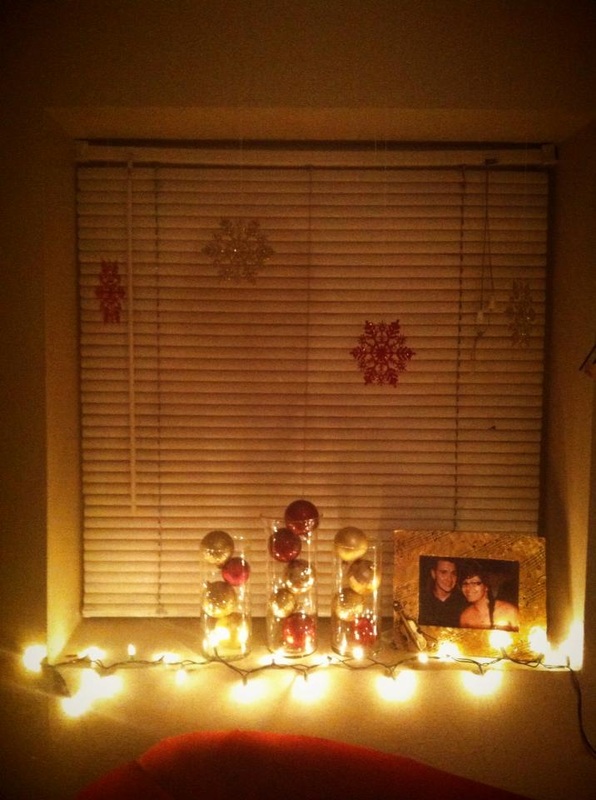
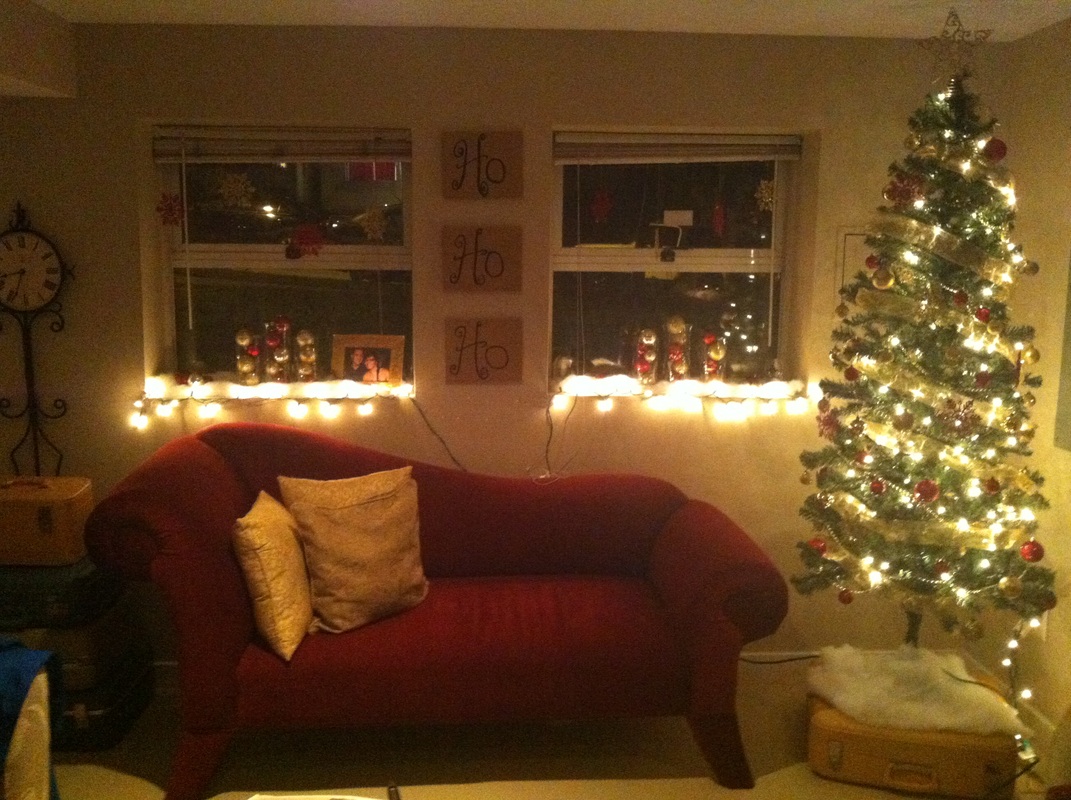
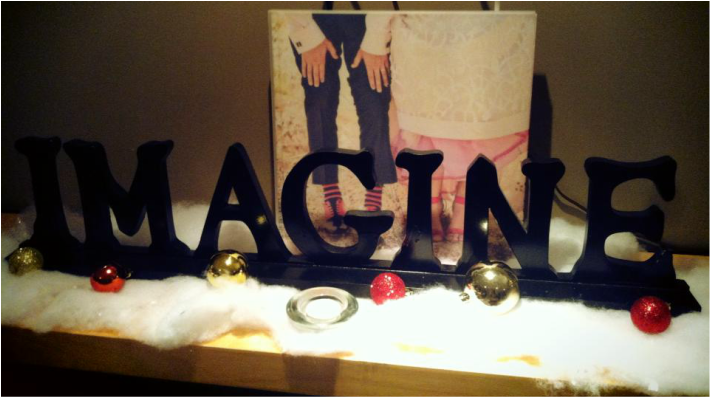
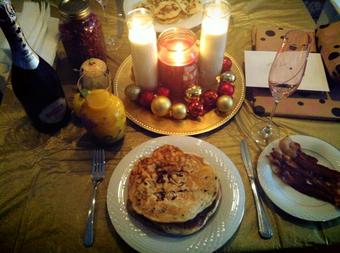
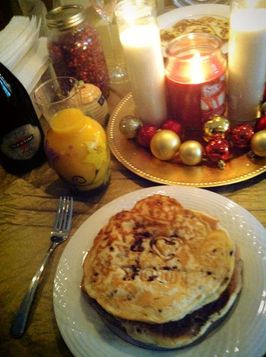
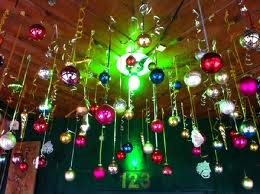
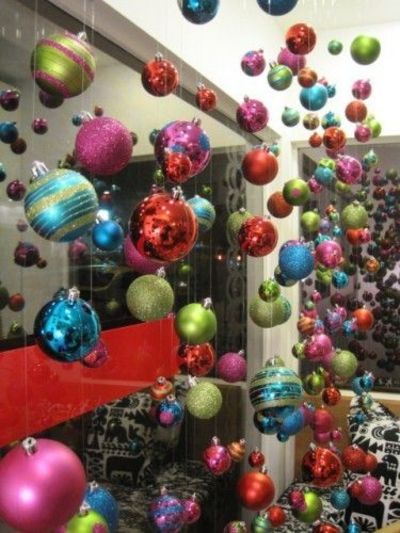
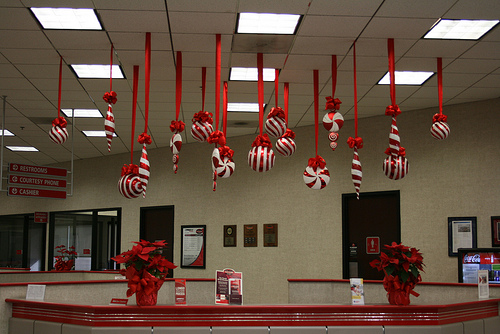
I got my baubles, ribbon and bows at the dollar store chain "Dollar Tree". The baubles come in a variety of sizes and finishes (matte, shiny, glittery etc) but the colors are limited to silver, gold, red and green. The packs come with anywhere between 6-15 baubles and are $1.25 per pack. Other places you can find cheap baubles are thrift stores, Craigslist or by keeping your eyes peeled for department store sales (Target etc). Or maybe your parents, grandparents or friends have an excess of baubles that they want to get rid of. Ask around! If you're looking for an easy and inexpensive way to festively decorate your home, look no further than Christmas baubles! These are no longer just for decking out the Christmas tree with! Here are some ideas of ways to use them to help add some holiday cheer: 1. Place in glass vases instead of flowers. Glass vases can be found for next to nothing at dollar stores, garage sales and thrift stores. This idea is super simple but looks great on display. If you don't have vases, the baubles also look great piled up in baskets! 2. Scatter the baubles around the house on mantles and windowsills. I especially love doing this on top of a fake snow blanket. 3. Make a centerpiece by scattering on a charger plate and adding some candles. 4. Make a wreath! Tutorial coming this week! 5. Hang them from the ceiling at uneven levels. I have always loved the look of this! So simple to do but looks amazing. There are plenty more ideas out there but this should help get you started. It just goes to show that you don't need to break the bank or spend hours of your day to make your home look festive!
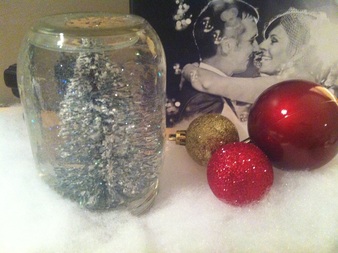
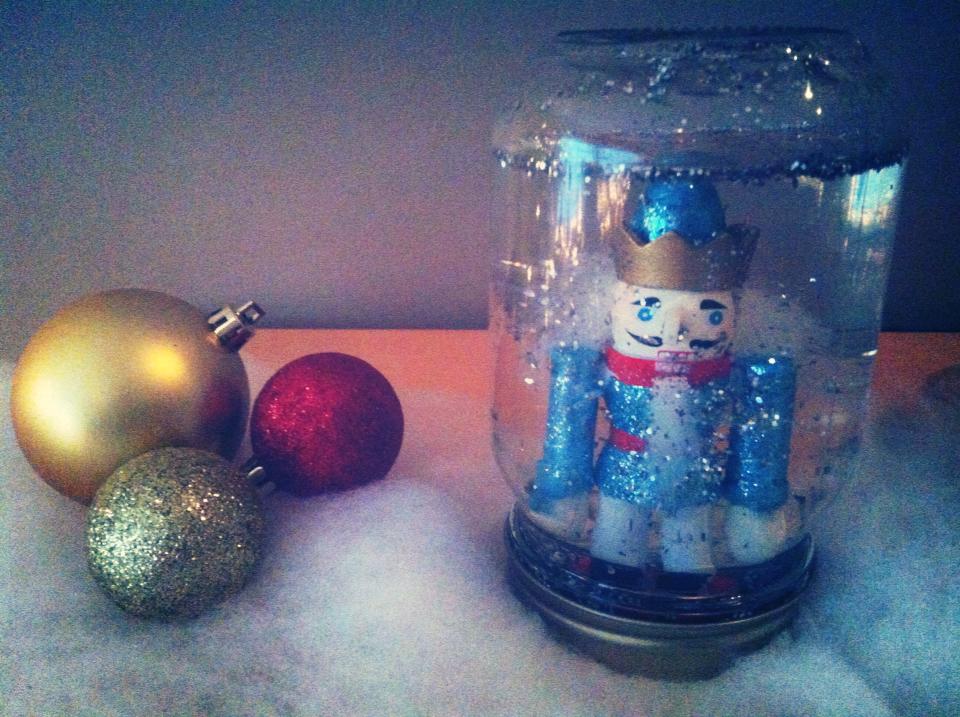
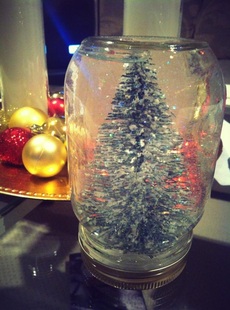
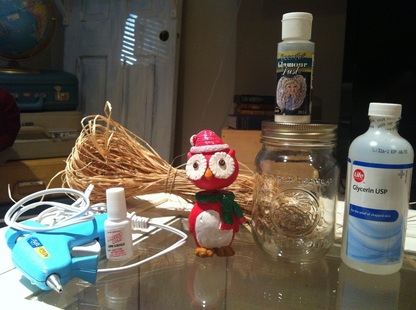
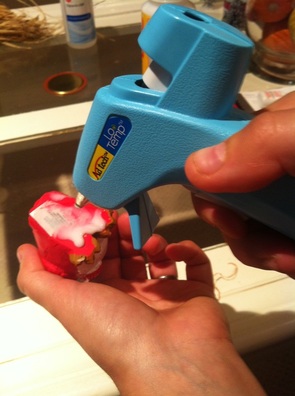
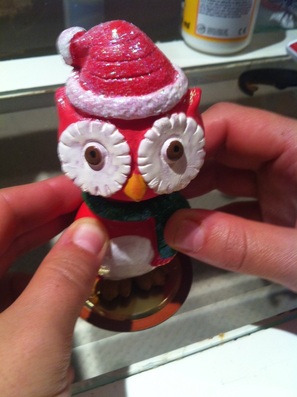
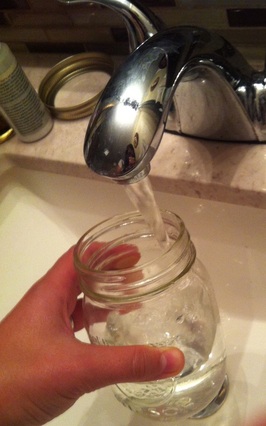
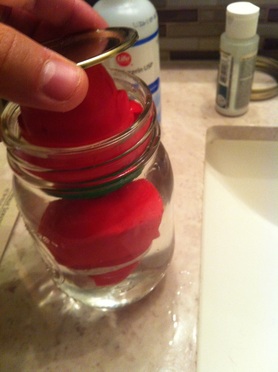
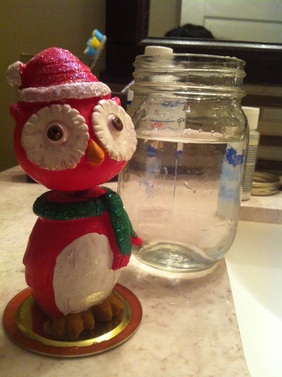
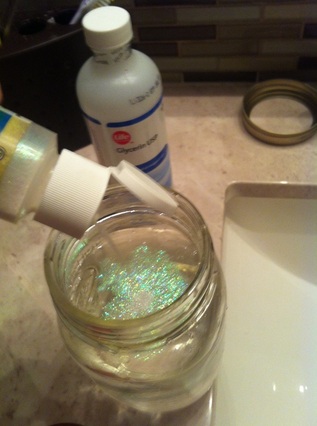
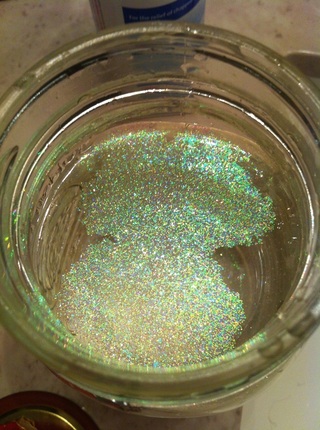
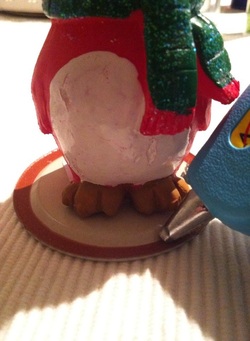
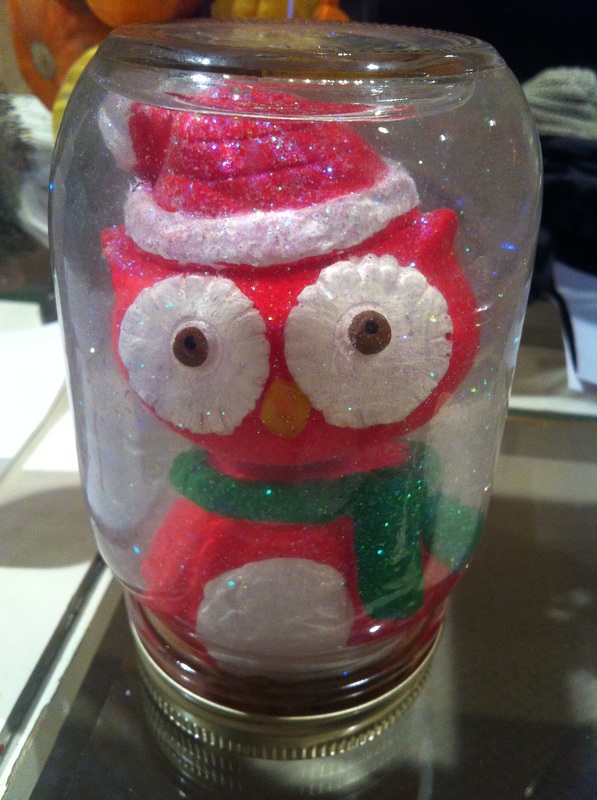
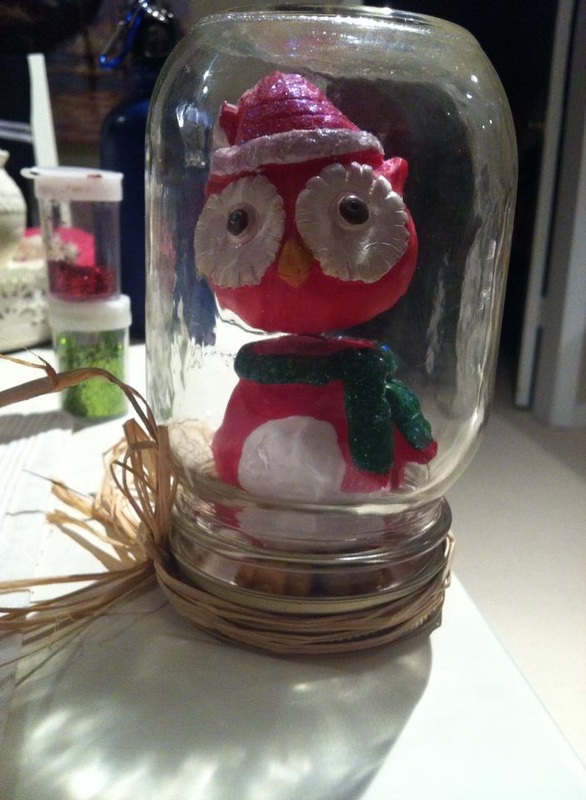
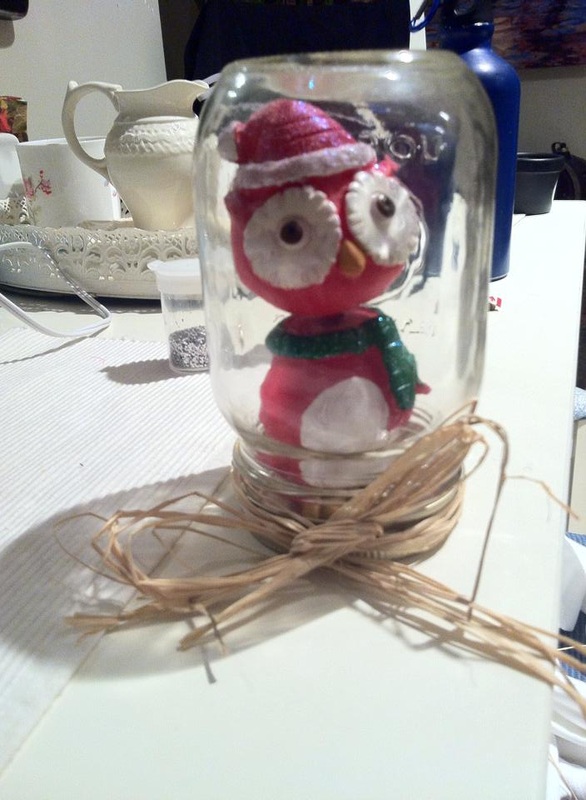
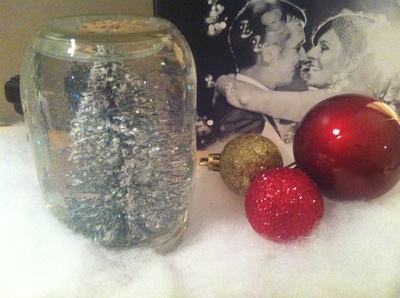
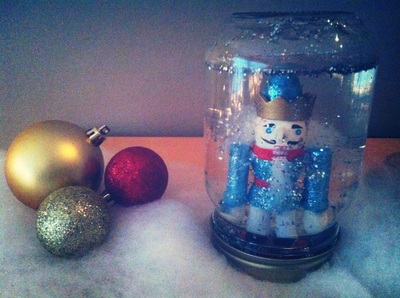
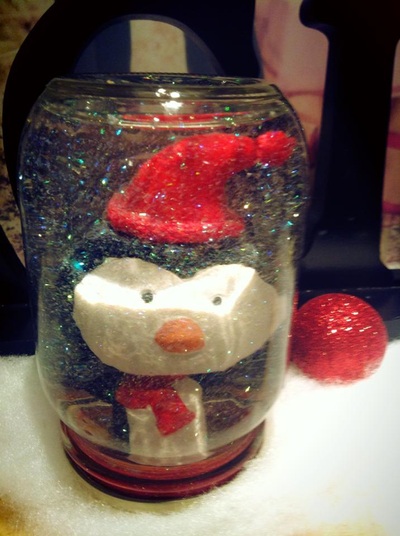
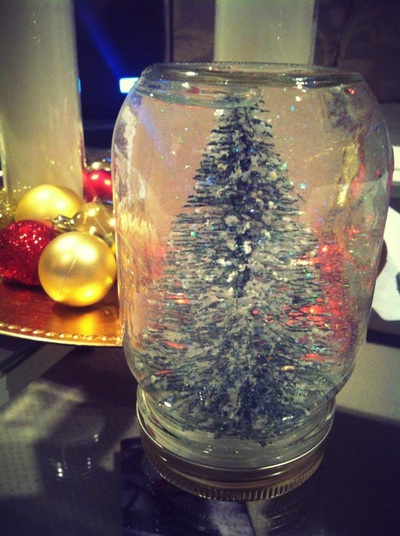
What are your favorite ways to use Christmas baubles? Time needed: 10 minutes (not including drying time) Cost: Under $5 Kid Friendly?: Absolutely as long as supervised (especially with gluing) Christmas is just around the corner so its time to get crafty and start on all those DIY projects that you've been drooling over on Pinterest! This is the first of many DIY Christmas projects that I will be sharing with you. This mason jar snow globe is easy and doesn’t take much time to complete. At the end, you are left with an adorable mason jar snow globe that makes a great gift and looks great as décor in your Winter Wonderland. You will need: (*see notes regarding supplies on bottom of post) - a mason jar with lid and screw cap (I use the 500ml size) - a figurine/object that will fit into the jar - glitter/glitter dust (for the “snow”) - glue gun or heavy duty glue (make sure it is waterproof) - water - glycerin (optional) - ribbon or raffia (optional) Directions: 1. Use your waterproof glue to attach figurine to the center of the snap lid. Allow to dry (drying time depends on the kind of glue you use. Read label on your glue for a better idea but to be safe, allow it to dry overnight). 2. Fill mason jar with cold water (I find that warm/hot water is sometimes cloudy looking). You want it almost completely full but keep in mind that the water will be displaced when inserting the figurine. 3. Once your figurine has dried onto the snap lid, immerse the figurine into the water to see how much the water is displaced and if you need to add or remove any water. Place figurine to the side once you are happy with the amount of water in the jar. 4. Add glitter to the water. Use as much or as little as you like. If using glycerin, add a few drops into the water. 5. Apply waterproof glue to the inside rim of the snap lid. Place figurine in water, in the position that you want it to appear while in the jar, and secure snap lid to the jar. If there is a logo on the jar, make sure the logo will be behind the figurine as you don't want the view of the object to be obstructed. 6. Screw the ring onto the jar. You can apply glue onto the ring for added security although it shouldn't leak as the object of the mason jar is to keep everything in. Allow to dry (this is the difficult part) and then shake, shake, shake, watch the snow fall and repeat! If you want, you can attach a nice ribbon or raffia to the cap. There you have it! Six easy steps and you've got yourself a mason jar snow globe! The only thing I would say about the owl that I used is that I should have perhaps drawn a happy face on it. Doesn't it look a bit sad?! This project is also something fun to make with kids and it is something that can be done year round with non-Christmassy objects/figurines. Hope you enjoyed the first of my DIY tutorials. I am excited to share many more so keep checking back! Be sure to take photos of your projects and share any feedback with me either on Instagram (@katthegrecian) or Twitter (@katthegreek) or by commenting below. I leave you with photos of some of my mason jar snow globes that I have created in the past (click on the photo for a caption)! Enjoy and have fun DYI-ing!! *Notes on supplies:
- I usually buy my mason jars at Canadian Tire or Wal Mart. A pack of 12 of the Golden Harvest brand is usually around $7. The Golden Harvest tends to be cheaper than the Bernardin brand but only just. You may only need 1 mason jar for this project, but you will probably love it so much that you will want to make more. Also, with all the mason jar décor ideas out there nowadays, it is good to have some jars on hand (they make great dry food storage too)! - For the figurines/objects, I have bought mine at the dollar store but Michael’s is also a great place to look. Keep in mind that the object will be immersed in water so something that will not deform or fall apart in water will be best. Plastic or ceramic objects work well. - When it comes to glitter/snow, I found the best thing to use is Glamour Dust by DecoArt which I found at Michael’s. I originally used silver glitter from the dollar store but it ended up getting a bit clumpy in the water. The Glamour Dust worked really well. - Regarding glue: I mixed glue gun glue with a super glue as I found the glue gun didn't work as well on its own (perhaps it wasn’t waterproof). - I didn't use glycerin in any of my snow globes because I didn't have any on hand and I was happy with the results. Apparently the glycerin makes the glitter fall more slowly but if you don’t have any, it is not necessary. I did not notice that the glitter was falling too quickly when I didn't use glycerin. Well Halloween is over and it is already the second week of November. You know what that means? Time to start getting ready for the holiday season! The shops are already playing Christmas music and decorating their storefronts so why can't you?
Starting this week, I will be blogging and showing you how to make some of my favorite simple and fun DIY projects and decoration ideas to turn your home into a Winter Wonderland! Some of the projects make great gifts as well. I can't wait to share these with you! Stay tuned! |
Decor and DIY Categories
All
|
Oh, Poppycock! - Life. Adventures. Merriment










 RSS Feed
