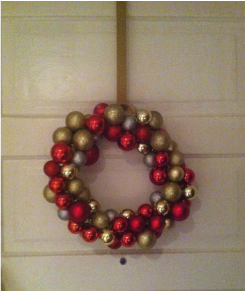
I've always loved the look of these and I had no idea it was so easy and effortless to make them until I actually went ahead and made one! No concentration needed. Just turn on the Netflix, pour yourself a glass of wine (or rum and eggnog) and DIY away. Time needed: 1 hour Cost: Around $10 (*depending on price of baubles. See Notes on Supplies below) Kid Friendly? Yes but you may need to assist with glue gun depending on age You Will Need: (*see Notes on Supplies below) - a wire clothes hanger - Christmas baubles (around 70-90 depending on size) - glue gun - ribbon or something to hang the wreath and/or to decorate with (not pictured) 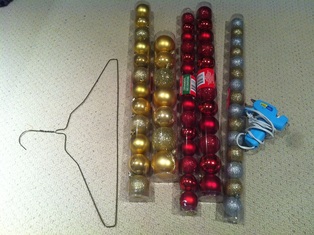
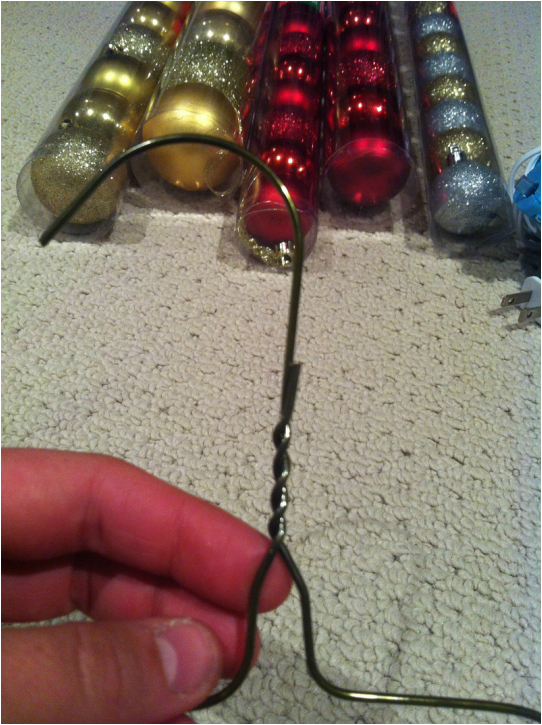
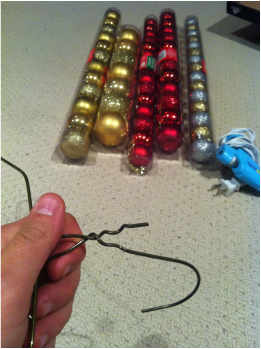
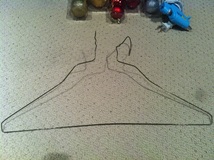
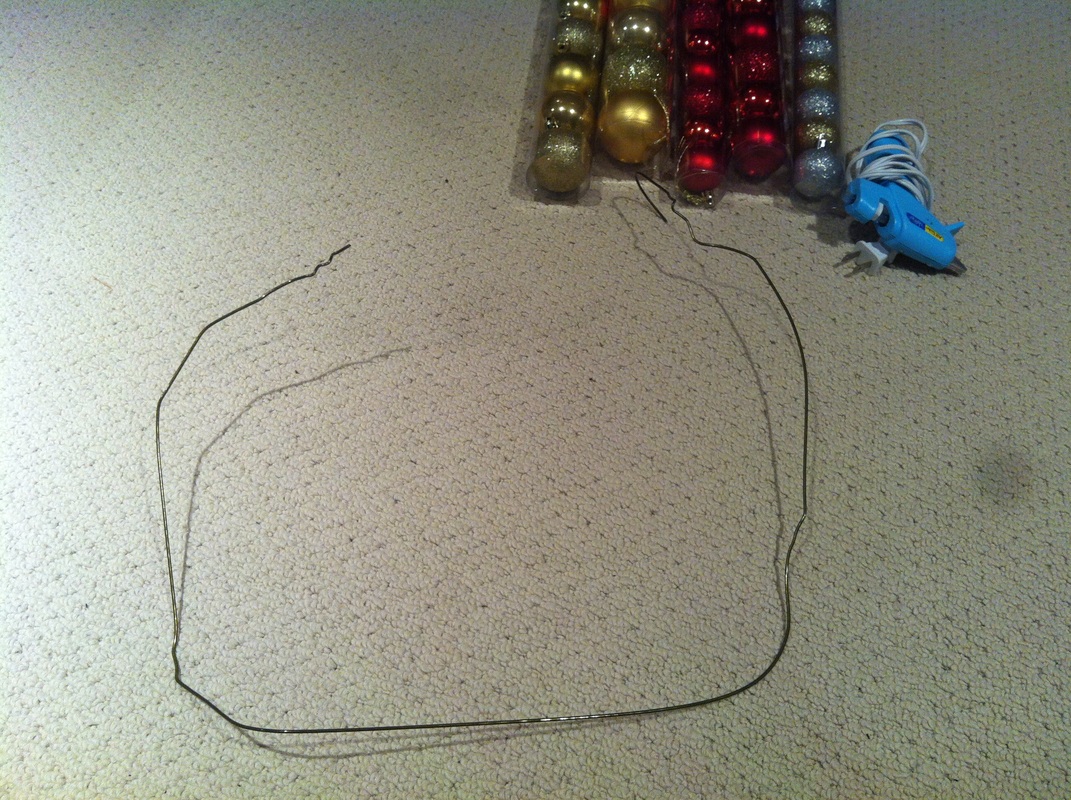
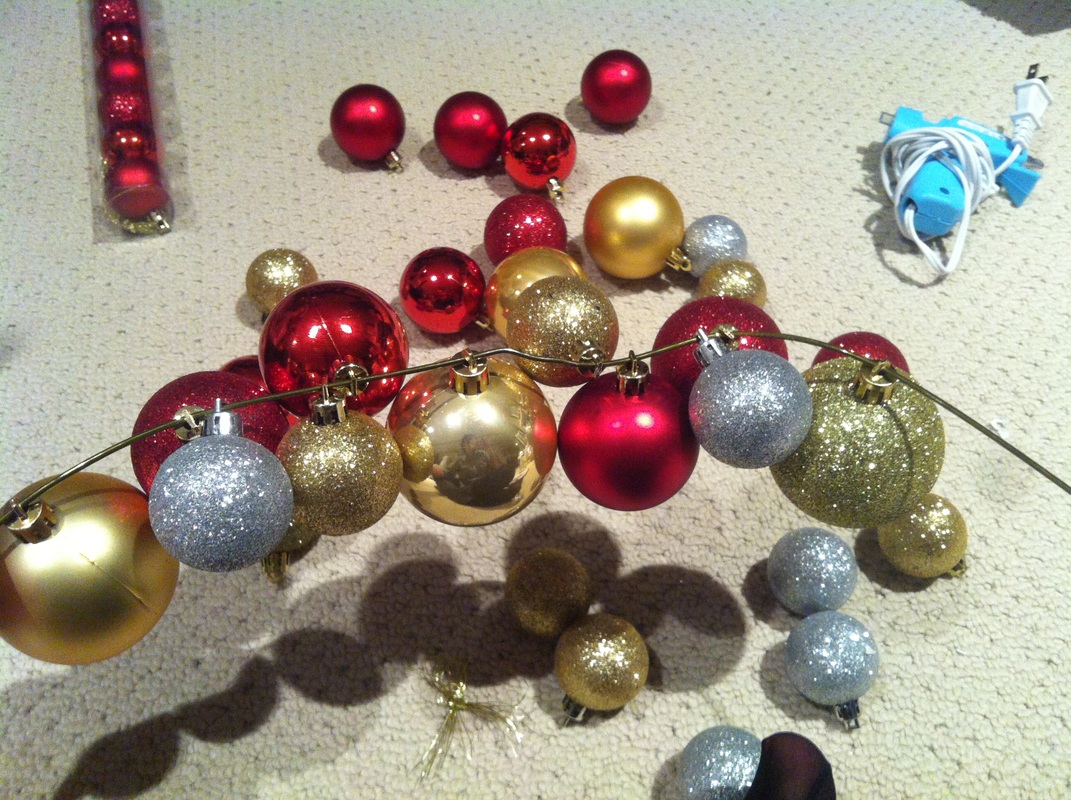
Directions: 1. Untwist the hook part of the hanger and form into a circular shape to the best of your ability. It doesn't have to be absolutely perfect as the baubles will help to form it better and they will hide any imperfections in your circle.
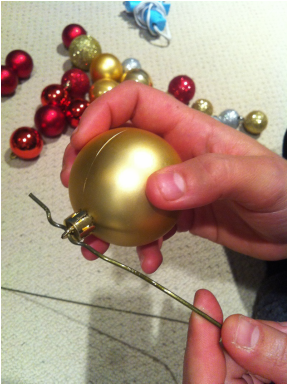
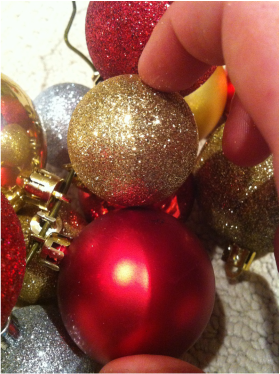
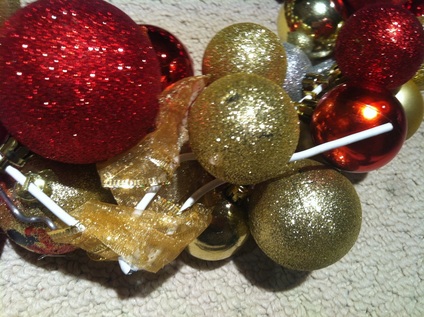
2. Insert the metal tip of the baubles into the hook. Kind of like you are beading a bracelet. My Christmas baubles are from the dollar store and the metal top is not very secure on the bauble. The ball part kept coming away (see photo below) so I reinforced it by removing the metal tip and gluing it back on with a hot glue gun. This isn't necessary if you feel your baubles are secured to the metal tip.
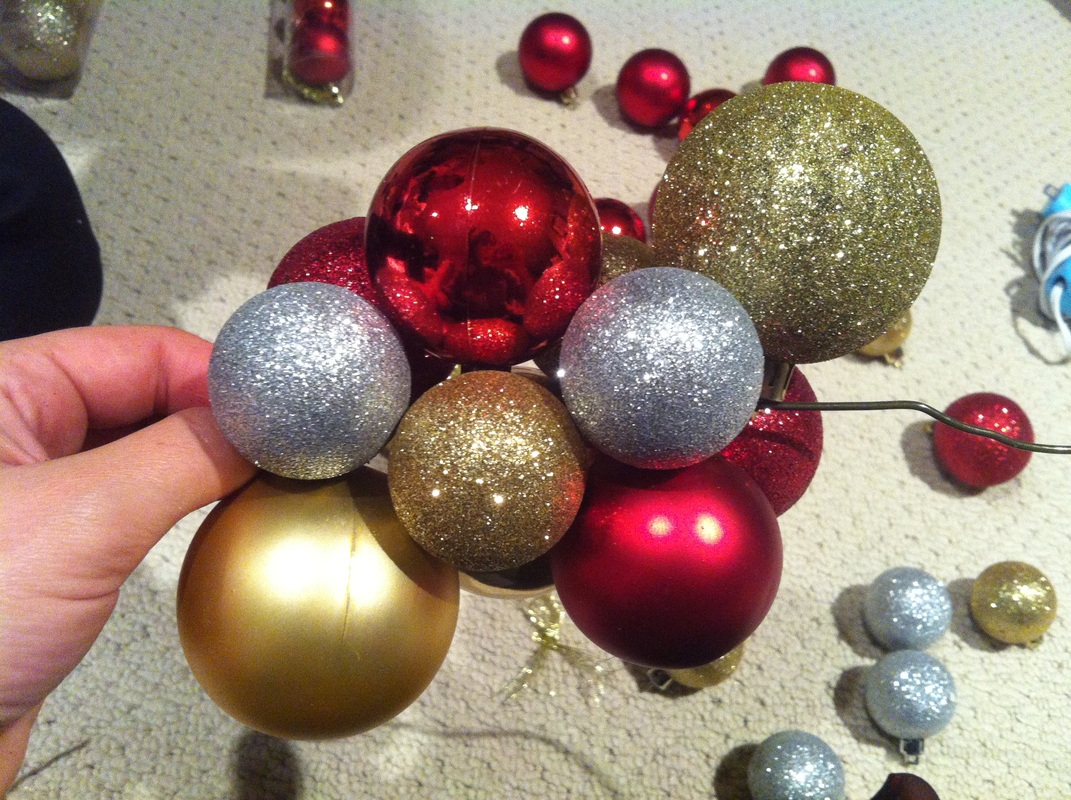
3. As you place more baubles on the wire hanger, push them as tightly together as you can and you will notice your wreath coming together in a random but beautiful arrangement. There is no point in trying to make a sequence as the baubles do their own thing when you push them together. Just try to alternate colors and sizes so that you don't get blocks of the same color (unless this is the effect that you want).
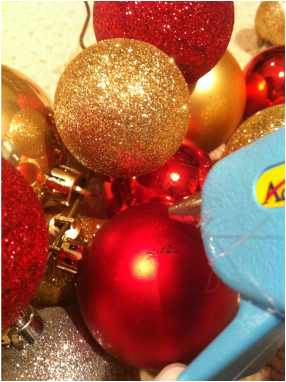
4. Keep placing baubles onto the wire hanger until you reach the end. If you'd like, you can glue some baubles in place so they don't move around (see photo).
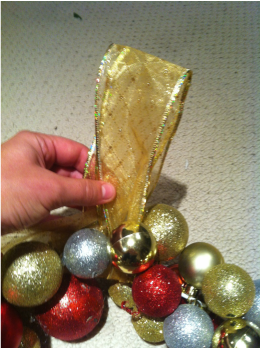
5. When you reach the end of the hanger, connect the two ends of the hanger by twisting them together as it was connected to begin with. You can either leave the hook of the hanger as is (exposed) and cover with a ribbon or you can bend it back behind the wreath and place a little bit of ribbon that will hide it and allow you to hang it. If you find there are some gaps in the wreath, you can fill them in by gluing a bauble into place.
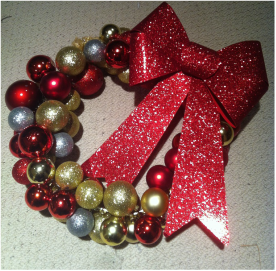
6. If you'd like to jazz it up some more, add a decorative ribbon or something festive (as pictured in photos at the beginning of post). And that's all there is to it! Hope you enjoyed this tutorial. If you end up attempting this project, share your photos and feedback with me! I'd love to see how they all turn out. You can find me on Instagram (@katthegrecian) and Twitter (@katthegreek). Other contact details are on the top right hand corner of my blog. Happy crafting everyone! Notes on Supplies:
I got my baubles, ribbon and bows at the dollar store chain "Dollar Tree". The baubles come in a variety of sizes and finishes (matte, shiny, glittery etc) but the colors are limited to silver, gold, red and green. The packs come with anywhere between 6-15 baubles and are $1.25 per pack. Other places you can find cheap baubles are thrift stores, Craigslist or by keeping your eyes peeled for department store sales (Target etc). Or maybe your parents, grandparents or friends have an excess of baubles that they want to get rid of. Ask around! |
Decor and DIY Categories
All
|
Oh, Poppycock! - Life. Adventures. Merriment


 RSS Feed
