|
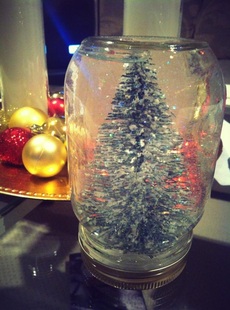
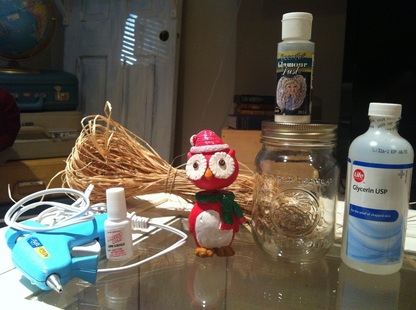
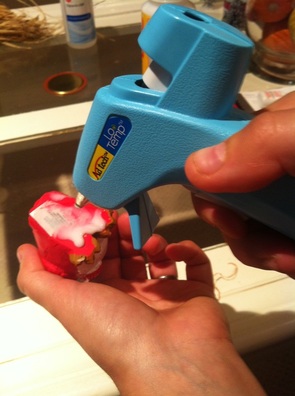
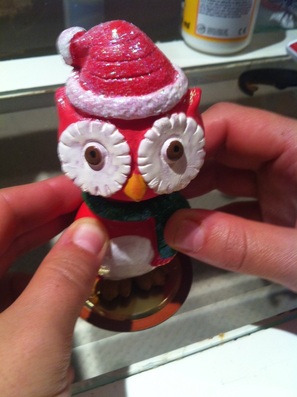
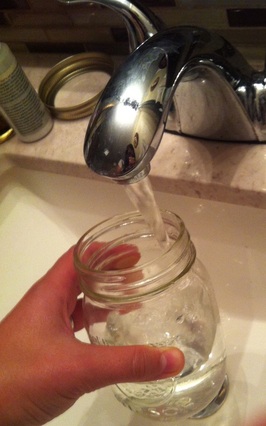
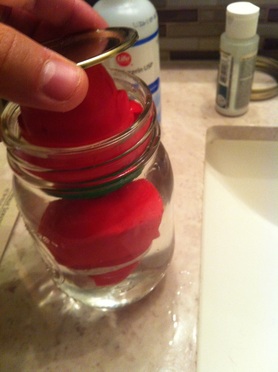
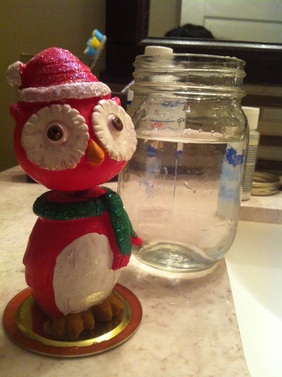
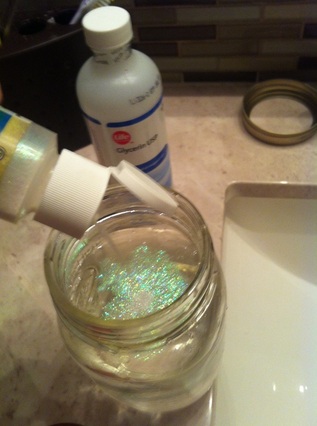
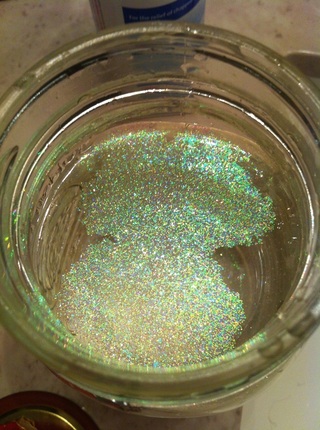
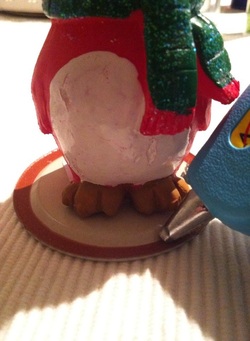
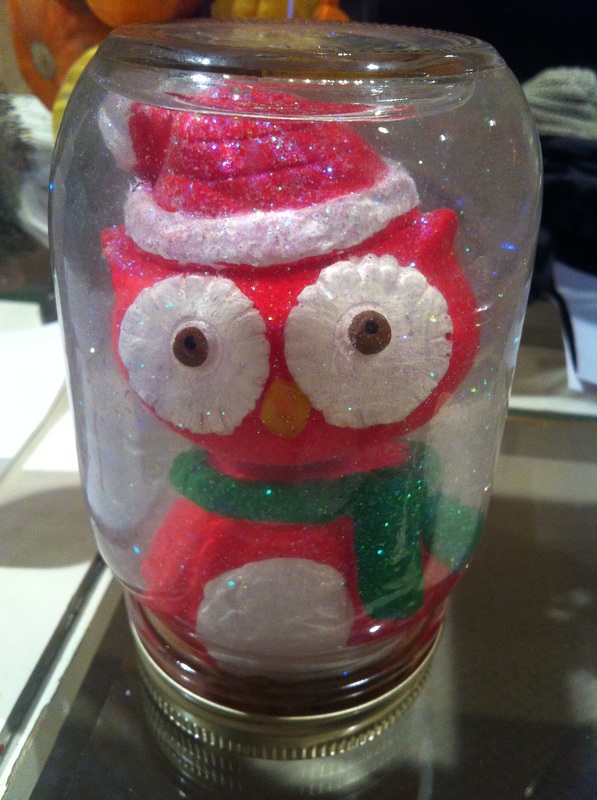
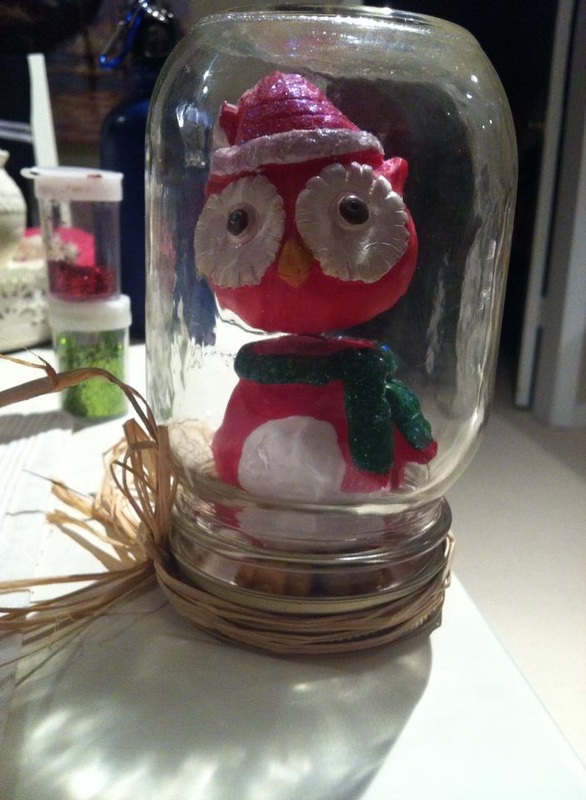
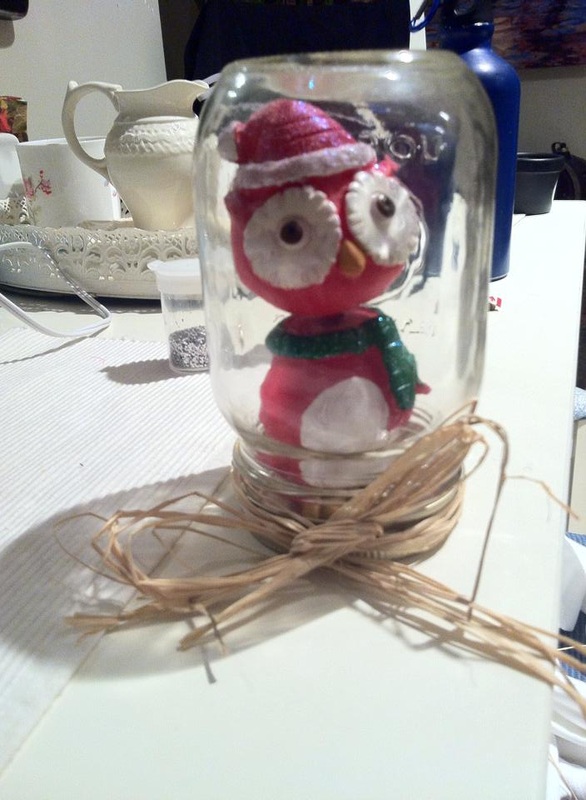
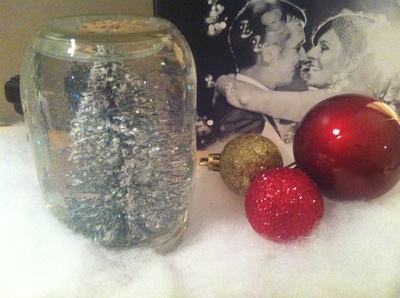
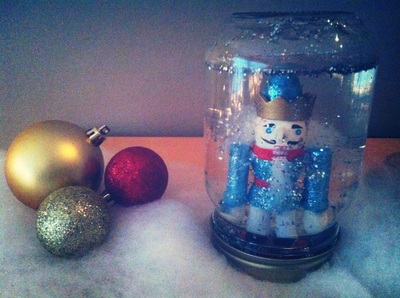
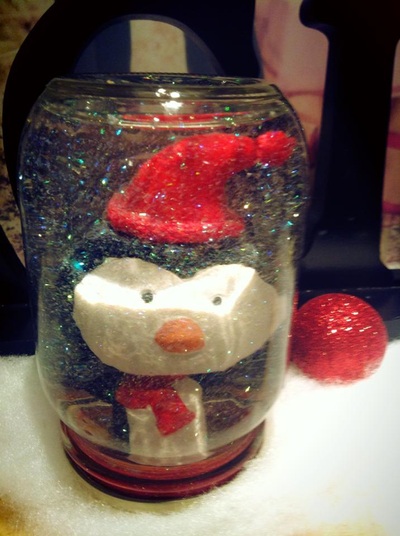
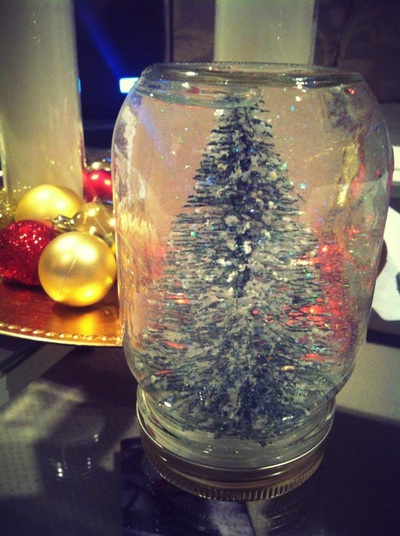
Time needed: 10 minutes (not including drying time) Cost: Under $5 Kid Friendly?: Absolutely as long as supervised (especially with gluing) Christmas is just around the corner so its time to get crafty and start on all those DIY projects that you've been drooling over on Pinterest! This is the first of many DIY Christmas projects that I will be sharing with you. This mason jar snow globe is easy and doesn’t take much time to complete. At the end, you are left with an adorable mason jar snow globe that makes a great gift and looks great as décor in your Winter Wonderland. You will need: (*see notes regarding supplies on bottom of post) - a mason jar with lid and screw cap (I use the 500ml size) - a figurine/object that will fit into the jar - glitter/glitter dust (for the “snow”) - glue gun or heavy duty glue (make sure it is waterproof) - water - glycerin (optional) - ribbon or raffia (optional) Directions: 1. Use your waterproof glue to attach figurine to the center of the snap lid. Allow to dry (drying time depends on the kind of glue you use. Read label on your glue for a better idea but to be safe, allow it to dry overnight). 2. Fill mason jar with cold water (I find that warm/hot water is sometimes cloudy looking). You want it almost completely full but keep in mind that the water will be displaced when inserting the figurine. 3. Once your figurine has dried onto the snap lid, immerse the figurine into the water to see how much the water is displaced and if you need to add or remove any water. Place figurine to the side once you are happy with the amount of water in the jar. 4. Add glitter to the water. Use as much or as little as you like. If using glycerin, add a few drops into the water. 5. Apply waterproof glue to the inside rim of the snap lid. Place figurine in water, in the position that you want it to appear while in the jar, and secure snap lid to the jar. If there is a logo on the jar, make sure the logo will be behind the figurine as you don't want the view of the object to be obstructed. 6. Screw the ring onto the jar. You can apply glue onto the ring for added security although it shouldn't leak as the object of the mason jar is to keep everything in. Allow to dry (this is the difficult part) and then shake, shake, shake, watch the snow fall and repeat! If you want, you can attach a nice ribbon or raffia to the cap. There you have it! Six easy steps and you've got yourself a mason jar snow globe! The only thing I would say about the owl that I used is that I should have perhaps drawn a happy face on it. Doesn't it look a bit sad?! This project is also something fun to make with kids and it is something that can be done year round with non-Christmassy objects/figurines. Hope you enjoyed the first of my DIY tutorials. I am excited to share many more so keep checking back! Be sure to take photos of your projects and share any feedback with me either on Instagram (@katthegrecian) or Twitter (@katthegreek) or by commenting below. I leave you with photos of some of my mason jar snow globes that I have created in the past (click on the photo for a caption)! Enjoy and have fun DYI-ing!! *Notes on supplies:
- I usually buy my mason jars at Canadian Tire or Wal Mart. A pack of 12 of the Golden Harvest brand is usually around $7. The Golden Harvest tends to be cheaper than the Bernardin brand but only just. You may only need 1 mason jar for this project, but you will probably love it so much that you will want to make more. Also, with all the mason jar décor ideas out there nowadays, it is good to have some jars on hand (they make great dry food storage too)! - For the figurines/objects, I have bought mine at the dollar store but Michael’s is also a great place to look. Keep in mind that the object will be immersed in water so something that will not deform or fall apart in water will be best. Plastic or ceramic objects work well. - When it comes to glitter/snow, I found the best thing to use is Glamour Dust by DecoArt which I found at Michael’s. I originally used silver glitter from the dollar store but it ended up getting a bit clumpy in the water. The Glamour Dust worked really well. - Regarding glue: I mixed glue gun glue with a super glue as I found the glue gun didn't work as well on its own (perhaps it wasn’t waterproof). - I didn't use glycerin in any of my snow globes because I didn't have any on hand and I was happy with the results. Apparently the glycerin makes the glitter fall more slowly but if you don’t have any, it is not necessary. I did not notice that the glitter was falling too quickly when I didn't use glycerin. |
Decor and DIY Categories
All
|
Oh, Poppycock! - Life. Adventures. Merriment
 RSS Feed
